


アクリルシートの用途イノベーションと業界の変革
導入 光学明快さ(92%光通信)および多様性のために珍重されるアクリルシートは航空宇宙からヘルスケアに産業に革命をもたらしている。予想される世界市場...
Here is how to cut acrylic sheet: use scoring and snapping for suitable thin, straight cuts, a saw for straight lines or curves, or a router or suitable laser for shaped parts. Choose the method for your exact material, thickness, and finished edge, then test the setup on scrap.
Learning how to cut acrylic sheet starts before the blade touches the panel. A clean cut can still leave the wrong size, a sharp edge, or a poor fit. Start with what the finished part must do.
This guide explains how to cut acrylic sheet by matching the tool to the job. You’ll find a method table, preparation steps, and checks for cracking, chips, and melted edges. If you haven’t chosen your material yet, use our アクリル板の完全購入ガイド first.
主なポイント
- Scoring and snapping has material and thickness limits; it is not a method for every sheet.
- Straight cuts, curves, and repeated profiles call for different tools and setups.
- Support, a suitable sharp blade, and correct alignment matter alongside cutting speed.
- A glossy edge does not prove that a part is free from heat stress or ready for bonding.
- Approve a test cut and check finished dimensions before processing the full order.
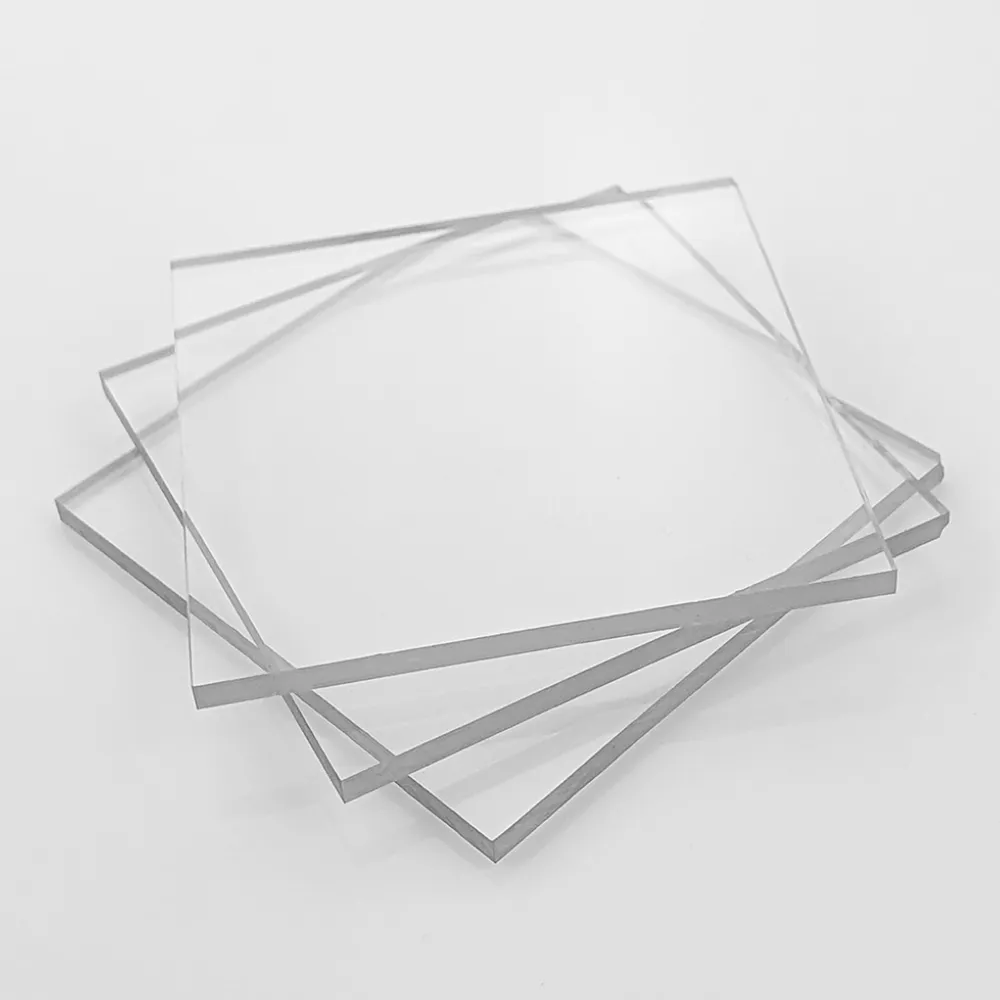
The first decision is the cut you need. A short straight trim differs from a round sign face or a set of matching display parts. When deciding how to cut acrylic sheet, consider the shape, sheet grade, thickness, and edge use together.
| Method | Typical task | Main limitation | Check afterward |
|---|---|---|---|
| Score and snap | Suitable thin sheets and short straight cuts | Grade, thickness, and break length | Break follows the line; edge is safe to handle |
| Circular or table saw | Straight cuts with suitable tooling | Support, alignment, and safe handling | Size, straightness, and chips |
| Jigsaw | Curves and cutouts within tool limits | Blade choice and room to turn | Shape, chips, and heat marks |
| Router or CNC | Profiles and repeated shapes | Tooling, workholding, and setup | Fit and edge quality |
| Suitable CO2 laser | Detailed profiles in approved materials | Machine, material, extraction, and heat | Cut size, edge condition, and fit |
For a small project, choose a method you can set up and use safely. A tool’s ability to cut plastic does not establish that it suits your sheet. Consult its instructions and the material supplier’s guidance.
If you’re comparing how to cut acrylic sheet yourself with buying finished parts, send JRT your drawing, material, thickness, and quantity. Ask about cutting and finishing requirements before committing to a full sheet.
Acrylic is polymethyl methacrylate, or PMMA. Cast and extruded sheets can behave differently during fabrication; our cast versus extruded acrylic comparison covers that choice. Coated, mirrored, and layered sheets need their own instructions.
例示シナリオ: A maker needs a small rectangular display panel. They check the sheet supplier’s guidance before choosing between scoring and a saw. They also allow for the edge finish needed by the frame. The example shows a decision process, not a tested customer result.
Good preparation makes instructions on how to cut acrylic sheet useful in practice. Identify the material, plan support through the whole cut, and confirm where the tool will travel. Do this before switching it on.
Write down the finished length, width, thickness, and units. For mating parts, include the fit you need. Our thickness and tolerance guide explains why a nominal thickness is not a complete fit requirement.
Mark the finished outline and identify the waste side. The kerf is the width removed by the tool; any later edge work may remove more material. Agree on the finished size before choosing a cutting allowance.
Keep the surface protected as the material instructions advise. Masking guidance can differ between sawing and laser processing. Don’t assume that every protective film can stay on for every operation.
Follow the equipment manual for clamps, guides, guards, eye protection, hearing protection, and dust extraction. Support the panel and offcut through the cut without trapping the blade. Keep hands out of its path, and disconnect power before changing tooling or making adjustments.
Anyone learning how to cut acrylic sheet should make a trial in scrap of the same grade and thickness. Check the result before moving to the main piece:
Record changes so you can repeat the accepted setup. If the trial cracks or melts, stop and investigate rather than risking the full panel.
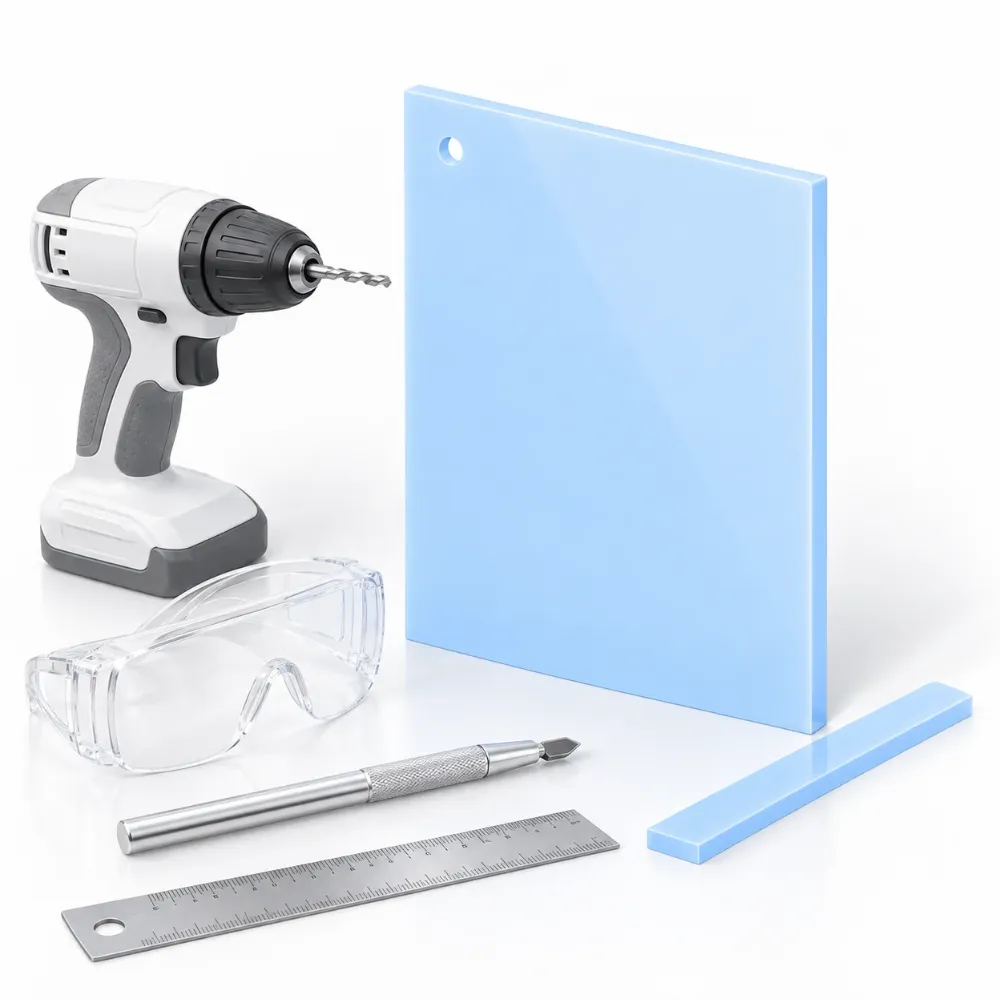
Scoring and snapping makes a groove that guides a straight break. It does not saw through the whole thickness. Its usefulness depends on the material, thickness, and size of the break.
For example, ACRYLITE’s glazing guidance describes scribing its Premium sheet up to 3/16インチ thick. It advises against the method for long breaks or thicker material. That is a limit for the named product guidance, not permission to snap every acrylic sheet of that thickness.
Once the supplier confirms the method, prepare a firm, flat surface, a straightedge, and a suitable scoring tool. Follow its instructions for protecting the surface and handling the edge.
Don’t choose a fixed number of scoring passes from a generic tutorial on how to cut acrylic sheet. A shallow, wandering groove or a difficult break calls for reassessment. Adding uncontrolled force is not a reliable correction.
When researching how to cut acrylic sheet without a saw, check the limits as carefully as the steps. Long breaks, narrow strips, curved outlines, and unsupported grades may call for another method. For a small correction near an edge, ask a fabricator rather than assuming the strip will snap neatly.
Power tools offer more options for shape and thickness, but setup still governs the result. A guide on how to cut acrylic sheet with a saw should explain blade selection, support, and testing together. Speed alone cannot correct a poor setup.
ACRYLITE’s cutting manual emphasizes low vibration, close support, blade alignment, and sharp tooling. It lists 10-inch blades with 60 or 80 teeth among common combinations for its sheet. Blade diameter, speed, and the cutting task affect selection, so don’t treat tooth count alone as a buying rule.
Use a blade approved for acrylic and compatible with the saw. Check the required guards and feed arrangement with the equipment maker. A large panel needs suitable support on both sides of the operation, not an operator trying to catch a falling offcut.
For how to cut acrylic sheet with a circular saw, start with a secure guide and the support layout specified by the tool maker. Make a trial before cutting the final part. Check both faces of the edge, since damage may be more visible underneath.
Avoid the rule that slower always means better. The correct feed must suit the tool and material. If the blade binds, the sheet moves, or the edge deteriorates, stop safely and check the cause.
Choose a blade identified for PMMA or acrylic and approved for your jigsaw. For example, Bosch’s PMMA blade guidance describes tooling designed for clean cuts while limiting melting. That does not establish compatibility with every machine or sheet.
When planning how to cut acrylic sheet with a jigsaw, leave room for the tool, blade, clamps, and offcut. Use the machine’s instructions for starting, turning, and stopping. Don’t force the blade through a curve tighter than the setup allows.
例示シナリオ: A sign maker plans a curved face with a narrow detail. They test that detail in scrap, then compare the edge and shape with the drawing. If the trial is poor, they revise the method before cutting the final face. No production outcome is implied.
A router is another option to discuss for shaped or repeated parts. Check the cutter, how the sheet is held, and how chips will clear. Make a test part even when using a programmed path.
If your question is how to cut acrylic sheet into matching parts, specify the finished outline and edge use first. The fabricator can then review the drawing and proposed process. JRT’s 処理サービス page lists saw cutting, laser shape processing, and diamond polishing; confirm the operation and acceptance requirements for your job.
Laser cutting is a material-and-machine decision. Before deciding how to cut acrylic sheet with a laser, confirm that the exact sheet and any masking are approved for that system. A laser’s advertised power alone is not a cutting recipe.
ACRYLITE’s laser machining guide discusses CO2 processing of its sheet. It explains that power, feed, and pulse settings affect the cut and edge stress. Those settings need to match the material and intended result.
Don’t assume a machine can process clear acrylic because it cuts another color or another plastic. Check its approved material list and operating instructions. If you cannot identify the sheet or coating, obtain that information before laser processing.
Epilog’s equipment manual warns against unattended acrylic cutting and cutting PVC or vinyl. Follow the current manual for your machine’s enclosure, extraction, and fire precautions. JRT also supplies PVC materials, so keep material identities clear when discussing an order.
A glossy laser edge is not proof of a stress-free part. ACRYLITE’s guide explains that localized heating can leave edges prone to crazing, or fine cracks, under certain later exposures or stresses. Discuss bonding and forming plans before choosing the process.
For how to cut acrylic sheet to fit an assembly, use a test part to confirm the cut size and fit. Measure the actual result rather than assuming a reference kerf equals your machine’s cut width. Keep the accepted settings with the material identification.
Troubleshooting how to cut acrylic sheet starts with the setup, not a random change in speed. Inspect the support, blade or cutter, alignment, and chip removal. Change one factor at a time within the manufacturer’s guidance, then test again.
| Problem | Possible contributors | First checks |
|---|---|---|
| Chipped edge | Vibration, worn tooling, or poor support | Support near the cut and tool condition |
| Melted edge | Excess heat or unsuitable cutting conditions | Tool choice, chip removal, and approved settings |
| Wandering line | Movement or poor guidance | Clamps, guide, and tool condition |
| Fine cracks after later work | Edge stress or incompatible chemicals | Material, process history, and bonding guidance |
These are checks to investigate, not a diagnosis from appearance alone. If a test keeps failing, discuss the material and setup with the supplier or fabricator.
When learning how to cut acrylic sheet for a display, decide whether the edge will be hidden, touched, viewed, or bonded. These uses need different acceptance checks. A smooth-looking edge may still need preparation for the chosen adhesive.
ACRYLITE’s edge-finishing guide gives 180–320 grit wet sanding as a reference for its acrylic edges. It also warns that excess polishing heat can induce stress. Follow the material and equipment instructions; wet hand finishing is not permission to add water to an unsuitable power tool.
Scraping, sanding, and professional polishing are options to review for the desired finish. Flame polishing needs its own process controls and is not a shortcut to include in a beginner cutting routine.
For repeat parts, knowing how to cut acrylic sheet includes knowing what counts as an accepted part. Agree on the checks before production:
例示シナリオ: A buyer orders display panels with visible edges. The drawing states the finished size, quantity, and required finish, while a sample shows the accepted appearance. The buyer approves the sample before authorizing the batch. This describes an approval process, not a JRT case study.
Keep the drawing revision and sample reference with the order. Ask the quotation to state the material, operations, finish, and any exceptions. This makes offers easier to compare than a sheet price alone.
A suitable scoring tool can guide a break in sheets approved for that method. It does not make every thickness or shape suitable for hand cutting. Follow the exact material guidance and change methods when the task falls outside it.
Start with suitable tooling, firm support, correct guidance, and a trial cut. To learn how to cut acrylic sheet without cracking, inspect the trial for chips and heat marks before cutting the main piece. Don’t rely on tape or slower movement as a cure for every defect.
Choose an acrylic- or PMMA-rated blade that fits the machine and the proposed task. Check its thickness range and operating guidance with the tool maker. A generic instruction on how to cut acrylic sheet cannot replace the blade and machine instructions.
Check the exact grade and tool guidance rather than assuming a 5mm sheet can be snapped. A round outline needs a suitable profile-cutting method. Use the required radius, edge finish, and fit to guide a trial or a fabricator’s proposal.
PLEXIGLAS is a brand of acrylic products; acrylic is the material category. When searching how to cut acrylic sheet or how to cut plexiglass, identify the actual product before following its fabrication instructions. Similar names do not make all grades interchangeable.
Consider finished parts when you lack a suitable setup, need repeated shapes, or require an agreed finish and fit. Compare quotations using the same drawing and acceptance requirements. Include material, thickness, quantity, units, tolerances, and edge use.
Choose how to cut acrylic sheet from the finished part backward: select the method, prove the setup on scrap, and inspect the result. For a project quotation, send JRT your drawing and cutting requirements. Include the finish and fit you need so the discussion covers the complete part.
 159月
 159月
 1710月
 2310月