How to Install Acrylic Mirror Sheet: A Practical Guide
To install an acrylic mirror sheet, prepare a flat, rigid support and secure the panel with an approved glue, rated tape, or suitable mechanical fixings. Leave the movement allowances listed for the assembly, support any bond through its full cure, and remove the protective face film at the final check.
A smooth-looking wall can still produce a wavy reflection. That’s the first thing to understand about how to install acrylic mirror sheet: surface flatness and mounting pressure matter as much as the sheet itself.
You want a mirror that sits securely and looks right from the intended viewing position. Getting there requires checking the backing, protecting the reflective coating, and choosing a fixing method that suits both surfaces. Buying thicker material alone won’t correct a bowed support.
This guide covers preparation, glue and mechanical options, installation steps, and troubleshooting. It draws on supplier installation guidance and JRT’s published care instructions. Use the instructions for your selected sheet and fixing system whenever they specify a dimension, glue pattern, or curing condition; there isn’t one universal schedule for every mirror panel.
Pontos-chave
A flat, rigid backing helps prevent the mirror from following wall bumps or uneven supports.
Adhesive approval must cover the mirror’s backcoat and the base; a glass-mirror label alone is insufficient.
Oversized fixing holes and perimeter clearances must follow the selected system’s movement requirements.
Keep cure support in place for the glue’s listed cure period, then inspect before removing the face film.
Plan the Acrylic Mirror Installation
Start with the sheet model, size, thickness, and where you plan to use it. Acrylic mirror is a reflective product built on acrylic, also called polymethyl methacrylate (PMMA). Protect its rear coating as well as the front face.
Record whether the panel will be bonded to a board, held in a frame, or fixed through prepared holes. Also record whether people will view it close up or across a room. Ask the supplier whether the chosen grade and assembly suit that use before ordering.
Explore JRT mirror sheet options and confirm the backing and mounting requirements for the exact product you select. JRT’s product page lists tape, screw, and frame mounting, but the project still needs a suitable fixing specification.
Gather the Tools and Protect Both Faces
Gather the tools before you start:
Tape measure, straightedge, and level
Soft cloths and suitable marking tools
The listed glue, tape, or fixing system
Workbench, clamps, eye protection, and a plastics-suitable bit if drilling
Have help available for a panel you cannot control comfortably yourself.
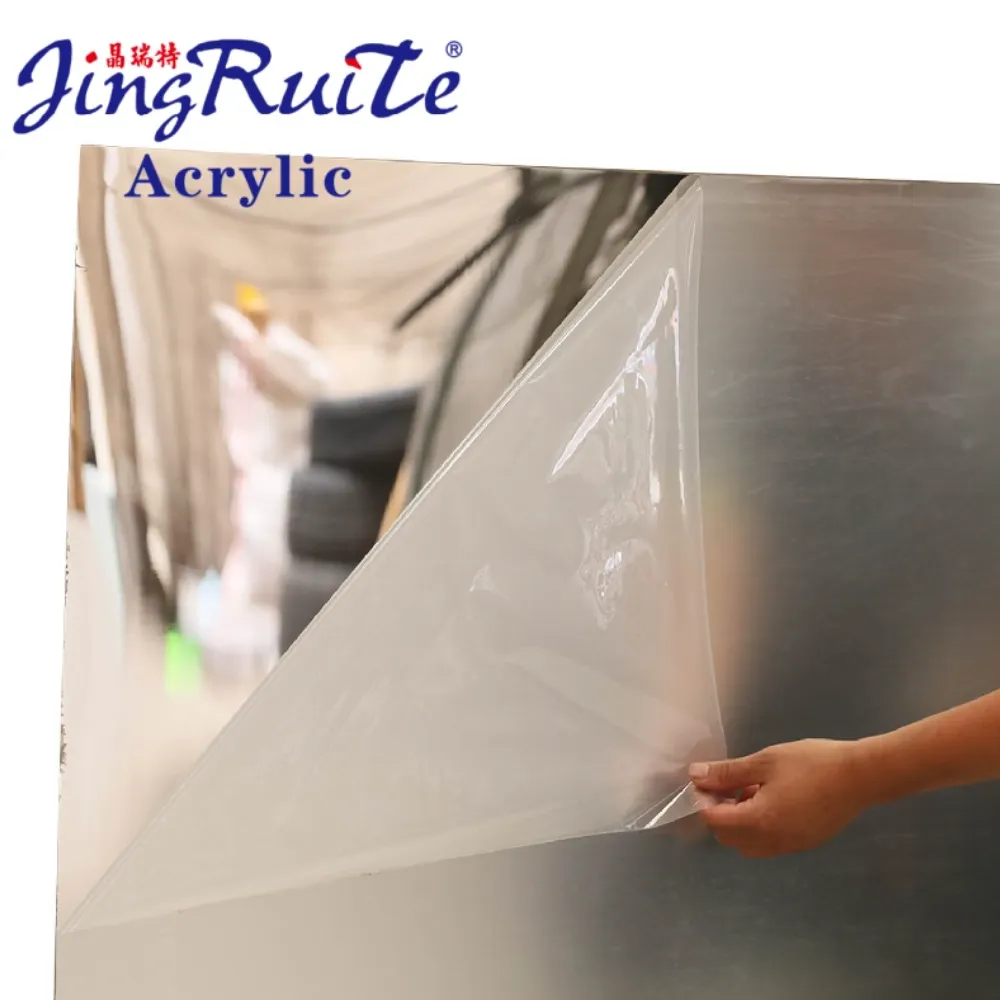
Keep the removable face film in place during handling and installation. Don’t strip or scrape the permanent coating on the back; it isn’t packaging. Lift panels rather than dragging them across a bench, and keep chips away from both faces.
A small sample is useful for testing the proposed assembly before you commit a full panel. Check the current order and sample FAQ for applicable terms rather than assuming a sample size, cost, or preparation date.
How to Install Acrylic Mirror Sheet on a Flat Backing
Check flatness before you open the glue. Place a straightedge across the support horizontally, vertically, and diagonally. Look for rocking, raised joints, proud screw heads, or gaps that show the surface is bowed.
A spirit level answers a different question. It checks alignment with gravity; a wall can be level yet uneven. Acrylic mirror installation needs a flat base across the whole panel. A level top edge alone will not do.
Prepare the Whole Support Assembly
Remove dust, grease, loose paint, and other material that prevents reliable contact. Repair the support and let required coatings dry or cure according to their instructions. Confirm that paint, primer, or sealer is approved for use with the proposed glue.
For an uneven wall, consider a separate rigid backing fixed in a way that keeps it flat. MDF and plywood appear in supplier guides, but their suitability depends on moisture, panel sizes, support spacing, and mounting design. Don’t choose a board thickness from an unrelated installation.
Cut My’s acrylic mirror installation guide emphasizes backing flatness and warns that scratches on the reverse can show in the reflection. Its named board and sheet thicknesses apply to its own recommendations, rather than every mirror on the market.
Hypothetical example: Alex’s display panel.
Alex plans a 900 × 600 mm decorative panel for a shop display. During a dry fit, their straightedge rocks over a raised wall joint. Rather than forcing the mirror onto that joint, they revise the support arrangement and check the backing again before bonding. The outcome is a corrected preparation plan, not a promise of distortion-free optics.
Fixing a flat board tightly against an uneven wall can bend the board too. Check the backing again after it is secured. The assembly must provide support without pulling the mirror into a curve.
Choose Adhesive, Tape, Screws, or a Frame
Choose the method before placing holes or ordering finished sizes. Before mounting acrylic mirror panels, check the bond, support, and movement space. Trace how the weight reaches the wall.
Método
Useful when
What must be checked
Compatible liquid glue
A concealed bond suits the project
Backcoat approval, base preparation, glue pattern, and full cure
Rated mounting tape
The tape supplier approves the panel and surfaces
Contact area, pressure, temperature, long-term load, and coating adhesion
Screws with suitable washers
The design permits prepared fixing holes
Hole clearance, edge distance, anchors, and freedom from pinching
Edge-engaging frame or channel
The design requires edge support
Engagement, movement space, support, and attachment to the structure
No option makes an unsound wall coating reliable. Tape bonded to loose paint can detach with the paint, even if the tape itself remains intact. Include the base and its finish in your assessment.
Check Acrylic Mirror Adhesive Compatibility
An acrylic mirror adhesive must suit the specific rear coating and the surface behind it. “Mirror safe,” “solvent free,” or “neutral cure” on a label is not enough by itself. Ask for written compatibility guidance covering the actual materials.
United States Plastic’s acrylic mirror fabrication and mounting guidance recommends testing expendable samples for at least 72 hours to assess compatibility. That is its testing recommendation, not a universal cure time, lifetime bond guarantee, or JRT-approved installation schedule.
Test the proposed acrylic mirror adhesive with the actual mirror grade, backing, and surface finish. Inspect for coating changes, staining, softening, or loss of adhesion. Follow the glue supplier’s full cure conditions as well; a short sample trial cannot validate every service condition.
Before ordering holes or shaped pieces, Discuss your fabrication drawing and request confirmation of the material and processing details. Include the intended fixing system instead of leaving the fabricator to guess its clearances.
How to Install Acrylic Mirror Sheet Step by Step
If you’re deciding how to install acrylic mirror sheet on a wall, confirm the mounting system before using this sequence. Complete cutting and drilling before final bonding. Keep installation instructions and product labels at hand throughout the work.
1. Inspect, Condition, and Dry-Fit the Panel
Inspect the sheet for edge cracks, scratches, coating damage, and incorrect sizes. Let it adjust to the installation setting as its supplier directs. Avoid bringing a cold panel straight into a warm assembly and immediately trapping its edges.
Dry-fit the panel without glue or exposed tape. Mark alignment references on removable protection or the surrounding support, and verify the fixing locations. Allow the listed space at edges, joints, and holes before committing the final position.
For adjacent panels, plan the whole layout first. Check the joint spacing and edge support together; a neat joint that prevents expansion can create a mounting problem later. Never force an oversized panel into a frame.
2. Apply the Approved Bonding System
Prepare both bonding surfaces using the products and method listed for them. Keep cleaning liquids away from areas their instructions do not cover. A cleaner that suits the board may damage the mirror backcoat.
Apply the glue in its approved pattern and amount. Do not combine one supplier’s full-coverage instruction with another glue’s bead pattern. Thickness, airflow, how porous the base is, and curing chemistry can change what the glue requires.
For tape, follow the supplier’s contact-area, pressure, and surface-preparation instructions. Avoid treating a few corner pads as a universal mounting solution. Peel the release liner in a controlled sequence so the panel cannot grab before you align it.
Hypothetical example: Morgan’s sign prototype.
Morgan is preparing 12 mirrored display signs and starts with one offcut bonded to the intended painted board. The trial shows a visible change around the glue contact area. They stop before bonding the finished signs and ask for an approved alternative. This fictional example illustrates why testing belongs before production; it does not describe a JRT customer or measured product result.
3. Align and Support the Bond
Bring the panel into position without sliding its backcoat across a rough surface. Keep the panel flat as you apply the pressure required by the bonding system. Don’t use the mirror to bridge a raised joint or press it into a hollow.
Use the listed cure support or bracing throughout the required cure period. Initial tack is not full strength, and a surface skin does not establish that an entire glue bead has cured. Temperature, humidity, and bond shape can affect the schedule.
Do not assume tape can serve as a cure support for a separate glue unless the complete arrangement is approved. Keep people away from an unsupported or partially secured panel. Release bracing only when the installation instructions permit it.
4. Install Mechanical Fixings Without Pinching
If the approved design uses screws, drill on a flat, sacrificial backing and support the sheet near the hole. Use the listed hole diameter and edge distance. United States Plastic’s guidance calls for oversized holes and warns that overtightening causes dimpling and distortion.
Use the washers, bushings, and anchors listed for the assembly. Keep screws from crushing the sheet or stopping it from moving. Don’t countersink the acrylic or improvise a tight metal-to-plastic clamp unless the system expressly permits it.
For a frame, verify edge engagement and movement space before closing the retaining sections. Fix the frame securely to the wall or other planned support. A frame is not automatically adequate just because it surrounds the panel.
5. Inspect Before the Final Reveal
When checking how to install acrylic mirror sheet correctly, inspect the whole assembly before you remove the face film.
Check that the support is secure and flat.
Check the fixings and panel edges against the plan.
Confirm that joints and edges have the listed movement space.
Check the panel position from the intended viewing area.
When the instructions permit, remove the face film carefully and inspect from the intended viewing position. Avoid sharp tools on the visible surface.
Record the material, bonding products, installation date, and any maintenance instructions. These details help diagnose a later change without guessing which glue or mirror grade was used.
Fix Distortion and Clean the Finished Mirror
Acrylic mirror distortion can come from uneven support, thick glue ridges, tight fixings, or trapped edges. Inspect the assembly rather than immediately blaming sheet thickness. Better preparation may reduce distortion, but cannot guarantee glass-like optical performance in every installation.
What you see
What to investigate
Practical response
A broad wave
Bowed backing or uneven wall support
Check the supporting assembly for flatness
Local dimples
Tight fixings or isolated pressure
Have the installer assess the restraint and washer arrangement
Ridges near glue paths
Uneven bond thickness or an unsuitable application
Refer to the bonding instructions and discuss controlled rework
A change as temperatures vary
Trapped edges or insufficient movement allowance
Ask the supplier to review the layout and clearances
Dark marks or damaged reflective areas
Backcoat scratches or chemical damage
Seek a coating assessment; face cleaning will not repair rear damage
Secure the panel before altering any fixing. Never push or roll a fully cured assembly to flatten it, and don’t add screws through a bonded panel as an improvised repair. Controlled removal or replacement may be necessary.
Clean With Materials Approved for the Grade
Use a clean, soft cloth with water or neutral detergent, following JRT’s published mirror care instructions. Avoid alcohol, organic solvents, abrasive cleaners, and aggressive scrubbing. Remove loose grit before wiping so it cannot scratch the surface.
Don’t assume a household glass cleaner suits acrylic. Likewise, check whether a coating permits a particular plastic polish before using it. Rear coating damage and surface scratches need different assessments.
Acrylic Mirror Installation FAQs
Can I Glue Acrylic Mirror Directly to a Wall?
Only when the wall is flat and sound, and the glue system is approved for that surface. Textured finishes, weak paint, and uneven joints require preparation or a separate support. Glue does not level the wall for you.
Which Adhesive Can I Use?
Use a glue approved for the exact mirror backcoat, base, and service setting. Obtain the application and cure instructions before starting. A glass-mirror glue is not automatically an approved acrylic mirror adhesive.
Can I Drill and Screw an Acrylic Mirror?
Yes, where the selected grade and fixing design permit it. Prepare supported holes with the listed clearances and use suitable washers. Tight screws should not be used to pull a curved panel flat.
How Do I Cut an Acrylic Sheet Mirror?
Use the mirror supplier’s cutting guidance or request fabrication before installation. Choose a blade or tool suitable for the sheet thickness and protect both faces. Do not assume scoring and snapping works for every thickness or shape.
Why Is My Acrylic Mirror Reflection Wavy?
Acrylic mirror distortion can occur when a flexible panel follows a bump or bends under fixing pressure. Check the backing, glue spread, fixings, and edge clearances. Evaluate the reflection from the distance at which the mirror will be used.
Can I Use This Method on a Ceiling or in a Wet Area?
Those uses need their own mounting design and suitable material grade. Do not extend this wall-panel method to overhead glue-only mounting. Wet areas also require confirmation of the backcoat, base, glue, and any edge treatment.
Check the Installation Before You Finish
A successful acrylic mirror installation starts before the glue cartridge opens. Confirm the material grade, check the support for flatness, and choose a fixing system that retains the panel while allowing the required movement. Keep both the face and rear coating protected throughout handling.
Before you sign off the work, check that cure supports stayed in place for the listed cure time. Inspect the edges and fixings, then view the reflection from the intended position. If something looks wrong, assess the cause before applying more pressure or changing the restraint.
Keep the product details and installation records with the project file. If you need material or fabrication details confirmed, Send JRT your installation requirements, including the panel sizes, selected grade, base, setting, and proposed mounting method.
Knowing how to install acrylic mirror sheet means checking the whole assembly: a flat support, approved bonding materials, secure fixings, and space for movement. Resolve those details before the panel is fixed in place.
Introdução As chapas acrílicas, apreciadas pela sua clareza ótica (transmissão de luz 92%) e versatilidade, estão a revolucionar as indústrias, desde a aeroespacial à dos cuidados de saúde. Com um mercado global esperado...
Introdução As folhas de cloreto de polivinilo (PVC) são um elemento básico na construção, nos cuidados de saúde e na eletrónica devido à sua durabilidade, resistência química e eficácia em termos de custos. Com o mercado global de PVC...
Em aplicações onde a segurança, a beleza e a durabilidade são essenciais, há um material que se destaca: a chapa acrílica retardadora de chama. Para projectos em edifícios, transportes públicos ou edifícios de...
Quem já se informou sobre o custo da instalação de um espelho que ocupa toda a parede sabe quais são as desvantagens associadas ao vidro: o peso, a equipa de instalação, a responsabilidade civil caso...