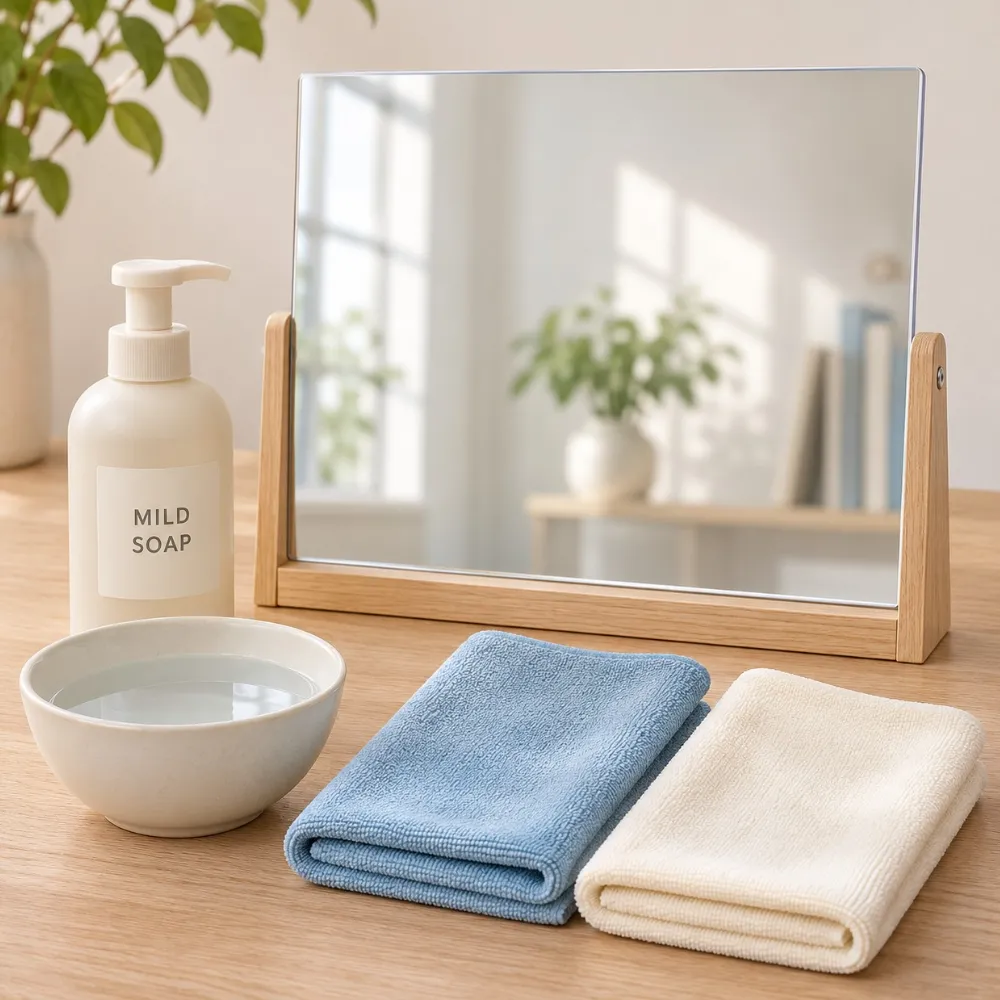
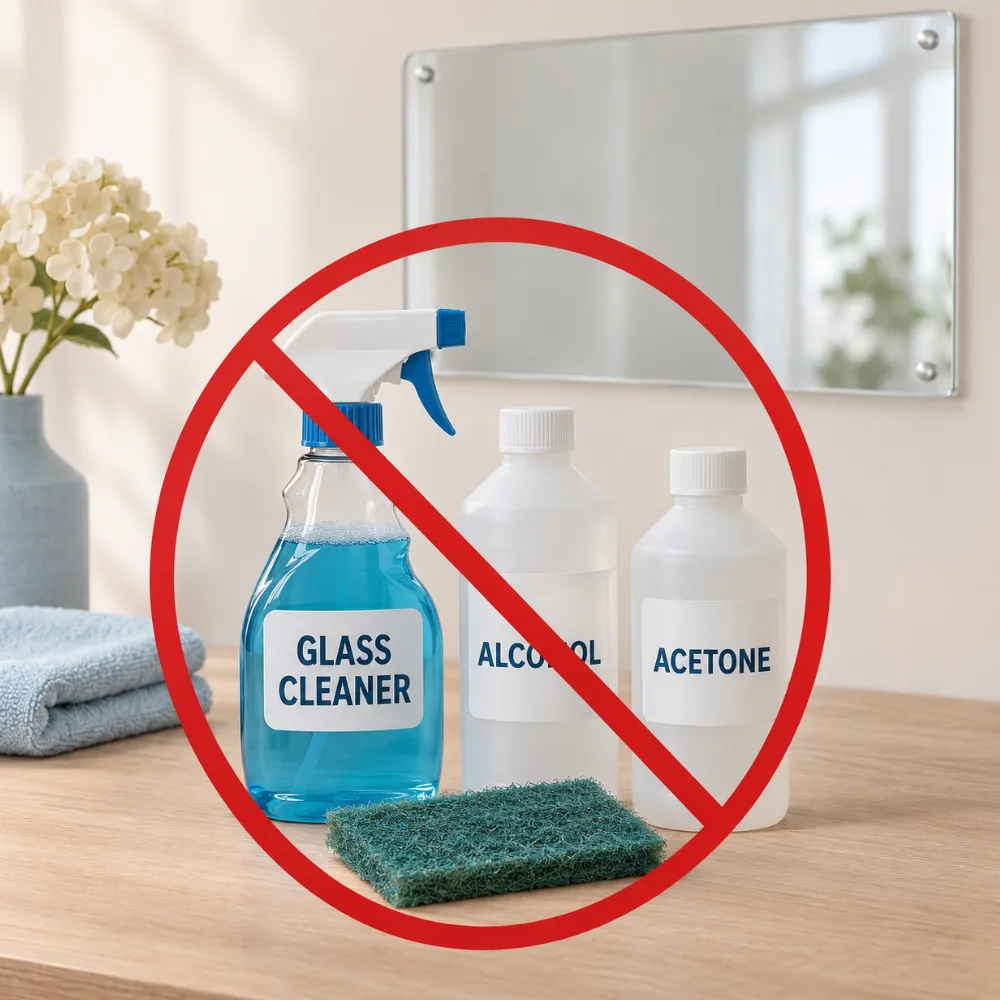
Clean an ordinary acrylic mirror’s approved viewing face with mild soapy water and a clean, soft, lint-free cloth. Use light pressure, remove soap with a fresh damp cloth, and gently blot away moisture; avoid glass-cleaning sprays, alcohol, and abrasive tools unless the mirror manufacturer explicitly approves them.
Knowing how to clean acrylic mirror starts with checking the surface you’re touching. A mirror can look like glass while presenting a plastic face or an exposed reflective coating, each with different care requirements.
Consider this hypothetical example: Alex is preparing a small retail display before opening. They find fingerprints on three mirror panels and reach for the window spray used on the shop door. Checking the material label first would change the next step: set that bottle aside, identify the mirror grade, and prepare the approved mild cleaner. The goal is to remove fingerprints without turning a quick tidy-up into a repair job.
Below, you’ll find the supplies, six cleaning steps, cleaner restrictions, and clues that tell you when to stop wiping.
Основные выводы
Mild soap, water, and a clean soft cloth are the starting point for an approved ordinary acrylic viewing face.
Dry or gritty cloths can scratch acrylic; use light pressure and replace a dirty cloth promptly.
Alcohol, glass sprays, and abrasive cleaners need explicit product approval, even when a bottle says ammonia-free.
Persistent haze, fine cracks, or reflective-layer damage call for assessment rather than stronger cleaning.
How to Clean Acrylic Mirror: Supplies and Surface Checks
Identify the Mirror Face
Acrylic is polymethyl methacrylate, or PMMA. On a conventional rear-coated acrylic mirror, you view the reflection through the clear plastic face; the reflective layer sits behind it. Cleaning that front face is different from touching a mirror’s exposed reflective film.
First-surface mirrors place the reflective layer at the viewing surface. Two-way mirrors and coated products also require their own instructions. If you don’t know the construction, ask the supplier before applying this routine. Don’t identify the coating by scratching, scraping, or peeling the surface.
For JRT material, check the care section on our mirror acrylic sheet page. It specifies a soft cloth with water or neutral detergent and advises against alcohol and organic solvents. Confirm any additional instructions supplied with your particular order.
Set Out Clean Supplies
Prepare two or more soft, lint-free cloths, clean lukewarm water, and a mild, nonabrasive soap or neutral detergent approved for the surface. A clean microfiber cloth can be suitable, but its condition matters as much as its label. Keep the washing cloth separate from the cloth used to remove moisture.
Don’t reuse a rag from polishing metal, cleaning windows, or wiping a workbench. Trapped particles and leftover chemicals defeat the purpose of choosing a gentle cleaner. Remove hard labels or rough stitched edges from contact with the mirror.
If the panel still has factory masking, follow its removal instructions first. Temporary protective film is different from a permanent functional coating; never peel an unidentified layer because the reflection looks dull.
How to Clean Acrylic Mirrors in Six Steps
The following sequence applies after you’ve confirmed that the ordinary acrylic viewing face accepts mild soap and water. It doesn’t cover an exposed reflective coating, an unidentified finish, or cleaning the back of a mirror.
Check the panel and its support.
Lift loose dirt with a clean damp cloth.
Prepare the approved mild cleaning solution.
Test a small area if the manufacturer requires it.
Wipe lightly and remove the soap.
Blot moisture and inspect the reflection.
1. Inspect the Panel and Its Support
Check for grit, loose edges, existing cracks, and areas where the reflective finish appears damaged. Make sure a mounted mirror is secure before touching it. If a panel shifts or flexes noticeably under light contact, stop and address the support rather than pressing harder.
For a loose sheet, follow the supplier’s handling instructions and keep its backing protected. Don’t place the reflective back against a dirty bench or improvise clamps to hold it still.
2. Lift Loose Dirt Gently
Use a clean, soft cloth lightly dampened with water to pick up loose dust. Work gently and change to a clean section as dirt collects. Don’t drag visible grit across the reflection or use a dry cloth to scrub it away.
ACRYLITE’s acrylic care guidance warns that dry or gritty cloths can scratch acrylic and create static. Its advice concerns acrylic sheet; it doesn’t establish cleaner compatibility for a mirror’s backing or special coating.
3. Prepare a Mild Cleaning Solution
Mix the approved mild soap or neutral detergent with lukewarm water according to its instructions. Avoid concentrated cleaner and excessive foam. There isn’t one dilution ratio that applies to every detergent formulation and mirror grade.
Dampen the cloth and wring it out so it isn’t dripping. For an installed mirror, applying liquid to the cloth gives you control over where it goes. Keep liquid from pooling around seams, cut edges, fixings, and the back of the panel.
4. Check a Small Approved Area
If the care instructions call for a test, choose a small, inconspicuous part of the acrylic face. Apply the approved solution gently, remove it as directed, and inspect the surface. Stop if you see a change in clarity, finish, or color.
A patch test doesn’t make an unapproved chemical safe. It also cannot establish that repeated exposure will be harmless. When product compatibility is unknown, get confirmation before testing stronger cleaners.
5. Wipe Lightly and Remove Soap
Clean in small sections with gentle strokes. Let the damp cloth lift fingerprints and ordinary dirt; don’t lean on the sheet or keep rubbing one stubborn mark. Fold or replace the cloth when its working face becomes dirty.
Use a separate cloth dampened with clean water to remove the soap. Repeat with fresh water if residue remains, while keeping the surface only lightly wet. Don’t soak the mirror, rinse the entire installation with a hose, or scrub the rear coating.
6. Blot Moisture and Inspect
Gently blot remaining moisture with a fresh soft cloth or suitable chamois, following the supplier’s guidance. Avoid vigorous dry buffing. Inspect the reflection from more than one angle once the face is dry.
If a visible smear improves after removing soap, finish that rinse carefully. If haze or lines remain unchanged, stop the cleaning cycle and use the troubleshooting checks below. Repeated wiping isn’t a test of whether damage can be repaired.
Which Acrylic Mirror Cleaners Should You Avoid?
Choose an acrylic mirror cleaner by its compatibility with the exact surface and grade. A label such as “for plastics,” “natural,” or “ammonia-free” doesn’t establish suitability for every mirror coating.
Cleaner or tool
Practical choice for an ordinary acrylic mirror
Mild soap or neutral detergent with water
Use when the mirror’s care instructions permit it.
Dedicated acrylic cleaner
Confirm approval for the mirror grade and any coating, not just clear plastic.
Window sprays and ammonia-based glass cleaners
Avoid without explicit product approval.
Rubbing alcohol, acetone, or solvent removers
Don’t use as a general cleaning or sticker-removal method.
Vinegar mixtures
Don’t improvise a recipe without the supplier’s approval.
Scouring pads, melamine foam, toothpaste, or abrasive powders
Keep out of the routine cleaning kit.
Why Ammonia-Free Isn’t Enough
Removing ammonia from a formula doesn’t tell you whether its remaining ingredients suit acrylic, a hardcoat, or reflective film. Windex and other cleaner brands include different products, so a brand name alone isn’t a compatibility specification.
Coated acrylic can have different chemical resistance from uncoated acrylic. Even a cleaner approved for a coated front may be unsuitable for an uncoated edge or reverse face. Check the permitted surface, application method, and product formulation together.
What About Sticky Residue or Graffiti?
Stop before trying nail-polish remover, alcohol, a citrus solvent, or a scraping blade. Adhesive, paint, and marker removal may need a different procedure from ordinary cleaning, with approval for the mirror’s layers and finish.
Tell the supplier what caused the mark, what you’ve already applied, and whether the face is printed or coated. Don’t mix cleaners or move through a list of solvents until something dissolves the stain. The same treatment could affect material you need to preserve.
Troubleshooting Streaks, Cloudiness, and Scratches
Appearance gives you clues, but it cannot confirm the cause of a damaged reflection. Start with the least aggressive explanation and stop if a careful clean doesn’t change the mark.
Streaks That Move or Smear
A mark that shifts during wiping can be leftover soap, transferred dirt, or cleaner residue. Try a fresh cloth dampened with clean water and remove moisture gently. Check that your rinse cloth hasn’t picked up soap from the washing cloth.
Don’t add more detergent to chase a film left by detergent. If one careful rinse doesn’t help, reassess the surface instead of repeating the same cycle.
Haze, Fine Lines, or Cracks
Fine scratches can scatter light and make the face look cloudy. Chemical damage can also produce small surface cracks called crazing, as described in the ACRYLITE care guidance. Neither condition is ordinary dirt that stronger cleaner will wash away.
Here is a second hypothetical example: Morgan maintains a display with four mirrored panels. After gently cleaning one panel and removing the soap, they still see fine lines under angled light. The appropriate outcome is to stop, record the cleaner used, and send the supplier photographs. Rubbing all four panels harder would add exposure without establishing what caused the lines.
Can Plastic Polish Remove the Scratches?
Cut My’s acrylic mirror care advice describes using plastic polish for minor scratches according to the polish instructions. Treat that as conditional supplier advice, not permission to polish every mirror.
Ask whether your exact grade has an uncoated acrylic front that permits the proposed polish. Don’t polish an exposed reflective layer, printed surface, or unknown hardcoat. Sanding, abrasive compounds, and powered buffing belong outside this routine; no cleaner can replace missing reflective material.
Dark Patches or a Wavy Reflection
Dark or missing reflective areas can indicate a problem beyond surface dirt. Waviness may relate to the panel or its mounting rather than contamination. Photograph these symptoms without removing the installation or disturbing the backing, then ask the supplier or installer to assess them.
Keep Acrylic Mirrors Cleaner Between Wipes
Inspect according to use and visible dirt rather than following an arbitrary cleaning calendar. A handled retail display and an untouched decorative panel have different needs. Avoid unnecessary rubbing when the face is already clean.
Store the approved cleaner and dedicated cloths together, away from general glass sprays. Launder cloths according to their instructions and check them for grit before each use. Replace a cloth that has touched the floor or another work surface.
For a shop or exhibition team, leave a short care note identifying the material, approved product, method, and contact for unresolved marks. Include the stop conditions: persistent haze, cracks, loose mounting, or suspected coating damage. New staff shouldn’t have to guess which bottle belongs with the display.
When selecting replacement material, review the acrylic sheet range and ask for care requirements alongside the finish and mounting details. A product described as scratch-resistant still needs its own cleaning instructions; the description alone doesn’t establish resistance to a particular solvent or cleaning tool.
Acrylic Mirror Cleaning FAQ
Can You Use Windex on Acrylic Mirror?
Don’t use Windex or another glass-cleaning spray unless the mirror manufacturer approves the exact formulation for your grade. Ammonia-free wording alone is insufficient. For JRT’s listed mirror acrylic, follow its water or neutral-detergent guidance instead.
Can You Use Rubbing Alcohol?
Avoid rubbing alcohol as a general method for cleaning acrylic mirrors. JRT’s mirror care instructions advise against alcohol and organic solvents. A different manufacturer’s allowance for a particular coating doesn’t transfer to an unidentified mirror or a JRT grade.
Can You Use Vinegar?
Use mild soap and water where approved instead of an improvised vinegar mixture. JRT’s listed instructions don’t establish vinegar compatibility. That absence doesn’t prove every vinegar concentration damages every acrylic product; it means you shouldn’t assume approval for your mirror.
How Do You Clean Cloudy Acrylic Mirror?
Try the approved gentle cleaning and soap-removal method first. If the haze stays after the face is clean and dry, stop. Fine scratches, chemical damage, or a reflective-layer problem need assessment; adding stronger cleaners won’t establish the cause.
How Do You Remove Scratches From Acrylic Mirror?
Ask the supplier whether the exact front surface permits a specified plastic polish for minor scratches. Don’t start with sanding, toothpaste, or a powered buffer. Deep scratches, crazing, damaged coatings, and lost reflective material require a different decision from routine cleaning.
A Simple Routine for Your Next Clean
Before touching the mirror, identify the material and the face you plan to clean. Set out fresh soft cloths, check the approved cleaner, and make sure the panel is secure. Those checks matter more than buying a stronger bottle.
Use light pressure, keep grit off the cloth, remove soap with clean water, and blot moisture gently. Keep the liquid under control rather than flooding the installation. When a mark remains unchanged, pause and document it; cleaning and repairing a mirror are separate jobs.
For JRT material, ask our team about your mirror grade with the order reference, a photograph, and the cleaner name. Mention any coating, printing, or exposed edges so the question addresses the finished panel as well as the acrylic.
Once you know how to clean acrylic mirror for your particular grade, keep those instructions with the display. The next person caring for it should have the same approved method and a clear reason to stop when a mark needs assessment.
Введение Акриловые листы, ценящиеся за свою оптическую чистоту (светопропускание 92%) и универсальность, совершают революцию в различных отраслях промышленности - от аэрокосмической до здравоохранения. Ожидается, что мировой рынок...
Введение Поливинилхлоридные (ПВХ) листы являются основным материалом в строительстве, здравоохранении и электронике благодаря своей долговечности, химической стойкости и экономичности. В условиях глобального рынка ПВХ...
Там, где важны безопасность, красота и долговечность, один материал стоит особняком: огнестойкий акриловый лист. Для проектов в зданиях, общественном транспорте или элитных...
Любой, кто когда-нибудь рассчитывал стоимость установки зеркала, занимающего всю стену, знает, с какими трудностями связано использование стекла: вес, необходимость привлечения монтажной бригады, ответственность в случае, если оно...