


アクリルシートの用途イノベーションと業界の変革
導入 光学明快さ(92%光通信)および多様性のために珍重されるアクリルシートは航空宇宙からヘルスケアに産業に革命をもたらしている。予想される世界市場...
To polish acrylic edges, prepare a flat edge, remove cutting marks with a suitable abrasive sequence, and finish with a compatible polish. When deciding how to polish acrylic edges, check the sheet grade and whether the edge will later be bonded before choosing heat or powered equipment.
A clear edge on a display cover and a prepared edge for a joint have different jobs. If you’ve tried polishing and still see lines, the missing step may be preparation rather than more compound. This guide helps you choose a method, inspect each stage, and specify the finish when asking a fabricator for help.
主なポイント
- Identify the grade, starting edge, and next fabrication step first.
- Remove tool marks before trying to create a gloss finish.
- Use material-specific instructions for abrasives, compounds, and equipment.
- Treat flame polishing as a process that needs stress and bonding review.
- Approve the appearance and dimensions together on a representative sample.
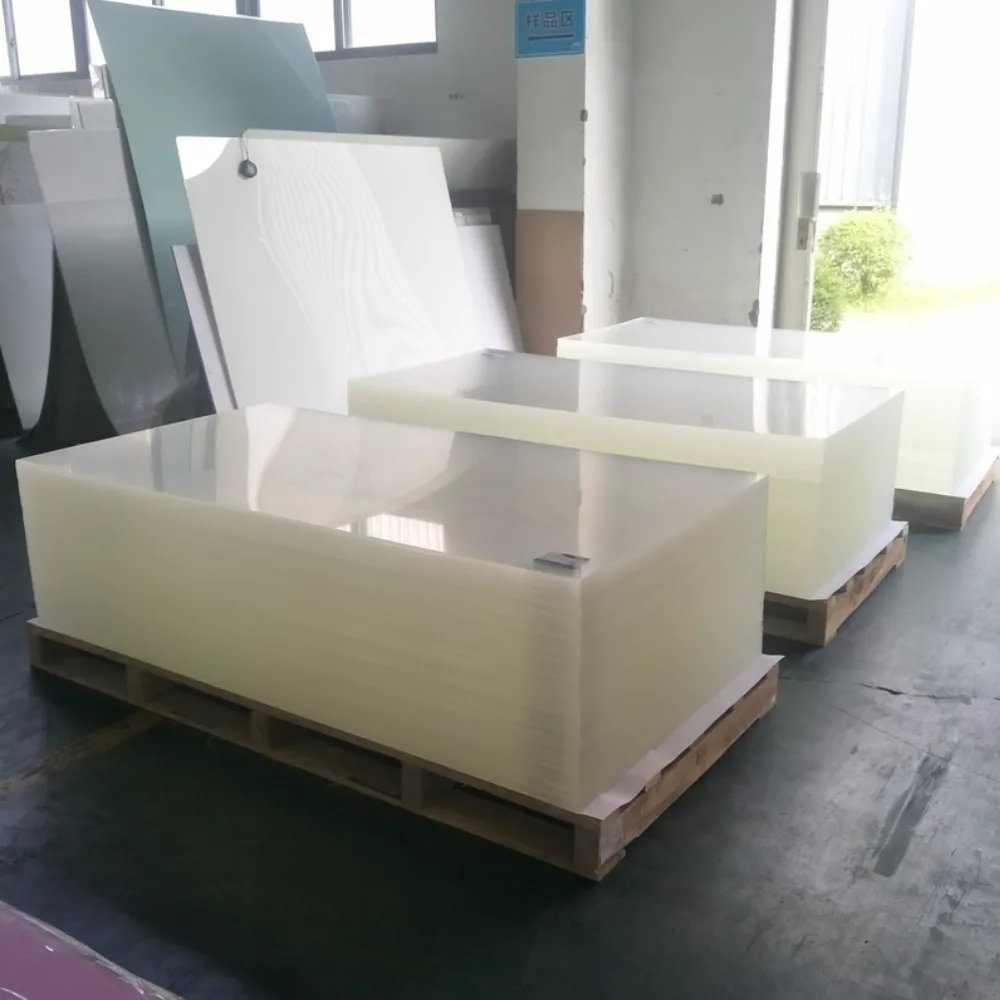
Learning how to polish acrylic edges starts with knowing which edges need finishing. Mark the visible sides on a drawing, and distinguish them from hidden or bonding edges. That helps you avoid spending time on a finish that doesn’t serve the part.
If you are still selecting material, our アクリルシートの選び方ガイド can help organize the purchase requirements. Keep the grade and supplier reference with the drawing. A general label such as clear acrylic is not a full process specification.
Look along the edge under good light. Note saw marks, chips, an uneven cut, or a surface that already meets the intended appearance. Do not assume every cut needs the same amount of preparation.
For how to polish acrylic edges on your own part, use a sample cut from the same material. A sample with a different starting finish cannot tell you much about the work needed on the final edge. Record the tools and materials you use so a useful trial can be repeated.
| Method | Main planning question | What to check on a sample |
|---|---|---|
| Hand preparation and polish | Can you preserve the required edge shape? | Remaining marks, straightness, and gloss |
| Powered buffing | Is the operator trained for the equipment? | Heat effects, edge shape, and residue |
| Diamond finishing | Does the part suit the fabricator’s process? | Finish, geometry, and drawing requirements |
| Flame polishing | Is it suitable for the grade and later operations? | Appearance, stress review, and bonding plan |
Need help defining the finish? Send JRT your drawing and edge requirements, including the grade, dimensions, quantity, and any later bonding. Ask which process and sample checks can be offered for the actual part.
例示シナリオ: A maker plans a clear display cover with exposed front edges and hidden rear joints. Before ordering, the maker marks those two edge groups separately and asks for a sample of the visible finish. This illustrates a planning decision, not a reported customer result.
A useful hand-finishing trial has a clear starting point and a way to judge progress. Gather the material guidance, suitable abrasives, a flat support, and a compatible acrylic polish. Follow the tool and product instructions for protection, workholding, and use.
For a first trial of how to polish acrylic edges, use an offcut you can hold securely. Keep the work supported, protect nearby faces as the process allows, and organize clean materials for each stage. Do not let a small or awkward part turn into a workholding problem.
Before removing material, check the dimensions that must remain. Identify edges that need to stay square and any fit that could change during finishing. If the part is already close to its allowed size, discuss the proposed work before proceeding.
The aim here is an even, prepared edge rather than immediate shine. Choose the preparation route from the guidance for your sheet and its current condition. Scraping, machining, or sanding may form part of that route.
In a how to polish acrylic edges trial, inspect the whole length instead of concentrating only on the easiest area to reach. Mark any remaining defect on the sample record. Do not move to a finer stage simply because one section looks ready.
The ACRYLITE Edge and Surface Finishing brief gives an edge-polishing example using wet sanding through 320, 400, 600, and 800 grit. That is a named manufacturer’s route, not a universal sequence for every acrylic grade. The same brief advises a sanding block for even hand-worked edges and cautions against heat buildup.
When applying how to polish acrylic edges guidance to another supplier’s sheet, confirm that the route is suitable. Do not mix instructions for broad surface scratch repair with instructions for an edge. Those tasks can require different preparation.
Use the specified cleaning or rinsing step between stages, and keep coarse abrasive residue away from the next stage. Inspect for the previous scratch pattern before continuing. If it remains, return to the appropriate preparation step rather than hiding it with more polish.
Use a polish confirmed as compatible with the material and any surface treatment. Follow its label for the applicator, amount, motion, and residue removal. Do not assume that a household cleaner or general metal polish is suitable.
When checking how to polish acrylic edges results, compare the sample in the same light and against the same background each time. Inspect after residue has been removed as instructed. A wet or compound-covered edge is not a reliable final approval sample.
Keep the accepted piece and its process notes together. Write down the grade, starting finish, abrasive route, and polish used. If the trial fails, those notes also help a supplier understand what needs to change.
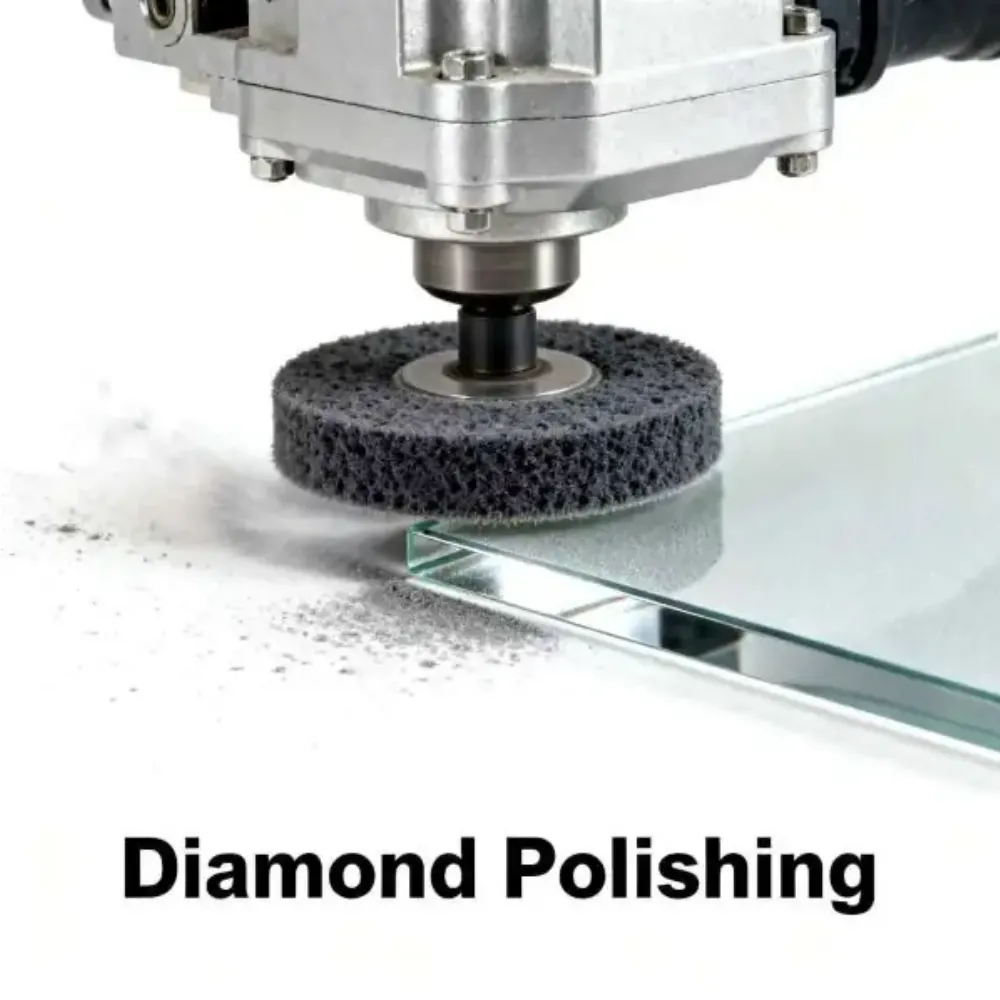
The question of how to polish acrylic edges changes when a powered process is involved. The fabricator must match the equipment, tooling, compound, workholding, and part geometry. A wheel speed copied from another tutorial is not a full setup.
ACRYLITE’s finishing brief warns that excessive buffing heat can introduce stress and lead to crazing. Review that risk with the material instructions instead of judging the process only by its immediate shine. Stop and review the work if the edge changes shape or shows damage.
For how to polish acrylic edges without losing an important fit, ask the fabricator which surfaces and dimensions will be checked. Mark the checks on the drawing. A glossy edge that no longer matches the required geometry is not an acceptable result.
The PERSPEX Design Guide, in its finishing section, describes diamond polishing for straight edges and contrasts its shape retention with rounding from buffing. Use that as a reason to discuss process options. It does not establish that every part or supplier uses the same machine.
For outsourced work, our processing services page provides a route to discuss the drawing and finish. Confirm the offered method and sample requirements rather than inferring a specific machine or tolerance from the service name.
Before choosing how to polish acrylic edges for a bonded part, identify the joining operation. Tell the fabricator which edges will receive adhesive and which will remain exposed. Agree on the process order before making the visible surfaces glossy.
The PERSPEX guide explains that flame polishing can leave highly stressed edges. It calls for annealing when those edges will later be cemented or decorated. This matters even when the edge looks clear immediately after finishing.
Do not turn a how to polish acrylic edges article into a universal torch recipe. The material, operator, equipment, and later operations all need review. Ask for the relevant preparation and stress-relief instructions before selecting flame polishing for the job.
Material instructions may describe different processes. ACRYLITE’s example uses wet sanding, while PERSPEX’s machine-sanding section specifies dry work and its hand surface-repair section describes a wet method. Keep the brand and operation attached to each instruction.
If you’re unsure how to polish acrylic edges for the sheet you bought, ask its supplier to identify the right guidance. Do not average two grit routes or transfer a surface-repair instruction to every edge. Resolve the difference before working on the finished piece.
Record the finishing, bonding, decoration, and inspection order on the job sheet. Where annealing is required, obtain the instructions for the particular material and part. Do not substitute a guessed temperature or an improvised heating schedule.
例示シナリオ: A workshop receives a request for clear edges on a bonded box. The buyer and fabricator separate the visible edges from the joint edges, then confirm the order of finishing and bonding. The example shows how to clarify the job; it makes no claim about bond strength or production savings.

When learning how to polish acrylic edges, a fault is a reason to inspect the previous steps. Repeating the final pass without understanding the defect can waste material. Start with the sample record and compare the actual condition with the acceptance target.
| Observation | Questions to review | Next decision |
|---|---|---|
| Tool marks remain visible | Was the starting edge fully prepared? | Review the preparation stage |
| Edge remains matte | Is it still at an abrasive stage? | Check the planned finishing step |
| Marks reappear after cleaning | Was residue hiding the surface? | Inspect a clean, dry sample |
| Edge is rounded or out of size | Was too much material removed? | Review geometry before more work |
| Local change in shape or appearance | Was the process suitable and controlled? | Stop and ask the fabricator to assess it |
| Cracks appear after a later operation | What material, process, and contact conditions changed? | Isolate the part and review the complete sequence |
These are checks, not diagnoses. A photo alone cannot establish why a particular part failed. Share the grade, process record, and later operations with the supplier rather than assuming every defect has the same cause.
A how to polish acrylic edges trial should have a stopping point. If you cannot preserve the dimensions, identify the grade, or resolve visible damage, pause the work. Ask whether a new sample, a different process, or a replacement part is needed.
Do not keep removing material to chase a defect that may affect the required shape. Compare the time and material needed for rework with a fresh, correctly prepared sample. Make that choice before committing a batch.
Knowing how to polish acrylic edges includes knowing when the finish is ready to approve. Set the viewing conditions and dimensional checks before the sample arrives. That makes the approval useful to both the buyer and the fabricator.
State which edges are visible, the intended appearance, and any limits on rounding or material removal. Include the next operations and the point at which the sample must be inspected. Use photographs as references only when they show the intended condition clearly.
当社の アクリルシートの厚さガイド can help organize the material dimensions. Thickness alone does not define an edge finish. Keep the part geometry and finish requirements on the same drawing revision.
For a repeatable how to polish acrylic edges specification, keep these details together:
例示シナリオ: A sign buyer needs matching visible edges across a batch. The buyer marks the edges on the drawing and approves a representative sample under agreed lighting. This is an example of specification control, not a claim about a completed JRT order.
Before releasing work, confirm that the quote covers the required finish and sample checks. Ask what happens if the material or method changes. The accepted sample should remain linked to the job rather than become an unlabelled piece on a shelf.
Yes, hand preparation and compatible polish or an appropriate mechanical process are options to discuss. Choose the route for the material and desired edge. Flame polishing is not a required final step for every acrylic part.
Use the sheet manufacturer’s guidance and the starting edge condition. The ACRYLITE example above gives one named sequence. It does not prove that every edge needs the same starting grit or that the finest sanding stage is the finished gloss.
Check the specific grade and operation. Guides may distinguish machine sanding, hand work, and surface repair. Keep the method with its source rather than using a general wet-or-dry rule for all acrylic.
Do not assume that appearance confirms bonding readiness. Review the finishing and joining instructions together, including any required stress-relief step. Confirm the sequence with the supplier or fabricator before processing the production parts.
Inspect it against the job requirements. If the appearance and required later operations are already satisfied, discuss whether further finishing serves a purpose. Do not add work simply because a generic checklist includes it.
Send the drawing, material identity, dimensions, quantity, marked edges, desired finish, and later operations. Add sample and packaging requirements. Explain any uncertainty so the supplier can identify what needs review.
The practical answer to how to polish acrylic edges is to match preparation, finishing, and inspection to the sheet and its next use. For your acrylic project, send JRT the drawing and edge-finishing requirements. Confirm the process and sample before approving the production work.
 159月
 159月
 1710月
 2310月