


아크릴 시트의 응용 분야: 혁신과 산업 변화
소개 광학적 선명도(92% 광투과율)와 다용도로 인정받는 아크릴 시트는 항공우주에서 의료에 이르기까지 다양한 산업에 혁신을 일으키고 있습니다. 글로벌 시장이 예상되는 가운데...
Polishing acrylic rod starts with identifying the material, the surface to be finished, and the dimensions that must remain. Choose a process supported by the material and equipment suppliers, try it on a matching sample, and check both appearance and size before repeating it.
A shiny rod can still be the wrong size. If you are trying to clear a cloudy cut end or reduce visible marks, it is easy to focus on gloss alone. This guide to polishing acrylic rod explains how to define the task, choose a suitable route, and judge the result without losing sight of the finished part.
주요 내용
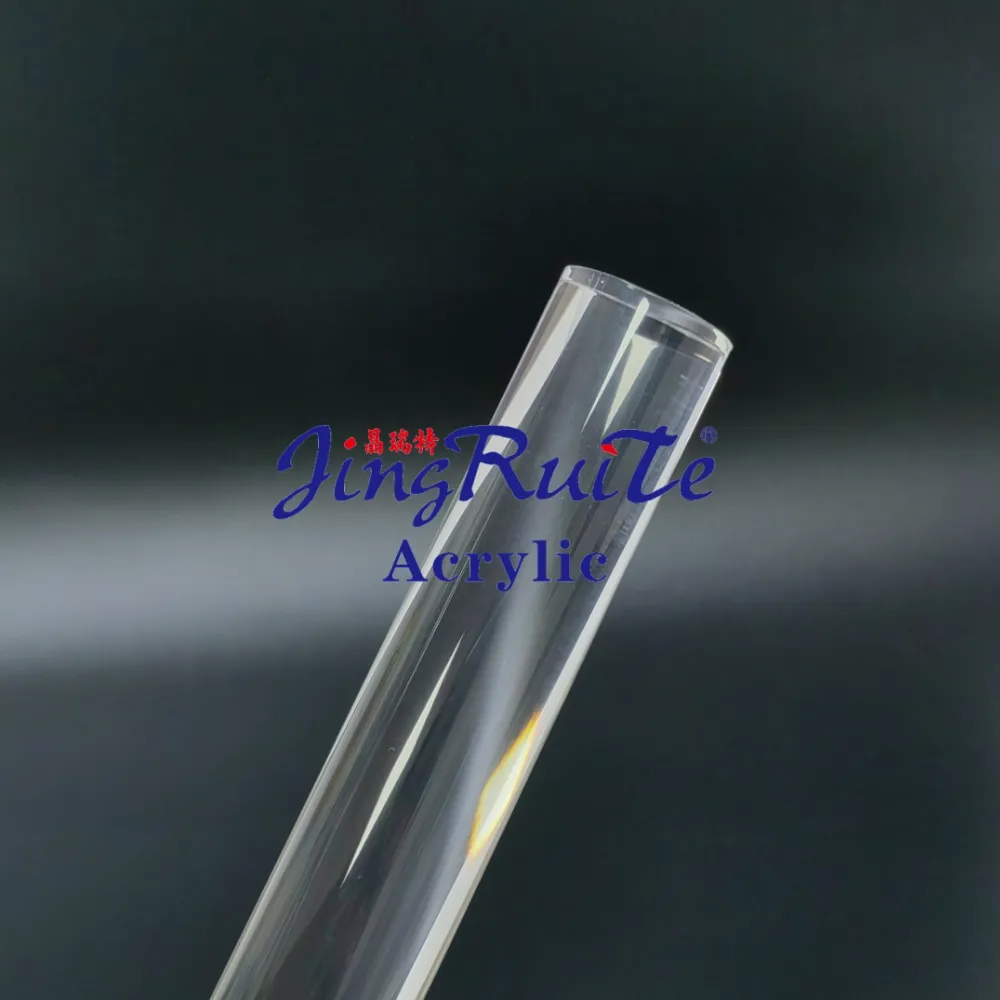
Check the supplier’s material record. Acrylic is commonly identified as polymethyl methacrylate, or PMMA, but a clear appearance does not prove the identity of a plastic. Record the grade, manufacturing route, and any coating on the area you intend to work.
Review JRT’s acrylic rod options when discussing the stock. Ask for the information needed for your part. A broad product description does not establish a particular finishing process or guarantee an optical result.
Before polishing acrylic rod, make sure the requirement is clear to the person doing the work. “Make it transparent” may describe the desired look, but it says little about the area to be treated or the size that must be retained.
Mark the intended finishing area on a sketch. Is the task a cut end that remains on display, a side surface with handling marks, or both? Include any shoulder, mounting area, or section that must remain untouched.
그리고 acrylic rod buying guide can help frame the sizing discussion. Keep the finishing plan tied to the actual drawing and material rather than an assumed standard rod size.
Need help defining the material requirement? Send JRT your rod dimensions and finish drawing, including the surface to be treated, quantity, and intended use, and ask which options can be reviewed.
예시 시나리오: A display maker wants bright ends on a row of clear supports. While planning polishing acrylic rod, they realize the drawing gives the final length but no allowance for later end work. They clarify the finished length and appearance before asking for a sample.
Specify what will be checked and who will approve it. Length, diameter, end squareness, and visible finish are separate requirements. A sample can show the desired look. Keep it with the drawing so both appearance and size are clear.
Before polishing acrylic rod, look at the starting surface under suitable lighting. Record whether you see light marks, deeper machining lines, residue, or damage whose cause is uncertain. Do not assume all dullness calls for the same treatment.
ACRYLITE’s edge and surface finishing guide distinguishes polishing from sanding and explains that some shallow marks may be polished without prior sanding. It also discusses heat and material compatibility. Its main subject is sheet, so these are useful selection principles rather than a complete process for round stock.
When planning polishing acrylic rod, ask what the chosen method will do to both the marks and the part geometry. A process that suits a broad flat edge may not suit a narrow round end or a curved side.
| Route to discuss | Confirm first | Main question for the trial |
|---|---|---|
| Compatible polish for light marks | Material, coating, and product instructions | Does the finish improve without unwanted changes? |
| Sanding followed by polishing | Starting condition and permitted abrasive process | Can the required shape and size be retained? |
| Specialist mechanical finishing | Tooling, workholding, and acceptance requirements | Does the sample meet both drawing and finish needs? |
Do not treat the table as approval for a specific setup. The material, consumables, equipment, and way of holding the rod must be considered together. If those details are unresolved, ask for a process review before starting.
Small parts, close fits, and demanding optical uses need more than a general polishing recipe. Ask the processor to explain which requirements can be confirmed and how the part will be inspected. Do not infer capability from the presence of polishing in a general service list.
The PLEXIGLAS sanding and polishing guide is another first-party reference for surface finishing. Its sheet and edge examples provide background; they do not approve every rod diameter or fixture. Keep that boundary in mind when comparing advice on polishing acrylic rod.
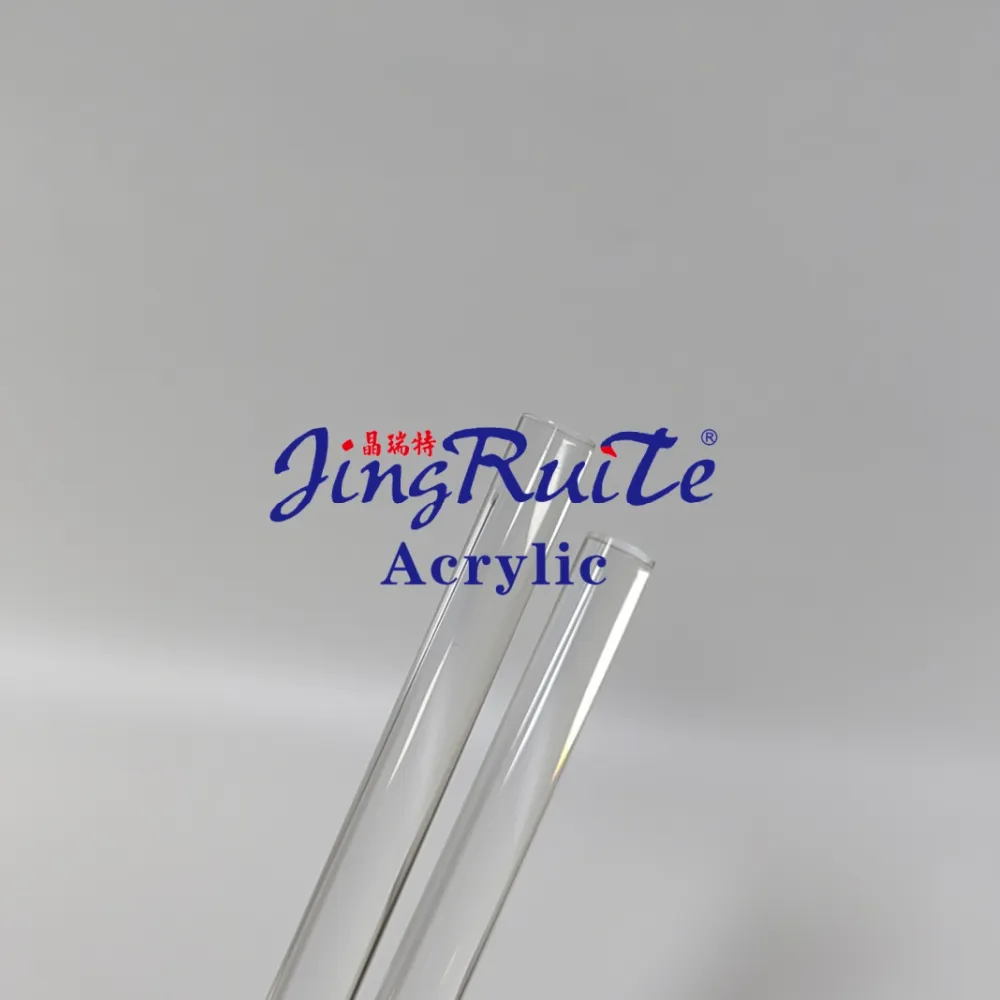
Check the end before choosing how much finishing to do. A deep saw mark or an uneven face may need a different preparation stage from a faint scratch on an otherwise acceptable surface. Record the condition so the trial has a clear starting point.
Use the guide to cutting acrylic rod if the cutting plan is still unresolved. Polishing acrylic rod should not become an attempt to hide an unaccepted cut. Confirm the required end geometry before chasing a brighter appearance.
Measure the features relevant to the drawing, using the agreed inspection method. Mark the reference end or location where needed. Note whether the part is a rough blank or already at its final size.
This matters especially when polishing acrylic rod for a sliding fit or a fixed-length spacer. Surface work may remove material, so the allowed change must be part of the plan. There is no universal removal allowance that can be assigned to every rod and method.
Use cleaning products permitted for the actual material and surface. The ACRYLITE guide warns that incompatible materials can cause damage; a familiar household product is not automatically appropriate. Check the polish, cleaner, and any fixture-contact material before use.
Confirm how the rod will be supported and controlled throughout the chosen operation. Follow the equipment maker’s instructions and guarding requirements. Do not improvise by holding a small rod against a rotating wheel or wrapping abrasive around powered rotating stock.
Before polishing acrylic rod, work through this preparation check:
Use a sample that represents the grade, size, surface, and intended process. State any differences from the final part. A large flat scrap may be convenient, but it does not establish how a small round component can be held or finished.
예시 시나리오: A model builder notices light marks on a clear rod. Before polishing acrylic rod along its full length, they arrange a trial on matching material. The question is whether the selected treatment is needed and suitable, rather than whether a coarser abrasive can remove marks quickly.
Use the material, abrasive, polish, and equipment instructions to define the steps. Do not combine grit numbers from unrelated sheet examples into a universal rod sequence. The starting condition and required finish must guide the choice.
For powered work, confirm the controls for heat, pressure, and workholding with the equipment supplier. This guide gives no general RPM, contact time, or pressure setting. Stop if the part moves unexpectedly or the process becomes unstable, and follow the instructions for stopping and isolating the equipment before inspection.
When polishing acrylic rod in stages, clean and inspect as the chosen process allows. Use consistent lighting and viewing conditions so a change in illumination is not mistaken for a change in finish. Record the dimensions at the agreed points as well as visible marks.
| Trial record | What to note |
|---|---|
| Part identity | Grade, size, and starting condition |
| 프로세스 | Products, tooling, and approved instructions |
| 외관 | Remaining marks and any new defects |
| 기하학 | Measurements required by the drawing |
| Decision | Continue, revise the plan, or hold for review |
A written record helps when comparing samples or asking a processor for advice. It is also useful if the first part looks acceptable but the next one differs. Do not assume a single bright sample establishes a repeatable process.
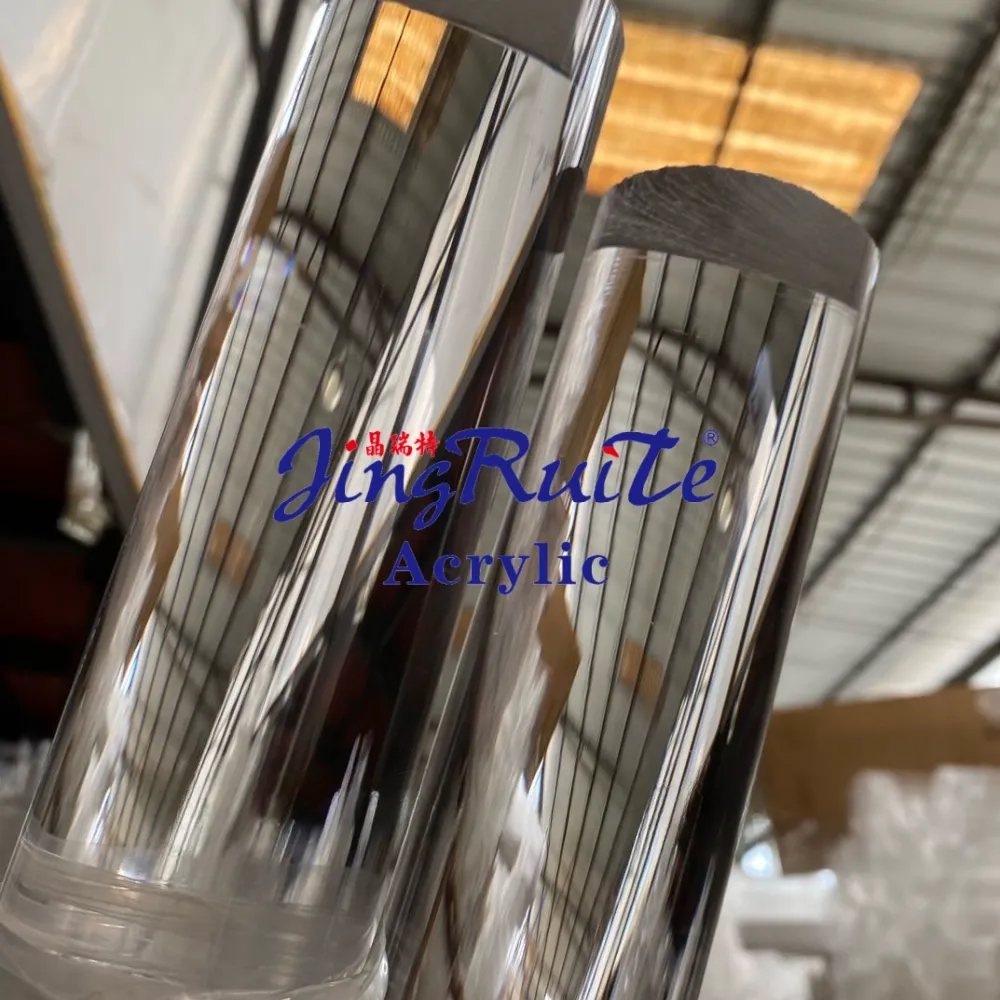
If a sample remains hazy, record what you can see after the permitted cleaning step. Are the original marks still present, or has a new pattern appeared? Keep the sample and process notes. One photo cannot prove the cause.
When troubleshooting polishing acrylic rod, avoid changing several products and settings without a plan. Ask the material or finishing supplier which checks are relevant. A useful report describes the starting surface, the treatment, and what changed.
Rounded corners, uneven ends, or changes to the curved profile need a dimensional review. Compare the sample with the drawing and the starting measurements. Continuing to polish for more shine does not establish that the geometry will recover.
| Observation | Review | Next step |
|---|---|---|
| Remaining haze or marks | Starting damage, cleaning, and chosen process | Ask whether the preparation or method needs revision |
| Rounded or uneven end | Reference, support, and measurements | Hold the part for dimensional review |
| New visible cracks or distortion | Material, heat exposure, and compatibility | Stop repeating the process and seek assessment |
Treat this as a review checklist, not a diagnosis of an unseen part. Polishing acrylic rod is not a guarantee that deep damage can be removed while retaining the original size. Some parts may need another fabrication route or replacement.
ACRYLITE’s guide links excessive finishing heat with stress and possible crazing. It also calls for compatible materials. Use those cautions to frame a supplier discussion if a trial develops damage; do not turn them into a universal repair instruction.
Flame treatment, solvent polishing, and annealing are separate process decisions. This guide does not provide a torch technique, solvent recipe, or heat-treatment schedule. Get guidance for the actual grade and part instead of trying another treatment to hide a failed trial.
For repeat work involving polishing acrylic rod, describe the finish in a way both parties can assess. An agreed sample can help show the desired appearance, while the drawing defines the dimensions. Record the viewing conditions and any areas excluded from the appearance requirement.
예시 시나리오: An assembler receives a bright rod that does not fit its mating part as required. The review of polishing acrylic rod returns to the specified diameter and inspection result. The next request concerns fit and finish together, rather than a still brighter surface.
Tell the processor whether any surface will later be bonded. The preparation required by an adhesive system may differ from a display finish. Confirm the bonding-area requirements with the material and adhesive suppliers before finishing that region.
Do not assume polishing acrylic rod is the last step for every application. Define the sequence of later operations and protect the accepted surfaces as that process requires. An attractive appearance does not establish a load rating, optical specification, or approval for a regulated use.
A clear request for polishing acrylic rod should include:
Ready to discuss the rod requirements? Contact JRT with your dimensions and finish drawing and ask which material and processing options can be reviewed. A defined surface, measured sample, and clear acceptance criteria give that discussion a practical starting point.
Hand work may be an option when the material and product instructions support it and the part can be controlled. For polishing acrylic rod ends, first define the required shape and length. A hand method still needs a suitable support and an inspection plan.
No. Assess the starting marks and consult the material guidance. Some shallow marks may not need prior sanding, while deeper damage can require a different preparation process. Avoid removing an acceptable surface without a reason.
There is no single sequence for every rod, mark, and finish. Choose the abrasive plan from guidance for the actual material and process, then evaluate a sample. Sheet examples do not establish universal settings for polishing acrylic rod.
Do not treat it as an automatic substitute. Heat-based finishing needs its own material and process review, including later operations. A general edge-polishing example does not approve a torch process for a round part.
The process may remove material, so check the dimensions that matter to the drawing. When planning polishing acrylic rod for a fit, agree on acceptable dimensional change and measurement points before starting. Gloss alone does not confirm the fit. Check the size again before accepting the part.
Confirm that surface preparation with the adhesive and material suppliers first. A bright display finish is not automatically the required bonding condition. Mark the bonding area on the drawing and include it in the process review.
 159월
 159월
 1710월
 2310월