


アクリルシートの用途イノベーションと業界の変革
導入 光学明快さ(92%光通信)および多様性のために珍重されるアクリルシートは航空宇宙からヘルスケアに産業に革命をもたらしている。予想される世界市場...
Choose acrylic tube for lighting by deciding how much of the light source should show, checking the fit around the LED assembly, and comparing samples with the actual LEDs. Use the tube grade and the LED module documents to check the limits of your design.
Imagine approving a milky tube under showroom lighting, then seeing every LED dot once the strip is inside. An unlit sample can tell you how the material looks during the day. When choosing アクリル管 for lighting, compare the finishes under power first. Carry the results into the drawing you send for a quote.
Key takeaways
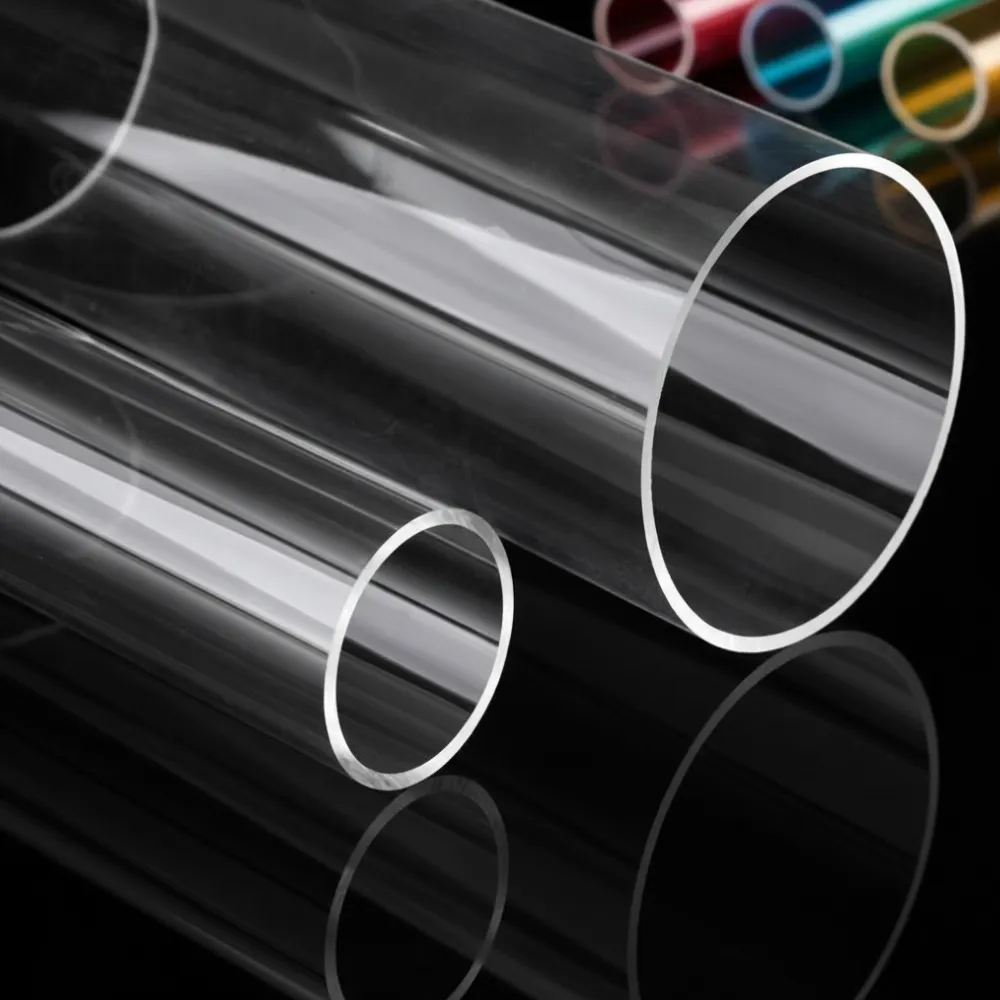
Start by describing the role of the acrylic tube for lighting in one sentence. A clear cover can leave the strip and supports visible. A diffuser is selected to change how the source appears through the wall. If the design uses a solid guide lit from one end, ask how the source connects to the guide and what data supports the layout.
Sketch what a person should see from the normal viewing position. Include the ends if the tube hangs where people can see it from below. For a display close to eye level, add the side view and any nearby surface that could reflect the individual LEDs.
Illustrative scenario. A display designer wants a visible line of hardware inside a clear cylinder during the day. The team keeps a clear acrylic tube for lighting on its shortlist and plans a separate check for distracting reflections after dark. The goal is to preserve the intended details in both states.
Give the lit and unlit states their own acceptance notes. A tube that looks neutral on a bench may stand out against the wall where it will be installed. Bring a sample of the surrounding finish to the review if that color matters.
For acrylic tube for lighting used as a visible design element, note which parts of the assembly people may see. Include the cap, the mount, the cable exit, and any join. These details make a sample review more useful than a request for a generic white finish.
Have a drawing or a sample layout? Share the tube dimensions, LED position, and desired finish so JRT can review material options. Contact JRT.
Compare finishes against the purpose you defined. Clear is a candidate when internal detail belongs in the design. Frosted or opal acrylic tube for lighting is worth sampling when you want the enclosure to soften the view of the source. Ask how the supplier identifies the grade because the finish label alone gives you little to compare across product lines.
| Candidate | What to inspect with the LEDs off | What to inspect with the LEDs on |
|---|---|---|
| クリア | Internal parts, reflections, and surface marks | Visibility of the LEDs and reflected dots |
| フロスト | Texture and how much hardware shows through | Dot visibility from the expected angles |
| Opal | Color, surface finish, and match with nearby parts | Appearance, visible shadows, and required output |
A product designed for light diffusion is a better defined starting point than a generic request for frosted plastic. For example, ACRYLITE offers purpose-made Satinice diffusion tubes and identifies distinct frosted finishes in its tube documentation. Use the actual grade name when requesting data or comparing a sample.
When suppliers quote light transmission for acrylic tube for lighting, request the grade, wall thickness, test method, and specimen details behind the number. Ask for diffusion or haze data if it is available and relevant. The figures answer different questions, so compare them only with their test conditions attached.
Set a separate check for fixture output if the project has an illumination target. A material figure describes a specimen under a test method. An assembled light also includes the LED source, geometry, hardware, and other parts in the light path.
Cast and extruded tubing can enter the same project review. Ask for the dimensions, finish, and manufacturing tolerances of each candidate rather than choosing acrylic tube for lighting by manufacturing route alone. Use the actual product grade and sample as the basis of the decision.
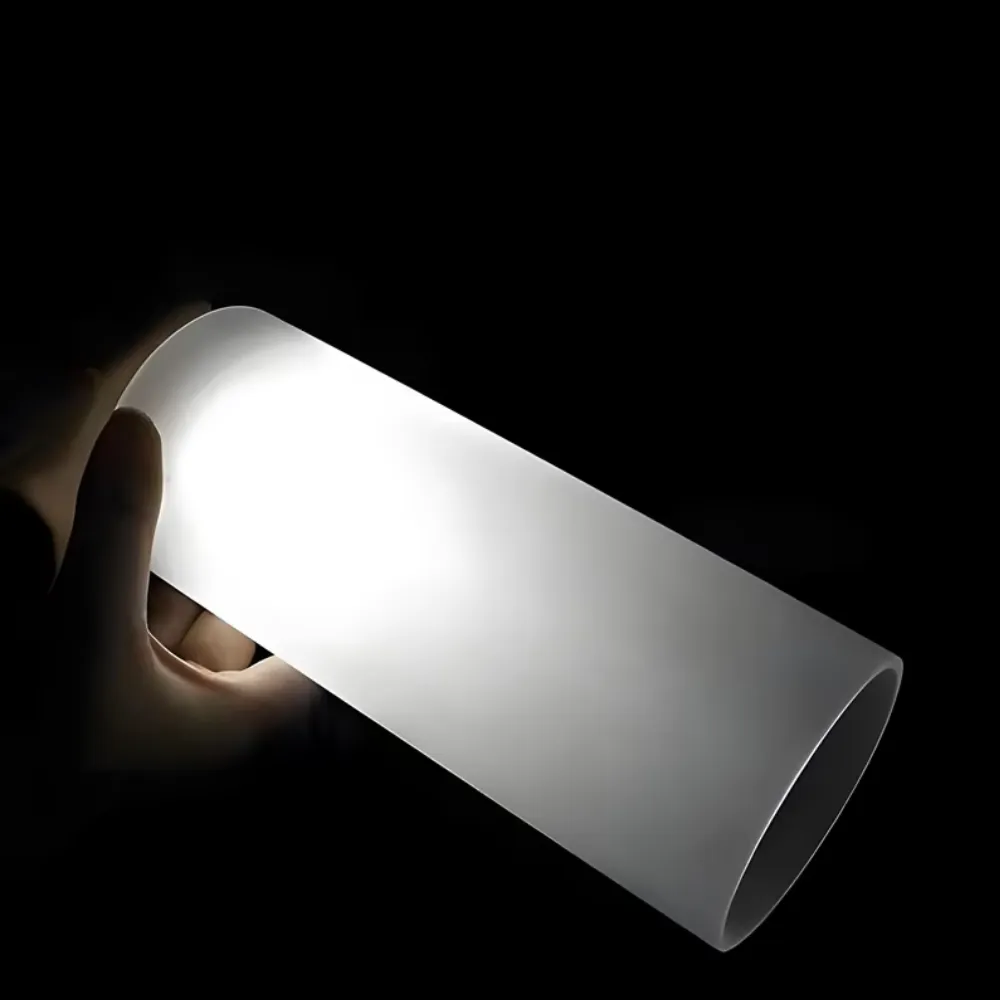
Draw the LED strip, its carrier, and any connectors at the cross section where they need the most room. Include the fasteners and cable route. When the carrier sits off center, mark where the emitting face sits relative to the inside wall.
Record how the carrier enters the tube and where it stops. The body of a strip may fit while a connector or cable bend needs additional space. Before ordering acrylic tube for lighting, check those points on the actual parts or on controlled drawings.
The diameter you need depends on how the hardware attaches. A plug inside the tube uses the bore as a mating surface. A sleeve around the outside uses the exterior. A part that seats against the end face also needs a length reference and an agreed end condition.
Ask for the nominal outside diameter, inside diameter, wall thickness, and applicable tolerances for the exact acrylic tube for lighting. As a catalog example, ACRYLITE lists its Satinice White WD300 DF tube at 8 inches outside diameter with a 0.118 inch wall, 10 inches with a 0.138 inch wall, and 12 inches with a 0.157 inch wall. These pairings show how one series can change wall thickness with diameter. Verify the actual part before choosing hardware.
Use the sizing guide for the vocabulary on the drawing, and provide the mating dimensions alongside the tube callout. If the design needs cut ends, describe which faces sit against a cap and which remain visible. Acrylic tube sizes · How to cut acrylic tube.
Consider whether an installer must remove a cap, slide out a carrier, or reach a connector later. The fit check for acrylic tube for lighting should include the sequence of assembly and service. A drawing of the final position helps, and a trial assembly can reveal how much room each step requires.
Choose a reference build with the intended LED strip, its carrier, and the planned operating setting. Record the LED pitch, or spacing between emitters, and where the strip sits inside the tube. If you test another position later, note that change so you can distinguish the effects of layout and finish.
Set the samples in the same orientation and view them from the same positions. When you compare photos, keep the background and camera exposure fixed where possible. Also review the samples in person if the acceptance decision depends on what a viewer can see.
Illustrative scenario. A designer puts a clear and a frosted candidate over the same strip and carrier. The team compares each acrylic tube for lighting from the front and at an angle, then changes the strip position in a separate trial. Their record distinguishes the material swap from the layout change.
Check the middle for visible dots and shadows. Look again near the ends, where caps, brackets, or changes in the carrier can affect the view. If people will walk around the fixture, include the angles where the support is easiest to see.
Record the comparison in terms the next reviewer can repeat. For example, note where the dots are visible and which side of the fixture you viewed. If the project uses a light output criterion, record its method separately from the appearance review.
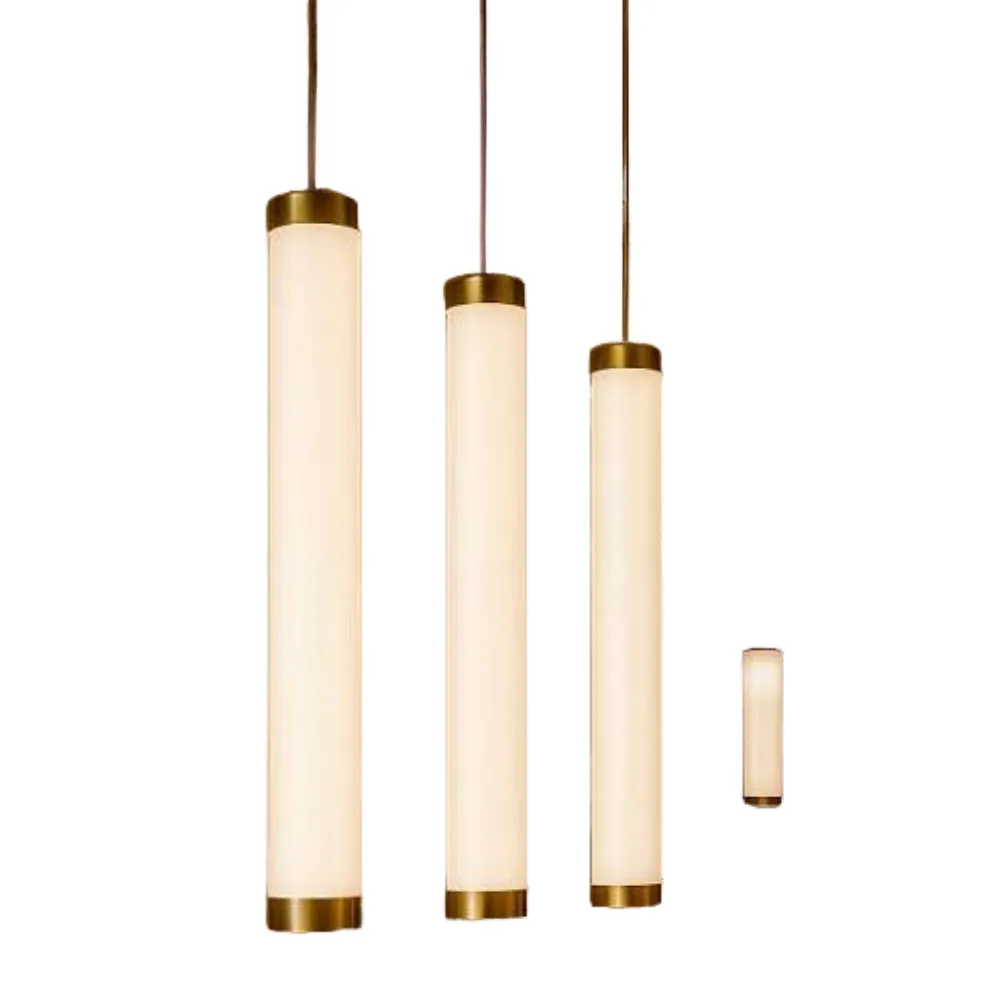
Collect the documents for the tube grade, LED module, driver, and other parts that affect the assembly. Ask the project reviewer which limits apply at the planned operating conditions. Ask the supplier how to interpret each test value before using it to set an operating limit.
Include the intended orientation and surroundings when evaluating acrylic tube for lighting. For example, tell the reviewer whether the fixture will sit in a recess and whether it will run for long periods. Check the representative assembly under the project’s intended conditions and have the responsible reviewer interpret the results.
Include the mounting arrangement, supports, and means of retaining the tube in the design review. Use the installation drawings to check how the load is carried and where the tube touches hardware. Resolve which parts need review for outdoor exposure if the assembly will be installed outside.
Acrylic tube for lighting is one component in the fixture. Gather the documentation that applies to the completed unit where the project specifies a rating or approval. Confirm service access and the means of replacing a component before releasing the drawing.
Keep the approved finish sample and the drawing together. Label the material grade, the sample date, the source setup, and the conditions used to view it. Record the dimensions at the mounting points so the approval covers how the part fits as well as how it looks.
Illustrative scenario. A team approves the appearance of acrylic tube for lighting and later discovers the plug in its trial build binds in the bore. The buyer adds the plug dimensions and the fit check to the sample record. They ask the tube supplier to confirm the bore tolerance where the plug seats.
When requesting acrylic tube for lighting, include the finish or grade, outside and inside dimensions, wall thickness, finished length, and quantity. Mark which tolerances matter to the fit. Provide drawings for the caps and mounting hardware if they define the mating surfaces.
State the intended use and the appearance criteria for both operating states. Attach the sample notes and ask what specifications the supplier can confirm. If two finish options are still in the running, keep both on the request so the responses can be compared against the same requirements. JRT acrylic tube options.
Before ordering, put the fit dimensions and approved sample on the same request. Share the LED layout and the finish you are trying to achieve so JRT can review the tube options for your project. Send your lighting tube requirements to JRT.
Expect the individual emitters to be visible unless another feature of the assembly changes the view. Compare a clear acrylic tube for lighting with a diffusing candidate using the same strip and viewing positions. Check reflections as well as the direct view of the source.
Request both grades as samples if both could suit the design. Compare them with the LEDs on and off, then check output separately if required. The supplier’s grade data and the built sample give more detail than the finish name alone.
Use the dimensions of the carrier, strip, connectors, and cable route. Check the bore and its tolerance at the mating points. Allow for the way parts enter and come out, and confirm the actual assembly before placing a production order.
Use transmission as one material input with its test conditions attached. When you choose acrylic tube for lighting, also inspect the source pattern and hardware shadows and check any specified output on the assembled light.
Ask for documentation for the exact tube grade and review the completed fixture for the intended exposure and mounting conditions. Check the other components and the relevant installation requirements as part of that decision.
Keep the source, carrier, driver setting, and viewing conditions the same when comparing finishes. Change one feature at a time and record the setup. That makes it easier to explain why one acrylic tube for lighting suits the project better.
 159月
 159月
 1710月
 2310月