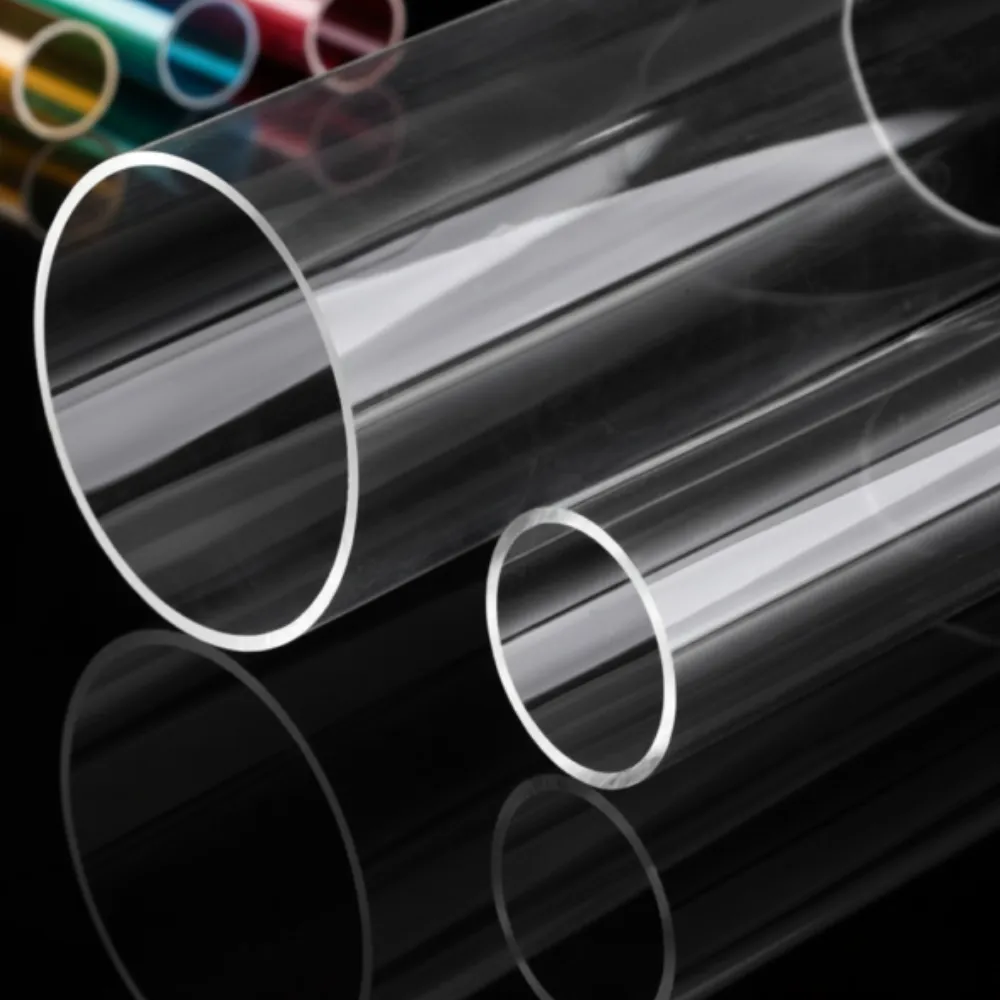
How to Cut Acrylic Tube: Support, Sawing, and Clean Ends
To cut acrylic tube, select a saw and blade suited to the actual PMMA product and hollow section, secure it with an approved support setup, and inspect a trial cut before making the finished pieces. Learning how to cut acrylic tube starts with controlling the workpiece, not simply drawing a straight line.
A tube can roll, move in its support, or leave a chipped exit edge even when the mark looks neat. That is frustrating when the end must remain visible or meet another part. The steps below help you define the setup, review the cut, and keep the finished requirements in view.
Key Takeaways
Confirm the material, outside diameter, wall, and finished length.
Use equipment, blades, and supports approved for the actual job.
Keep guards in place and use the specified holding and feeding method.
Trial-cut representative material and inspect separate quality features.
Agree on deburring, finishing, and acceptance before comparing quotes.
Before You Cut: Identify the Tube and Finished Part
Confirm the Material and Section
Check the product label and supplier information before deciding how to cut acrylic tube. PMMA, PETG, flexible tubing, and metal pipe are different products. A tool described as a tube cutter does not automatically suit all of them.
Record the outside diameter, wall thickness, grade, and required length. Identify whether the work is a straight crosscut or a different operation. This guide concerns cutting a tube to length, not splitting it lengthwise or machining a pressure enclosure.
Define the End Before Choosing How to Cut Acrylic Tube
Specify whether the drawing describes a raw cut blank or a finished component. A visible display end, a bonded face, and an end entering a fitting need their own requirements. Do not assume that a smooth-looking cut meets all three.
Before choosing how to cut acrylic tube for your project, send JRT the drawing, quantity, and end requirements. Ask which material and processing scope can be offered. This is a request for confirmation, not a promise that every size or operation is available.
Illustrative scenario: A display builder requests several equal-length sleeves. One quote covers raw cuts and another includes finished visible ends. The builder clarifies the drawing before comparing the prices, rather than treating equal nominal lengths as equal scope.
How to Cut Acrylic Tube: Choose a Suitable Method
Review Hand-Saw and Powered Options
When deciding how to cut acrylic tube occasionally, a hand saw may be a candidate when the tool and material instructions support the application. A guide must suit the hollow section and keep it stable. Do not choose a blade only because it is described as fine-toothed.
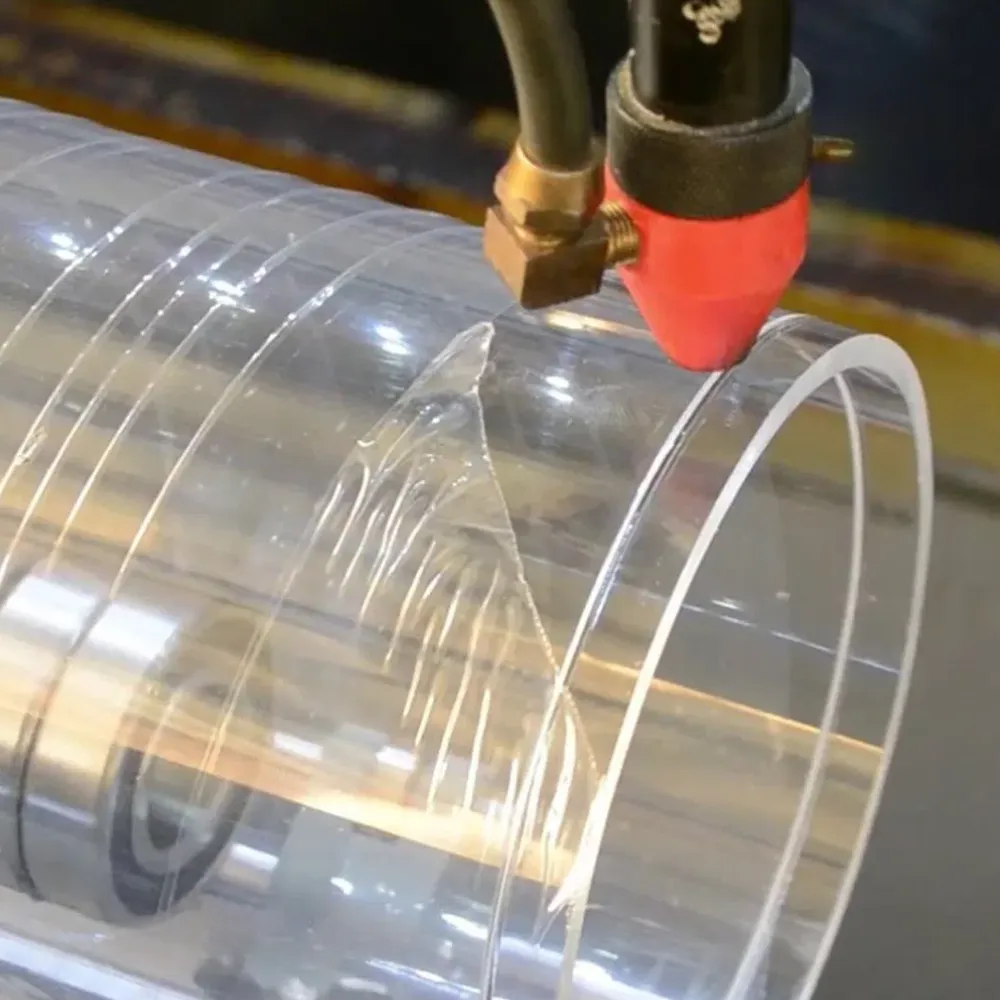
Planning how to cut acrylic tube with powered equipment needs a suitable machine, blade, holding method, and operator. In its rod and tube cutting guidance, ACRYLITE discusses acrylic-specific carbide blades and support that limits vibration. That guidance is a starting reference for the appropriate setup, not permission to improvise one.
Method to discuss
Confirm first
Important limit
Hand saw with guide
Blade suitability, stable holding, and accessible cut
A guide mark alone does not keep the tube square
Powered saw
Machine and blade instructions, capacity, guards, and fixture
Sheet settings cannot simply become tube settings
Fabricated supply
Drawing, end condition, inspection, and included work
Supplier capability must be confirmed for the part
When comparing how to cut acrylic tube, distinguish the machine type from its actual setup. The same machine name does not describe its blade, guard arrangement, or approved workholding. Ask the equipment and blade suppliers about that complete combination.
Do Not Copy a Universal Machine Setting
Tube guidance and sheet guidance can use different reference surfaces and work arrangements. Do not combine a blade-height figure from one paragraph with a feeding technique from another. Confirm the settings for the actual equipment and section.
ACRYLITE’s tube discussion includes a particular supported rotation arrangement. It should not become a general instruction to roll a tube by hand into a blade. If the available equipment cannot hold and feed the part as instructed, choose another suitable process or obtain fabricated pieces.
Know When to Request Processing
Thin walls, difficult-to-hold short pieces, large sections, or strict finished requirements may call for a different setup. Do not make the job fit a tool by removing guards or moving hands into its cutting zone. Stop planning the operation until suitable equipment and workholding are available.
Use JRT’s processing services page to discuss the intended work. Confirm the particular tube operation and acceptance needs; a general service list does not establish all tube-processing capabilities.
Measure, Mark, and Support the Hollow Section
Choose the Reference for Length
To plan how to cut acrylic tube to length, identify the end or drawing feature from which the finished length is measured. Mark the cut and the retained side clearly. If an existing end is uneven, do not assume it provides a reliable reference for the next finished part.
A wraparound mark can help make the intended plane visible, but it is not a substitute for a suitable guide and fixture. When reviewing how to cut acrylic tube square, separate the marking task from the holding and inspection tasks. Each needs to support the same drawing requirement.
Plan How to Cut Acrylic Tube With Finishing Allowance
Kerf is the material removed by the cut. Later end finishing may remove more material. Include those losses in the plan rather than assuming a stock length divides into finished pieces without waste.
For an invented planning example, two finished pieces of 100mm require 200mm of retained material before allowing for cutting loss and any finishing. This is arithmetic, not a recommended allowance or a claim about JRT stock. Confirm the actual cutting plan and allowances for the equipment and finish.
For a second invented example, three 100mm blanks plus two cuts with an assumed 2mm kerf would use 304mm before any further allowance. The 2mm is a planning input, not a recommended blade width. Confirm the actual layout, including any end trim, rather than adopting this example as a cutting specification.
Keep the distinction visible when explaining how to cut acrylic tube to a final size. A cut blank can be an intermediate part. Label the stage at which the length must meet the agreed limits.
Prevent Rolling and Unwanted Movement
Boedeker’s sawing guidance emphasizes support on both sides of a cut to reduce vibration and chipping. For a hollow round section, the support and holding method must also suit the shape. Use a setup approved for the machine and operation.
Holding should control movement without distorting the section or obstructing the intended safe feed. Do not treat more clamping force as the answer to every problem. Confirm the arrangement before a trial cut, including how the separated piece will be managed.
How to Cut Acrylic Tube: Trial Cut and Inspect
Test Material That Represents the Job
When testing how to cut acrylic tube, use a suitable offcut of the same product and section for a trial where the agreed process calls for one. The trial should answer a specific question about the proposed operation. A test on another material or much thicker wall does not demonstrate the same result.
Keep a record of how to cut acrylic tube: product, blade, machine, fixture, and relevant approved settings. Keep the inspection needs beside that record. A useful trial checks the required result. Separating the material is only part of that task.
Follow the Equipment Instructions
ACRYLITE’s general cutting manual calls for the equipment maker’s precautions, working guards, and suitable blades. Its numeric sheet-cutting settings are not universal instructions for hollow tubing. Use the appropriate product and equipment guidance for the work being done.
Follow the specified holding and feeding method without forcing the material. If the material lifts, excessive vibration develops, or the machine behaves abnormally, stop the operation according to its instructions. Wait for the blade to stop and isolate power as required before clearing waste or adjusting the setup.
Check How to Cut Acrylic Tube to the Required End Condition
Feature
What the review should establish
Length
Whether the part meets the agreed dimension at the specified stage
End alignment
Whether the cut meets the required relationship to the tube axis
Edge condition
Whether chips, burrs, or visible damage remain
Appearance
Whether the visible end meets the agreed sample or description
Next operation
Whether further finishing or review is still needed
Illustrative scenario: A trial sleeve reaches its intended length but shows damage at the far edge. The operator stops and reviews support, blade condition, and the approved process. The part is not accepted merely because its length is correct, and no successful correction is assumed.
When deciding how to cut acrylic tube consistently, keep the trial record with the drawing. Identify any change that would require another review. A different grade, section, blade, or fixture should not disappear into an undocumented setup change.
Troubleshoot Chipping, Melting, and Crooked Ends
Treat Symptoms as Questions
When reviewing how to cut acrylic tube without chipped edges, consider more than one possible cause. The same is true of melting and a crooked cut. Stop and inspect the setup rather than making a blind speed change while cutting.
Symptom
Possible issues to review
Next step
Chipped edge
Vibration, support, blade condition, or feeding conditions
Check the approved setup and trial requirements
Melted or re-fused edge
Blade condition, chip removal, or unsuitable cutting conditions
Stop and consult the relevant process guidance
Crooked end
Reference, guide alignment, or movement in the fixture
Review holding and measure the finished end
Repeated length error
Measurement reference, cutting loss, or finishing stage
Check the drawing and cutting plan
This table helps organize a review of how to cut acrylic tube. It does not diagnose a particular machine or authorize a modification. Use the equipment instructions and qualified support when the cause is unclear.
Separate Feed From Blade Speed
Feed describes how the work advances through the cut. Blade speed describes the motion of the cutting edge. A general instruction to “go slower” can be misleading if it does not say which variable is being discussed.
Do not use a single feed value or tooth count for every tube size. Review blade selection, support, and cutting conditions together. If advice from different sources uses different machines or material forms, keep those differences explicit.
Check the Work Before Continuing
After revising how to cut acrylic tube, review a suitable trial before returning to the finished pieces. Record what changed and what was inspected. Do not hide visible damage with finishing before deciding whether the part remains acceptable.
Deburr, Finish, and Confirm the Part
Finish the End After Learning How to Cut Acrylic Tube
After confirming how to cut acrylic tube, remove burrs only with a method suited to the product, geometry, and next operation. Keep the part held appropriately during the work. Agree whether the target is a handled edge, a visible finish, a fitting entry, or a prepared joining face.
Knowing how to cut acrylic tube does not automatically settle polishing or bonding. A glossy end is not proof of a suitable joint face. Obtain the relevant process instructions before adding heat, solvent, or another finishing operation.
Measure and Record the Result
Use a measurement method suited to the stated limits.
Keep a short inspection record:
Drawing revision and measured feature.
Measurement location and method.
Observed result and agreed limit.
Keep measured values separate from planning calculations. A visual check alone does not establish every dimensional requirement or approve pressure, medical, or food-contact use.
Illustrative scenario: A buyer plans several sleeves from one stock length but has not included cutting loss or end finishing. The buyer asks the fabricator to review the layout and finished quantity. The revised enquiry distinguishes stock, blanks, and finished parts without inventing a waste-saving result.
For broader material and purchasing questions, see the acrylic tube buying guide. Keep the cutting record focused on the actual grade, section, setup, and finished requirements.
Frequently Asked Questions and the Next Step
Can I Use a Hacksaw?
A hand-saw method may suit occasional work if the material and tool guidance support it. Use an appropriate blade and stable guide or holding setup. Confirm that the required end quality can be achieved.
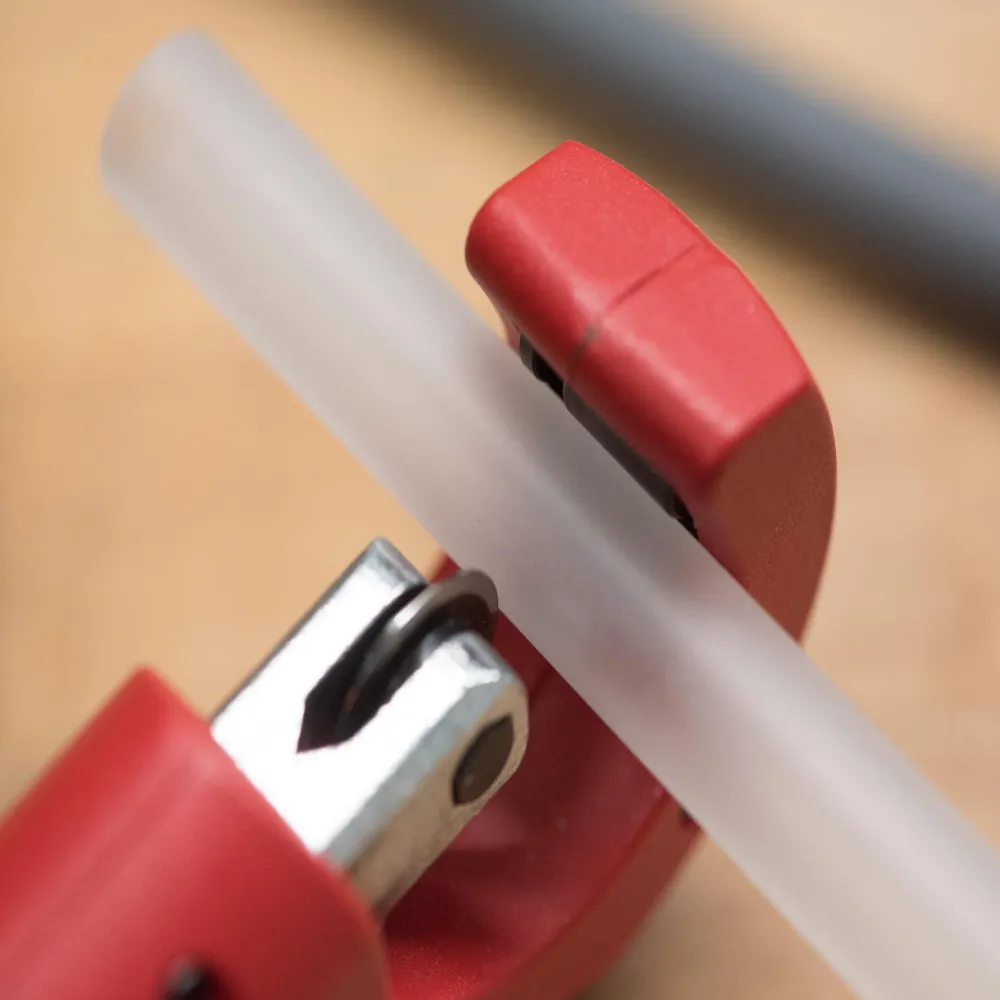
Can I Use a Normal Pipe Cutter?
Do not assume a cutter for metal pipe, PETG, or flexible tubing is approved for PMMA. Ask for explicit suitability for the actual product and section. If that confirmation is missing, choose a supported alternative process.
Why Does the Exit Edge Chip?
Review support, vibration, blade condition, and the approved feed method. More than one cause may be involved. Stop and investigate rather than forcing the next cut.
Why Is the Cut Edge Melting?
Check blade condition, chip removal, and the relevant cutting conditions. Feed rate and blade speed are different variables. Follow the equipment and product guidance instead of applying a universal slower-or-faster rule.
How Do I Get a Square End?
Use a suitable reference, guide, and fixture, then inspect the end against the drawing. A straight mark alone cannot establish a square cut. Confirm what end finishing is included.
Do I Need to Polish Every Cut?
The required finish depends on handling, appearance, assembly, and later processing. Agree on the end condition first. Do not add polishing as an automatic substitute for inspection.
The practical answer to how to cut acrylic tube is a suitable supported process followed by a documented check of the finished end. Send JRT your drawing, tube dimensions, quantity, and end requirements to discuss the offered scope. Confirm the material and work before releasing the order.
Introduction Acrylic sheets, prized for their optical clarity (92% light transmission) and versatility, are revolutionizing industries from aerospace to healthcare. With a global market expected...
Introduction Polyvinyl Chloride (PVC) sheets are a staple in construction, healthcare, and electronics due to their durability, chemical resistance, and cost-effectiveness. With the global PVC...
In applications where safety, beauty and durability are essential, one material stands out: flame retardant acrylic sheet. For projects in buildings, public transportation or high-end...
Anyone who has priced out a wall-sized mirror installation knows the tradeoffs glass brings with it: the weight, the installation crew, the liability if it...