


아크릴 시트의 응용 분야: 혁신과 산업 변화
소개 광학적 선명도(92% 광투과율)와 다용도로 인정받는 아크릴 시트는 항공우주에서 의료에 이르기까지 다양한 산업에 혁신을 일으키고 있습니다. 글로벌 시장이 예상되는 가운데...
An acrylic light diffuser spreads light passing through it; a light guide panel carries light from an edge and extracts it across a face. An LED panel can use both functions, so choose each layer for the lighting layout rather than treating the sheets as interchangeable.
A panel that looks evenly white on a desk may still show bright LED points in a shallow light box. A sheet that works in one layout may also need a different setup when the light source moves to the edge. Begin with the complete assembly.
This guide explains how to select an acrylic light diffuser, when to discuss a light guide, and what to check before approving a batch. It builds on our 아크릴 시트 구매 가이드, with a focus on LED lighting, illuminated signs, and display panels.
주요 내용
- Diffusion and light guidance are different functions; a lighting assembly may need both.
- A diffuser can be part of a backlit or edge-lit panel without replacing the light-guiding layer.
- Read optical values with the grade, thickness, and test conditions attached.
- Compare samples using the intended LEDs, spacing, panel distance, and viewing conditions.
- Agree on the finished dimensions, processing, sample approval, and delivery requirements before ordering.
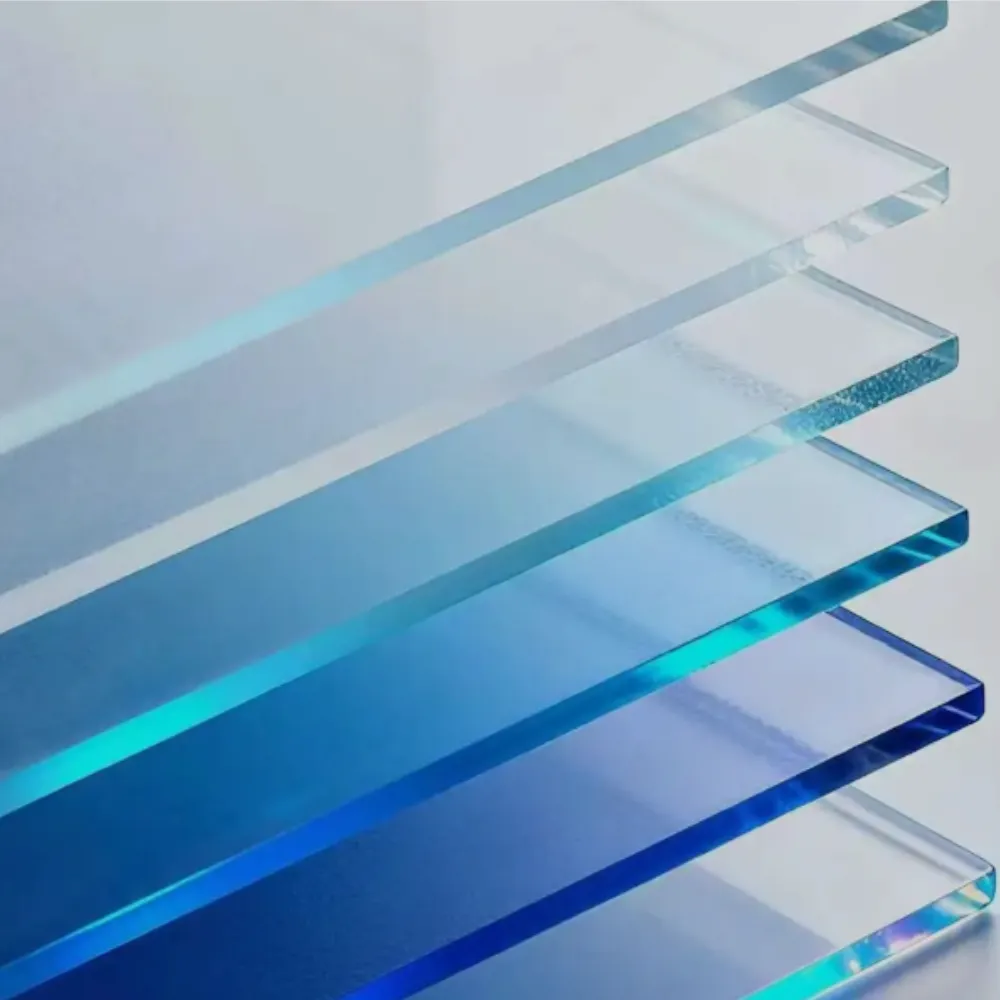
Before selecting an acrylic light diffuser, identify where the LEDs will sit. Are they behind the face, along an edge, or part of a fixture you are repairing? That answer shapes the material discussion.
For a backlit assembly, record the LED layout and the space between the light source and the face. For an edge-lit assembly, record the guide design and the other optical layers. For a replacement cover, identify the original fixture and part requirements before choosing a sheet.
| 프로젝트 | Start by defining | Main sample question |
|---|---|---|
| 백라이트 라이트박스 | LED layout, cabinet depth, face size, and graphics | Does the face meet the agreed brightness and appearance? |
| Edge-lit panel | Light entry, guide design, and layer arrangement | Does the complete assembly distribute light as required? |
| Illuminated letters | Face, returns, LEDs, and viewing distance | Are bright points or dark areas visible? |
| Replacement cover | Fixture, original part, dimensions, and mounting | Does the proposed part meet the fixture requirements? |
If you need help narrowing the material, send JRT the panel drawing and lighting layout. Include the light-source position, sheet size, quantity, and intended finish so the discussion starts with the actual assembly.
State how the panel should look both lit and unlit. Identify the viewing distance, background, graphics, and any visible edges. Agree on these details before comparing samples.
For signs, use our signage material selection guide to connect the face material with the sign structure. The acrylic light diffuser is one part of that design, not a substitute for the complete specification.
예시 시나리오: A shop plans a shallower replacement light box. Instead of ordering the same white-looking sheet, the buyer asks for a sample check using the new LED layout and cabinet depth. The example shows what to verify, not a reported customer outcome.
The names used in a catalogue can group several lighting materials together. Ask what each proposed sheet does in your assembly. A general description such as “LED acrylic” is not enough to identify every optical layer.
An acrylic light diffuser is selected to spread transmitted light and help achieve the required face appearance. It can sit in different lighting systems. Its suitability still depends on the specific product and layout.
For example, PERSPEX Diffuse is described for use as a diffuser in both backlit and edge-lit panels. That is a useful reminder about system roles. It does not mean that any opal sheet can take over the light-guiding function of an edge-lit panel.
A light guide panel is designed for light entering at an edge and being extracted across the face. Its design may involve an extraction pattern matched to the intended assembly. Discuss the guide, light entry, and surrounding layers together.
Plaskolite’s product guide lists light-diffusing products separately from its custom laser-etched OPTIX LGP. These are examples of distinct product functions. They are not evidence that another supplier’s sheet has the same design or performance.
For an edge-lit design, ask the supplier to identify the guide, diffuser, and any other proposed layers on a drawing. For a backlit design, identify the face and its position relative to the LEDs. Keep the agreed arrangement with the sample record.
Avoid ordering an acrylic light diffuser solely because a previous panel used acrylic. Confirm the product code and role first. A change in the optical stack is a design change to review, even when the new sheet has a similar color.
Optical data helps narrow a shortlist, but it needs context. Request the exact grade and thickness for the acrylic light diffuser being offered. Then check how the values were measured and what they are intended to describe.
Light transmission and haze describe different aspects of an optical material. Neither number alone establishes whether your completed face will meet its appearance target. Compare the data with a sample in the intended layout.
PERSPEX’s Diffuse page describes grades with different transmission levels. Use that as an example of why a product family can contain more than one optical option. Obtain the current grade-specific document rather than treating a family description as one value for every sheet.
For an acrylic light diffuser comparison, ask for these details:
| Document detail | 확인해야 할 사항 |
|---|---|
| 재료의 정체성 | Supplier, product code, grade, color, and surface |
| Sample | Thickness and condition of the tested sheet |
| 측정 | Property, method, and relevant test conditions |
| Value type | Typical data, specification limit, or actual sample result |
| Application check | How the value relates to your assembled lighting design |
A uniformity or LED-hiding claim needs a stated measurement or acceptance method. Ask where the lights were placed, where readings were taken, and how the reported result was calculated. Check whether that setup resembles your panel.
The same principle applies to an acrylic light diffuser described as anti-glare. Ask what evidence supports the claim for the intended use. A material description alone does not approve the glare performance of an entire luminaire.
If the supplier cannot provide a supporting document, keep the property open in the evaluation. Do not turn a brochure phrase into a guaranteed order result. Use a clearly recorded sample trial to resolve the design question.
An acrylic light diffuser must fit its mounting and processing requirements as well as its optical role. Choose thickness with the full panel size, support arrangement, and required fit in view. A lamp-type label alone is not a thickness specification.
Give the supplier the finished dimensions and how the sheet will be held. Identify channels, holes, unsupported areas, visible edges, and any parts that must fit together. Agree on the required tolerance and how it will be checked.
저희 thickness and tolerance guide explains the distinction between a nominal stock thickness and a fit requirement. Use the actual grade’s data for the order. Avoid assuming one panel-support spacing works for every size and installation.
For the proposed acrylic light diffuser, describe the expected environment and request relevant operating guidance. Include exposure to heat, sunlight, moisture, and cleaning. Keep material data separate from evidence about the finished fixture.
A heat-distortion result or a thermal-conductivity number does not, by itself, prove that a complete LED assembly will avoid overheating or deformation. Ask the responsible designer to review the operating conditions. Do not use a sheet value as a substitute for the thermal assessment of the whole product.
For outdoor use, ask for the exact grade’s weathering evidence and warranty terms. Keep any laboratory exposure result with its test conditions. Do not convert test hours directly into a fixed outdoor service life.
If your project requires a particular fire or other compliance document, specify the requirement and request evidence for the actual material and use. A general acrylic light diffuser description cannot establish approval for every fixture or market.
Start by deciding what the sample must answer. You may need to compare face appearance, check a mounting detail, or confirm a printed graphic. Design the trial around those questions rather than requesting an unlabelled color chip.
Use the proposed LED type and layout where the appearance depends on them. Record the spacing, distance to the face, driver or light setting, and other optical layers. View the panel from the agreed position.
When comparing an acrylic light diffuser with another sample, keep the setup consistent. If you change the material and lighting layout together, record both changes. Otherwise, it becomes difficult to tell what caused the different result.
예시 시나리오: A display builder compares two samples that look similar when unlit. The team reviews both with the same LEDs and records the face appearance, bright points, and dark areas. It then decides what needs further testing. This describes a comparison method, not a claim that either material passed.
Use a short approval form that can follow the project into production:
Photographs can support the record, but keep the viewing conditions and measurement method too. Do not rely only on a phone image to define an optical acceptance limit. Retain the approved physical sample when later batches need comparison.
If bright points or uneven areas remain, review the sheet and layout together. Check whether the supplied sample matches the requested grade and thickness. Then review the actual light-source spacing and panel distance against the agreed trial.
Do not assume a thicker acrylic light diffuser or a higher reported haze will always solve the problem. Compare the revised option in the same application. Approve the complete result before ordering the production quantity.
Processing requirements belong in the material discussion. Tell the supplier whether the sheet will be cut, printed, formed, bonded, or used with a patterned guide. Identify the features that affect appearance and assembly.
For a processed acrylic light diffuser, request a trial that uses the proposed thickness and relevant operations. Inspect the finished edge, surface, details, and fit. Confirm the supplier’s grade-specific instructions rather than adopting a universal temperature, adhesive, or cutting setting.
JRT’s 처리 서비스 page lists saw cutting, laser shape processing, and diamond polishing. Discuss which operations are available for the proposed sheet and drawing. A listed service does not establish an unqualified precision or optical-performance guarantee.
Check cleaning and bonding compatibility for the actual grade and coating. For its own OPTIX products, Plaskolite’s FAQ recommends mild soap, water, and a soft microfiber cloth for cleaning. Obtain the instructions for your purchased material rather than assuming every cleaner or adhesive is suitable.
When requesting an acrylic light diffuser quotation, include:
예시 시나리오: A buyer prepares repeat illuminated panels for several locations. The order refers to the accepted sample, lighting-layout revision, and panel drawing. Package labels identify the parts for receiving checks. The example is a record-keeping workflow, not a JRT delivery case.
JRT의 LED light acrylic sheet product page as a starting point for available product discussions. Ask for the current grade and supporting documents for your project. Do not treat the family name as confirmation that every listed property applies to every option.
Do not assume they are interchangeable. They perform different functions, and an edge-lit assembly may use both. Ask the designer or material supplier to identify each layer and verify the proposed arrangement in a sample.
Yes, a suitable diffuser can be part of an edge-lit panel. PERSPEX Diffuse is one published example. Its role as a diffusion layer does not mean it replaces the guide that distributes light from the edge.
Neither value alone proves the finished result. Compare the proposed acrylic light diffuser with the intended light source, layout, and panel distance. Use an agreed viewing or measurement method to decide whether the result is acceptable.
Specify it from the optical design, panel dimensions, mounting, and processing needs. Obtain the exact grade’s allowed range and review the required fit. Avoid copying a universal thickness recommendation from a lamp category.
A frosted appearance is not enough to establish a particular lighting result. Request the product’s optical data and relevant processing guidance. Test the actual sheet in your assembly before approving it as the acrylic light diffuser for the job.
Send the panel drawing, lighting layout, dimensions, quantity, and operating environment. Add optical targets, processing needs, and the sample checks you want to perform. These details help the supplier identify the material and evidence needed.
Choose an acrylic light diffuser by its role in the complete panel, then confirm the grade, layout, and approved sample. For your project, send JRT the drawing and LED conditions for a quotation. Keep the accepted material and lighting setup together so later orders can be checked against the same reference.
 159월
 159월
 1710월
 2310월