


아크릴 시트의 응용 분야: 혁신과 산업 변화
소개 광학적 선명도(92% 광투과율)와 다용도로 인정받는 아크릴 시트는 항공우주에서 의료에 이르기까지 다양한 산업에 혁신을 일으키고 있습니다. 글로벌 시장이 예상되는 가운데...
Acrylic tube sizes should state the outside diameter, inside diameter or wall thickness, and length, with units and agreed tolerances. Start with those fields, then check the dimensions that control your finished part’s fit.
Two listings can both say “1 inch” while describing different features. That’s a frustrating place to start a replacement order. This guide helps you read the labels, calculate a missing dimension, and turn the result into a clear enquiry.
You don’t need a giant catalogue to understand 아크릴 튜브 sizes. You need to know what each number describes and which details still need confirmation.
주요 내용
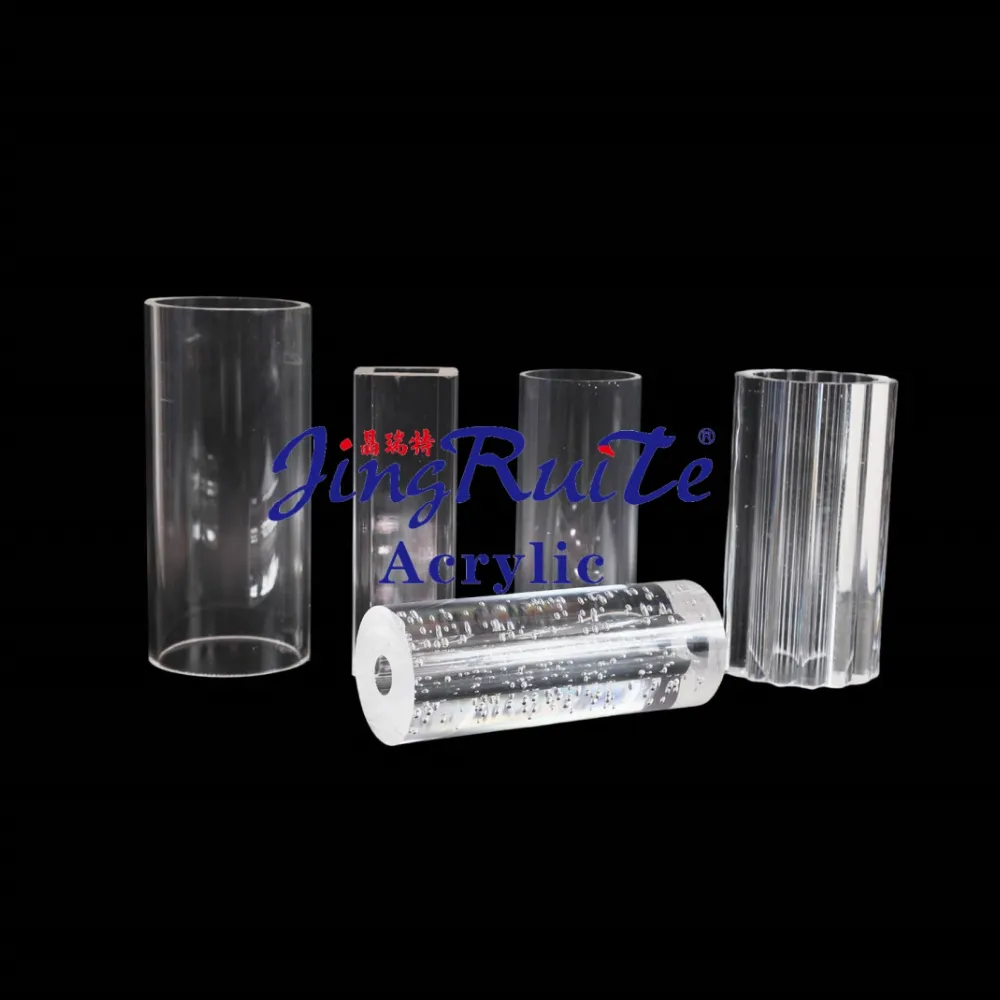
A tube is hollow. Its outside diameter, or OD, spans the outside of a round cross-section. Its inside diameter, or ID, spans the bore. Wall thickness, t, describes the material between the two surfaces; L identifies length.
A solid rod has no bore or tube wall. Keep that distinction when comparing acrylic tube sizes with solid stock. A rod diameter cannot fill the ID field on a tube drawing.
| 분야 | What it describes | Buyer check |
|---|---|---|
| OD | Outside diameter | Will the outside suit the mating component? |
| ID | Inside diameter or bore | What must pass through or fit inside? |
| Wall | Material thickness | Is the required thickness defined separately? |
| Length | Supplied or finished length | At what stage must the length be met? |
A listing written as OD × ID × L differs from one written as OD × wall × L. For example, 50mm OD × 44mm ID × 200mm long describes different fields from 50mm OD × 3mm wall × 200mm long. In an ideal uniform-wall section, those examples describe the same geometry.
When reviewing acrylic tube sizes, write the labels beside the figures. Don’t assume the second number always means ID. If a seller gives only a diameter, ask which surface it describes.
For a project enquiry, send JRT your drawing and required dimensions. Ask which grade, sizes, and inspection requirements can be offered before treating a catalogue entry as an approved specification.
A nominal dimension is the stated size used to identify the part. It doesn’t supply every acceptance limit. Two nominally matching acrylic tube sizes still need a check of actual dimensions, allowed variation, and the required fit.
예시 시나리오: A buyer finds two listings labeled 1 inch. One labels the figure OD; the other labels it ID. The buyer rewrites both descriptions with their full fields before comparing them, rather than assuming they are interchangeable.
To compare two listings, make a short working record:
This keeps the comparison tied to the actual description, even when the catalogue formats differ.
For a round tube with a concentric bore and uniform wall:
The wall appears on both sides of the bore. That is why a 50mm OD and 3mm wall give an ideal ID of 44mm, not 47mm.
Use this relationship to read acrylic tube sizes, not to prove that every point on a real tube has the same wall. An off-center bore or a section that isn’t round needs a different inspection approach. Two diameter readings alone cannot establish the thinnest local wall.
Illustrative dimensions, not a JRT stock list. Inputs below are invented for calculation; ID is derived from the formula.
| OD (mm) | Wall (mm) | Calculated ID (mm) |
|---|---|---|
| 12 | 1 | 10 |
| 20 | 2 | 16 |
| 25 | 2 | 21 |
| 50 | 3 | 44 |
| 75 | 3 | 69 |
| 100 | 3 | 94 |
These acrylic tube sizes show the relationship between fields. They do not identify available grades, stock, manufacturing limits, or suitable uses. Ask for a named product and an offer covering your required combination.
Two rows can also share an OD while having different IDs. Holding the outside size fixed while increasing the wall reduces the ideal bore. If an insert controls the design, keep its clearance requirement visible when the supplier proposes a different wall.
As a supplier-specific example, Acme Plastics’ cut-to-size tube page lists extruded clear tube from 1/2 to 6 inches OD, with a 1/8-inch wall. It describes cut lengths from 1 inch to 6 feet. Those figures describe that supplier’s page, not a universal size standard or JRT inventory.
For acrylic tube sizes outside a listed range, ask rather than infer availability. “Custom” still needs a defined grade, drawing, quantity, and acceptance criteria. Browse JRT’s acrylic tube product information as an enquiry starting point, then confirm the offered specification.
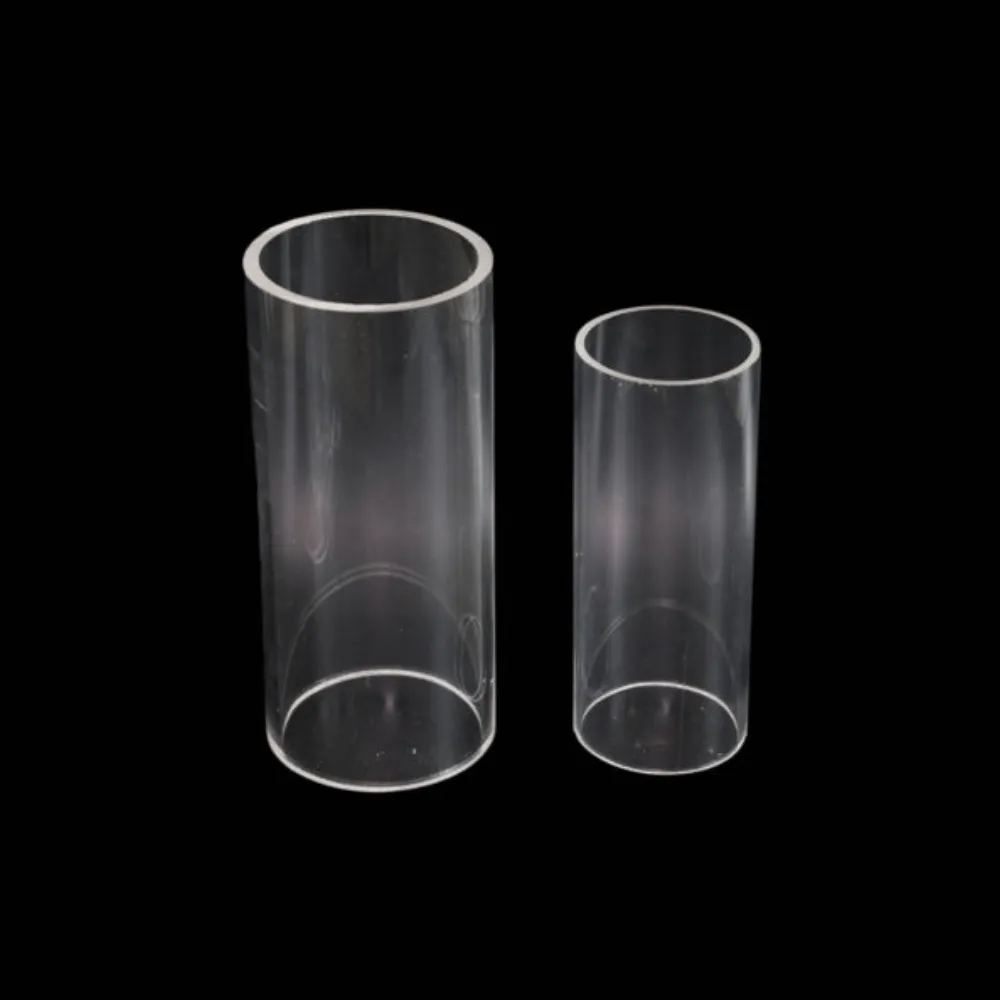
NIST defines the international inch as exactly 25.4mm. Convert acrylic tube sizes using that factor:
The table converts dimensions only. It does not list products available from JRT.
| Inches | Exact millimeters |
|---|---|
| 1/4 | 6.35 |
| 1/2 | 12.7 |
| 3/4 | 19.05 |
| 1 | 25.4 |
| 2 | 50.8 |
| 4 | 101.6 |
A 1/2-inch dimension is therefore 12.7mm. It differs from 12mm by 0.7mm. Whether that difference matters depends on the design; the numbers themselves are not equal.
When comparing acrylic tube sizes across catalogues, retain the source dimension and mark any converted value. Don’t silently replace 12.7mm with a convenient whole number. Ask which unit and value govern acceptance.
A label such as “approximately 13mm” may help someone browse. It does not define the same acceptance range as a 12.7mm drawing dimension. Bring the discussion back to the stated limits rather than the rounded label.
An exact conversion factor does not make the original product dimension exact. If a dimension has agreed limits, convert those limits too. Adding decimal places to acrylic tube sizes does not improve the product or the measurement.
Keep the original unit, converted value, and allowed range in separate fields if the order crosses unit systems. That makes it easier for the supplier and receiving team to check the same requirement.
For example, suppose an invented drawing allows 1.000 ±0.010 inch. The limits are 0.990 and 1.010 inch. Multiplying each by 25.4 gives 25.146 and 25.654mm. These are converted design limits, not JRT manufacturing tolerances.
Keep that range attached to the dimension when comparing acrylic tube sizes. Don’t convert the center value alone and lose the allowed variation. A rounded display value should never silently replace the acceptance limits.
Start with the features that determine function. A sleeve may need a controlled bore; a part held in a recess may need a controlled outside surface. Put those requirements beside the acrylic tube sizes on the drawing.
| Critical feature | What to agree | Inspection question |
|---|---|---|
| OD or ID | Required upper and lower limits | Where and how will it be measured? |
| Wall | Thickness requirement | Does local minimum thickness matter? |
| Shape | Roundness and straightness needs | What method will assess them? |
| Length and ends | Finished state and permitted variation | Before or after end finishing? |
Manufacturing-route names do not provide all these limits. See the overview of cast and extruded tube manufacturing for context, then request the actual product’s dimensional requirements. Don’t substitute a general process comparison for a specification.
American Acrylic Works’ tolerance guide lists its cast tube OD limit as +0.000/−0.020 inch, wall variation as ±10% of nominal, and as-cut length as +0.125/−0.000 inch. These are that supplier’s published values. They are not JRT tolerances or universal rules for acrylic tube sizes.
The example shows why “plus or minus” is not always the right shorthand. An allowed range can extend in one direction from nominal. Ask for the actual limits for each feature.
Consider invented acrylic tube sizes with these independent limits:
Under the ideal circular, concentric assumptions, a conservative calculation gives:
This example ignores shape errors and any relationship between the dimensions. It explains the arithmetic, not a JRT product. If the bore controls assembly, agree on its limits and inspection directly.
In another invented example, a minimum bore of 44.2mm and maximum insert diameter of 44.0mm leave 0.2mm diametral clearance. With ideal concentric circles, that corresponds to 0.1mm radial clearance. These are calculations, not recommended engineering clearances.
예시 시나리오: A display designer compares nominal acrylic tube sizes for an insert. Instead of accepting two matching nominal figures, the designer asks for the smallest bore and largest insert dimensions. The responsible designer still needs to approve the fit and finished assembly.
For the broader grade, sample, and purchasing decisions, use the full acrylic tube buying guide. Keep this page’s calculations tied to a defined drawing.
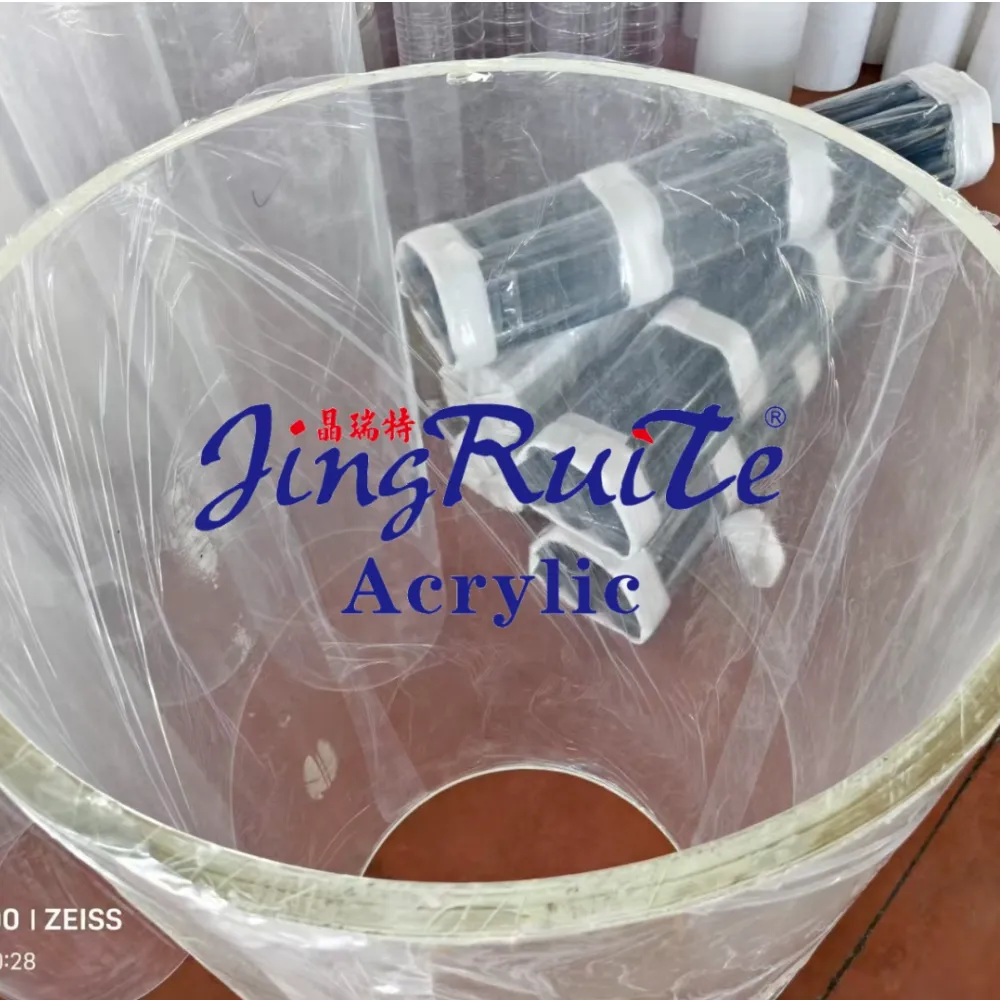
Before checking acrylic tube sizes, identify the drawing revision, units, part, and features to inspect. Agree on a method suited to the required limits. More digits on a display don’t prove a better measurement.
A caliper can help with outside and inside measurements. It won’t suit every bore or required limit. Use the tool’s instructions and ask the responsible inspector to approve the method. Record the tool and measurement conditions with the result.
For acrylic tube sizes that control fit, agree where the measurements will be taken. Consider more than one direction and position so the record does not hide differences. A single reading does not establish the shape of the entire tube.
Treat cut ends and the middle of the part as identified locations, rather than mixing the results. Agree how protective film, burrs, or end preparation will be handled before measurement. Avoid forcing a flexible section into a different shape with the measuring tool.
| Record field | What to enter |
|---|---|
| Part and drawing | Item reference and revision |
| 주요 기능 | OD, ID, wall, or length |
| Location and direction | Agreed position and orientation |
| Method and units | Instrument, procedure, and unit |
| Observed value | Actual reading, not nominal size |
| Acceptance limits | Agreed lower and upper limits |
| Review | Inspector, date, and decision |
Use actual readings when reviewing acrylic tube sizes. If a figure comes from calculation, label it as calculated. If the inspection cannot answer a question about local wall thickness, record that gap instead of filling it with the nominal value.
Agree how to handle results outside the stated limits. Keep the affected part identifiable while the supplier and responsible reviewer assess it. Don’t change a limit informally to make the record match a delivery.
A supplied stock length, a cut blank, and a finished sleeve need not have the same length. When ordering acrylic tube sizes, specify which stage your drawing describes. Ask how the planned work affects the material needed.
For example, a finished end may need a different preparation from a raw cut end. The required allowance depends on the agreed process; don’t assign a universal extra length. Use JRT’s processing services page to start a discussion about the work needed and confirm whether the proposed tube operation can be offered.
Put the acrylic tube sizes in the drawing attachment and keep the enquiry focused. Include:
An enquiry attachment could read:
Please review the attached drawing for a hollow display sleeve. The drawing labels OD, ID, finished length, and units. Please identify the proposed material and confirm which dimensional limits you can meet. State whether the quote covers a raw blank or the finished ends, and flag any changes needed before making a sample.
Keep the response beside the same drawing revision. Ask the supplier to identify any excluded work and any dimension that needs clarification. Where a requirement is still open, write down who will decide it. Confirm the agreed drawing and sample checks before treating the enquiry as ready for an order.
예시 시나리오: A buyer needs a finished display sleeve but receives a quote for a raw blank. The buyer adds the finished length, end condition, and inspection stage to the enquiry. The supplier is asked to confirm the revised scope before the order proceeds.
Read the listing’s labels. A supplier may describe OD and ID together, or use OD with wall thickness. Ask for the missing field rather than guessing from an unlabeled diameter.
For an ideal round, concentric, uniform-wall tube, subtract twice the wall thickness from OD. Real acrylic tube sizes still require the agreed limits and inspection. The calculation cannot prove local minimum wall thickness.
A half inch equals exactly 12.7mm, so it is not the same number as 12mm. Check which dimension the label describes and what limits apply. Do not round away the difference when assessing fit.
Matching names alone don’t establish fit. Compare the relevant limits, shape, finished state, and assembly requirements. Have the responsible designer approve the proposed combination.
The supplier examples above describe specific products and limits. They do not establish a universal wall or tolerance for acrylic tube sizes. Request the requirements for the actual offered product.
Wall thickness alone does not establish a pressure rating. A pressure application needs its own appropriate design, material, and system evidence. This sizing guide does not approve one.
The useful comparison between acrylic tube sizes is a labeled set of dimensions, limits, and checks. Send JRT your drawing, quantity, and inspection requirements, then confirm the offered grade and dimensions. Keep the approved drawing and sample requirements with the order.
 159월
 159월
 1710월
 2310월