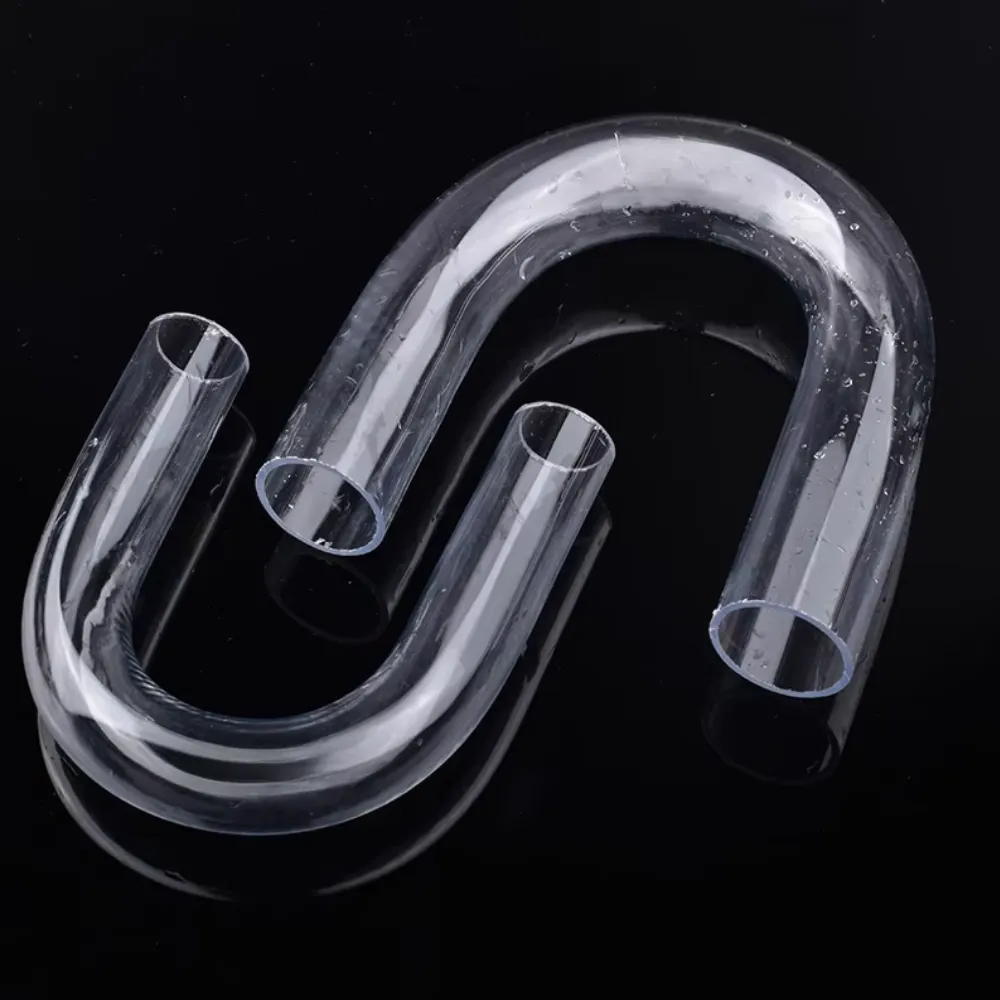
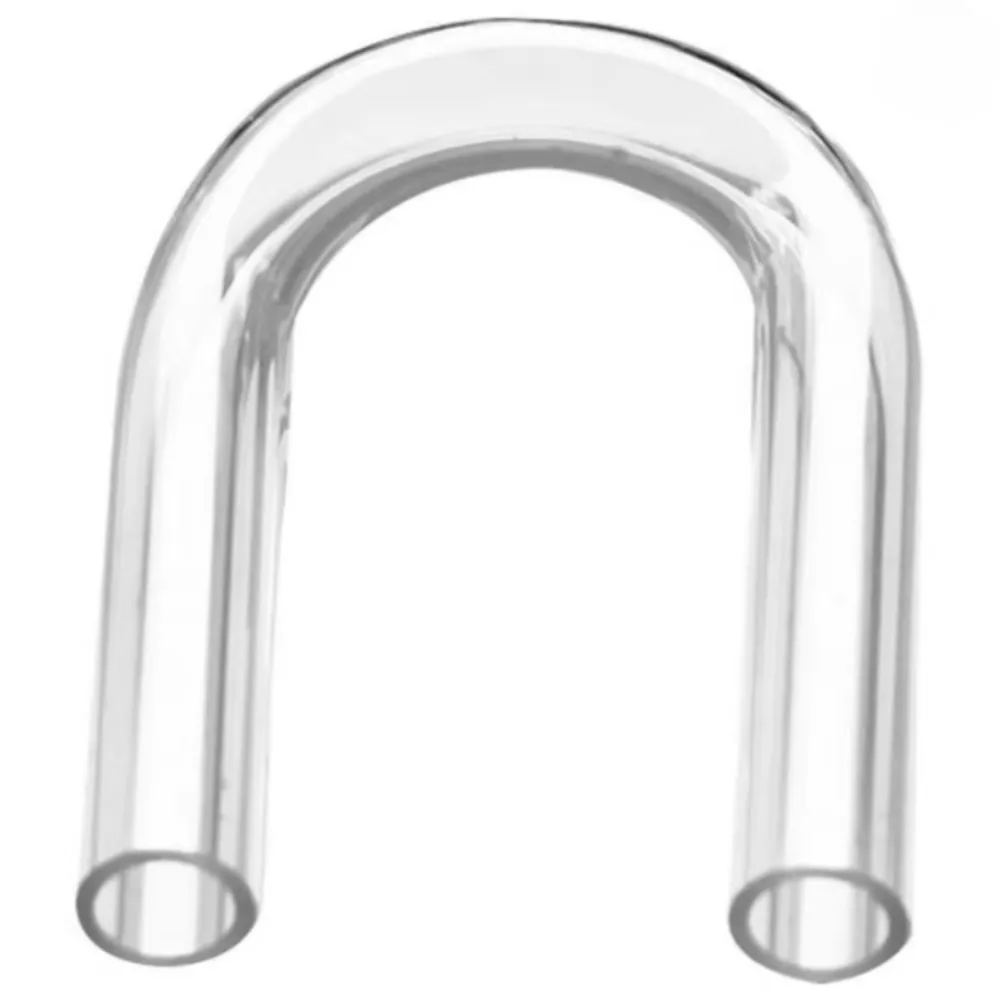
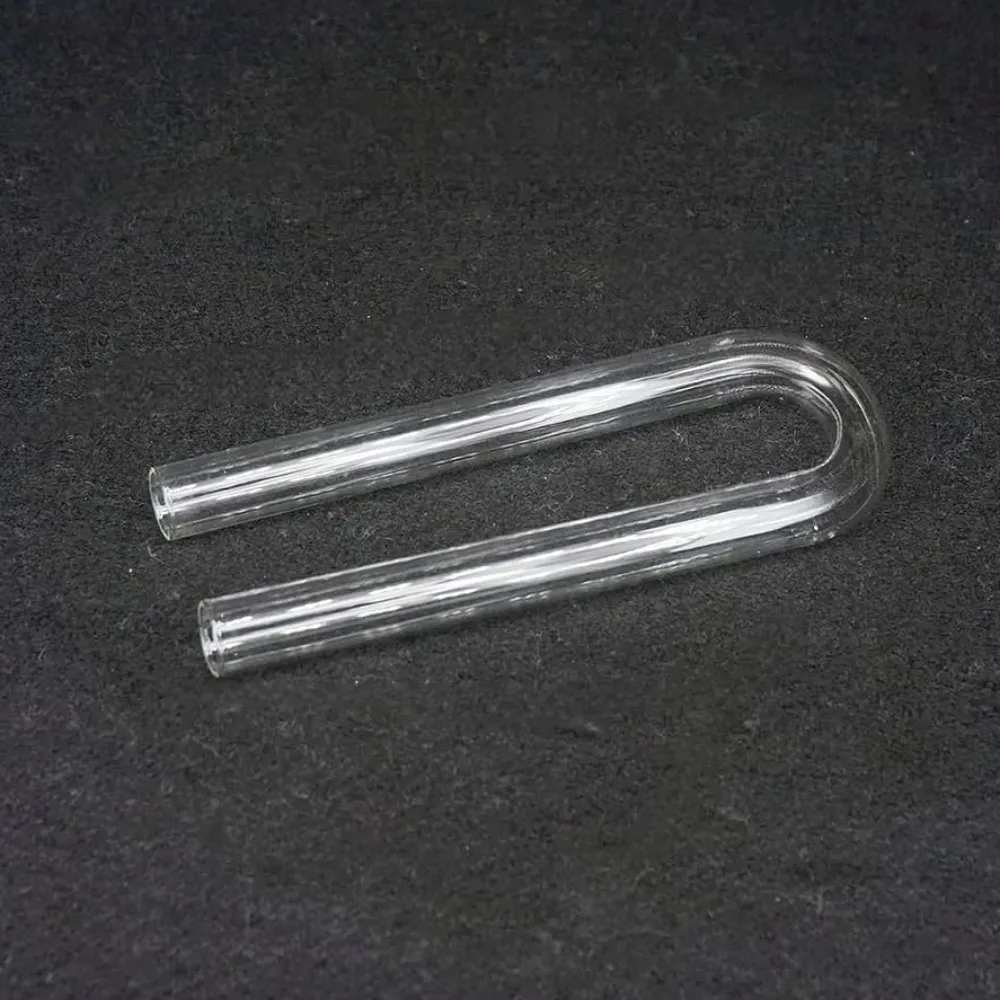
Bending Acrylic Tube: Heat, Support, and Bend Checks
When bending acrylic tube, match the form to the outside diameter and any internal support to the bore. Follow the instructions for the tube and tool, then check a trial bend for shape, clear bore, and fitting alignment.
A bend can match the angle on a drawing while leaving too little straight tube for a fitting. If you are bending acrylic tube for a display or a PC cooling loop, plan the ends along with the curve. This guide takes you from the tube callout to a trial part you can compare against the drawing and the actual hardware.
Key takeaways
Identify the acrylic grade, outside diameter, inside diameter, and wall thickness.
Give the bend angle, centerline radius, and straight ends their own dimensions.
Confirm which form and internal support the tool supplier specifies.
Use the instructions for the selected system to decide when to release the part and remove the insert.
Check the bend profile, cross section, and fit before repeating the process.
Check the label or supplier record for the tube grade. Clear rigid tubing can come in different materials, and a tool sold for both acrylic and PETG can have separate instructions for each. Record the material before selecting a setup for bending acrylic tube.
Measure the stock using the project’s agreed method. Outside diameter, or OD, describes the exterior. Inside diameter, or ID, describes the bore. Wall thickness is another useful callout when the design needs a specific cross section. Acrylic tube sizes.
Illustrative scenario. A builder has two tubes with the same outside diameter. While preparing for bending acrylic tube, they compare the bore on each piece and find that the same insert does not fit both. They verify the tube and insert combination before making a heated trial.
Define Angle, Radius, and Straight Ends
An angle describes the change in direction. A radius describes the size of the curve and needs a reference on the drawing. Use the centerline when the drawing calls for centerline radius, and show where the curved section meets each straight leg.
When planning bending acrylic tube between two fittings, include the location of each connection and the space needed to seat the ends. A routed tube must reach the fittings in the correct direction. Set the target straight lengths with the hardware in view.
For a display piece, mark the viewing side. Show where the tube will touch its supports. These notes help a supplier understand why a small change in shape could affect the result.
Have a tube drawing ready? Send the material, OD, ID, angle, and target radius to discuss suitable tube stock and supply options. Contact JRT.
Bending Acrylic Tube: Match the Tool and Support
Match the Form to the Outside
Check the form or jig for the actual tube size and the geometry it is intended to produce. A tool label can describe the stock diameter it accepts. Check where the tool maker measures the bend radius. Use that reference on your drawing.
EK lists Modulus bending tools for 12, 14, and 16 mm sizes. Those numbers identify tool choices in its hardline system. They do not specify the diameter of the insert to use inside every tube that fits the form.
Match the Insert to the Bore
For bending acrylic tube with an internal insert, verify the actual bore and the insert supplier’s compatibility guidance. The insert needs to provide support in the area being formed. You also need a documented way to remove it once the bend has reached the condition specified for that system.
Alphacool lists 10 mm and 13 mm diameter inserts in its HardTube Basic kit alongside a tool listed for 12, 14, and 16 mm sizes. Use the part documentation to confirm which insert goes with the tube in your hand.
Item
Check before a trial
What to record
Form or jig
Tube size and bend geometry
Tool model and drawing reference
Internal support
Actual bore and tool guidance
Insert type, size, and removal instruction
End hardware
Required straight length and seating
Fitting model and fit checks
Decide When to Use a Specialist
The ACRYLITE guide describes free bending and methods with internal or external support. It discusses cross section changes and buckling in the context of its own tube forming methods. For bending acrylic tube outside the scope of a documented tool setup, ask a processor to review the grade, wall, radius, and acceptable shape change.
A large display curve or tight tolerance may need a different approach from a short hardline tube. Ask what the processor can measure and provide a drawing that shows the surfaces that matter. Review a sample before ordering repeat parts.
Prepare and Plan a Trial Bend
Lay Out the Route Before Heating
Use a drawing or a mockup to mark the ends, bend plane, and direction of the curve. If the route has more than one bend, mark the orientation of each one. A bend can have the right angle yet turn in the wrong plane.
Dry-run how the tube will enter the jig and how the finished part will move into position. Include the surrounding hardware and the order in which it is installed. If you cannot place the bent part without forcing other parts aside, revise the layout before bending acrylic tube.
Plan the Straight Sections and Trim
Decide which end will serve as the reference and where final trimming will occur. Confirm the length needed for insertion or mounting. Make room for the cutting and end preparation stages, especially where the bend sits close to a connection.
If the selected process calls for trimming after forming, measure the trial before marking the final cut. Keep the trim line clear of any region that fails the fitting manufacturer’s requirements. Follow the agreed method for cut quality and end preparation. Guide to cutting acrylic tube.
Read the Instructions as a Set
Before bending acrylic tube, gather the documents for the grade, heater, form, insert, and fittings. Resolve differences between those documents with the supplier for the selected setup. A trial is more informative when you can name the materials and tools used.
Use stock that matches the planned part. Record which side will be inside the curve and how the work will be supported during forming and cooling. Define the checks before starting so the sample gives you an answer you can use.
Bending Acrylic Tube: Form and Inspect a Sample
Follow the Heating Process for Your Setup
Use the heating equipment and workholding described by the tube and tool suppliers. The EK Modulus guide describes heating and rotating compatible hardline tubing, then shaping it around its form. Ask the supplier how to recognize readiness in the system you are using.
Settings for bending acrylic tube depend on the material, equipment, and setup. Follow the equipment instructions for handling hot parts. Before bending acrylic tube, ask for a method review if the supplier instructions leave the planned bend outside their scope.
Shape, Hold, and Remove Support as Directed
Follow the tool instructions for moving the softened tube into position and holding it there. Record when the part is released and when the support is removed. These are separate steps that can depend on the particular tooling.
EK describes a short hold for initial hardening and recommends withdrawing its insert while the tube is still warm. Alphacool describes removal after cooling in its kit data. When bending acrylic tube, use the directions for the system in hand and clarify any mismatch before proceeding.
Inspect the Bend and the Ends
Check the angle, radius, straight legs, and bend plane against the drawing. Look for wrinkles on the inside of the curve, flattening, and changes in the surface. Use the project’s agreed measurement method where the bore or outer shape has an acceptance requirement.
Illustrative scenario. A display fabricator makes a trial curve that looks even from the front. From the side, the curve appears flatter than the straight stock. The team adds a cross section check to its review of bending acrylic tube and asks the processor to assess the sample against the drawing.
After bending acrylic tube for a routed assembly, place the trial next to the drawing and check each end against its reference point. If the part has several bends, note which bend you measured first and how you supported the part during the check. Keep those details with the sample.
Troubleshoot Kinks, Haze, and Fit Problems
Check the Shape of the Cross Section
A kink or wrinkle calls for a review of the support, bend geometry, and forming setup. Compare the trial with straight stock and identify where the shape changes. Ask the process owner whether the measured change is acceptable for that part.
When bending acrylic tube, keep the rejected sample and label it with the setup. If you change the form or support for another trial, record that change. A pair of marked samples is easier to compare than two pieces with no process record.
Record Surface Changes
Inspect the bend under consistent lighting. If you find bubbles, haze, or marks, record where they appear and which materials touched that area. Ask the tube and tool suppliers which checks they recommend before repeating the process.
Observation
Review before the next trial
Flattened section or wrinkle
Radius, stock dimensions, and support
Haze, bubbles, or new marks
Surface condition, tool contact, and heating setup
End points away from fitting
Bend plane, angle, and fixture position
Fitting cannot seat
Straight length, cut end, and fitting requirements
Check Alignment at the Fittings
Bring the part and hardware together in the planned installation order. Check that the ends reach their seats in the required direction and have enough straight length. Hold a part for review if fitting it requires forcing the route into place.
A shape and fit check for bending acrylic tube establishes whether the trial meets those checks. If a cooling assembly also requires leak testing, follow the applicable system manufacturer’s procedure and acceptance criteria.
Specify a Repeatable Bend
Record What the Sample Demonstrates
Keep the drawing, tube identification, tool details, and measurements with the sample. Record the viewing conditions if appearance is part of approval. Keep the dimensions and the appearance notes separate so each can be checked when the next part arrives.
Illustrative scenario. A buyer approves the curve on a mockup and later learns the end cap needs a longer straight leg. They add the cap drawing and the seating dimension before requesting a second sample. The revised review of bending acrylic tube now covers both the curve and the assembled end.
Send a Drawing That Covers the Whole Part
For a request involving bending acrylic tube, include the grade, OD, ID, wall thickness, angle, centerline radius, straight lengths, and the orientation of each bend. Mark the end condition, any critical mating surfaces, and the dimensions that will be checked on receipt.
Include the quantity and intended use. Attach the finish reference or identify the approved sample. Ask which supply and processing options can be confirmed for that drawing.
Before ordering, put the curve and fitting requirements on the same drawing. Share it with JRT to discuss tube material and supply for the planned assembly.
Frequently Asked Questions
Can I Bend Acrylic Tube Without an Insert?
Some documented forming methods use external support or free bending under specified conditions. Choose a method using guidance for the actual grade and geometry. For bending acrylic tube with a hardline kit, follow that kit’s insert instructions.
What Temperature Should I Use?
Use the forming guidance for the tube and heating equipment. A heater setting and the temperature of the material are different measurements. Ask the supplier to clarify which one its instructions refer to.
How Tight Can I Make the Bend?
Ask for the supported radius for your tube, wall, and tooling. Use the radius reference on the drawing when you compare it with tool data. Check the sample for shape and fit at that radius.
When Should I Remove the Insert?
Use the removal instruction for the selected tool and insert. EK and Alphacool describe different timing for their systems. Resolve the instructions before bending acrylic tube so you can plan how to handle the part during release.
Why Did the Tube Flatten?
Review the geometry, tube dimensions, support, and heating setup with the process owner. Measure and document the change before making another trial. The appearance of a flattened area alone gives limited evidence about its cause.
How Do I Check Fitting Clearance?
Start with the fitting drawing and required straight engagement. Confirm the tube can enter in the correct direction and seat as specified. Include nearby parts and installation access when you check the route.
Introduction Acrylic sheets, prized for their optical clarity (92% light transmission) and versatility, are revolutionizing industries from aerospace to healthcare. With a global market expected...
Introduction Polyvinyl Chloride (PVC) sheets are a staple in construction, healthcare, and electronics due to their durability, chemical resistance, and cost-effectiveness. With the global PVC...
In applications where safety, beauty and durability are essential, one material stands out: flame retardant acrylic sheet. For projects in buildings, public transportation or high-end...
Anyone who has priced out a wall-sized mirror installation knows the tradeoffs glass brings with it: the weight, the installation crew, the liability if it...