Choose an acrylic mirror sheet by matching its thickness and mounting method to the finished panel size and the waviness you can accept. Approve the sheet with its intended backing and adhesive before ordering: thicker acrylic reduces flex, but it doesn’t guarantee a glass-flat reflection.
The cheapest sheet can become an expensive purchase if the finished mirror looks wavy or its backing reacts with the adhesive. A bright product photo tells you little about either problem. Your drawing, viewing distance, and mounting surface matter as much as the material name.
For fabricators and buying teams, the aim is clear. Buy a mirror that looks right once fitted and arrives ready for use. Start with clear order details, a useful sample, and quotes you can compare.
This guide explains which thickness options to discuss and how to check reflection and coatings. It also shows what to put in a request for a quote. It also covers mounting, care, and delivery checks so that you can agree on the finished result before paying for production.
Key Takeaways
– Thicker acrylic and a flatter backing can reduce reflection distortion, but may not eliminate it.
– Confirm actual thickness and finished sizes; nominal inch labels can differ from the supplied metric thickness.
– Removable protective film protects handling surfaces; it doesn’t prove a permanent scratch-resistant coating is present.
– Approve the mirror, backing, adhesive, and cutting and drilling method together before sending a bulk order.
An acrylic mirror sheet is a panel made from polymethyl methacrylate (PMMA). It has a mirror coating and a backing that helps protect that coating. In a typical back-coated mirror, you view the reflection through the acrylic face.
Suppliers also use the term mirror acrylic sheet for this material. Damage to either the face or the reflective layer can affect its appearance.
Acrylic Mirror Versus Glass
When comparing acrylic mirror vs glass, check weight, impact, wear, and how true the reflection looks. Acrylic weighs less than ordinary glass and can resist more impact. It also bends more easily, so flatness needs care. The whole mounted system must meet the project’s safety rules.
For a decorative display, easy handling and custom shapes may be priorities. For a full-length dressing mirror, accurate reflection may matter more. Canal Plastics’ FAQ explains that thicker acrylic and flat support minimize distortion without necessarily eliminating it.
Start by reviewing JRT Acrylic’s mirror sheet options, then ask which grade suits your drawing and mounting plan.
Choose the Right Mirror Effect
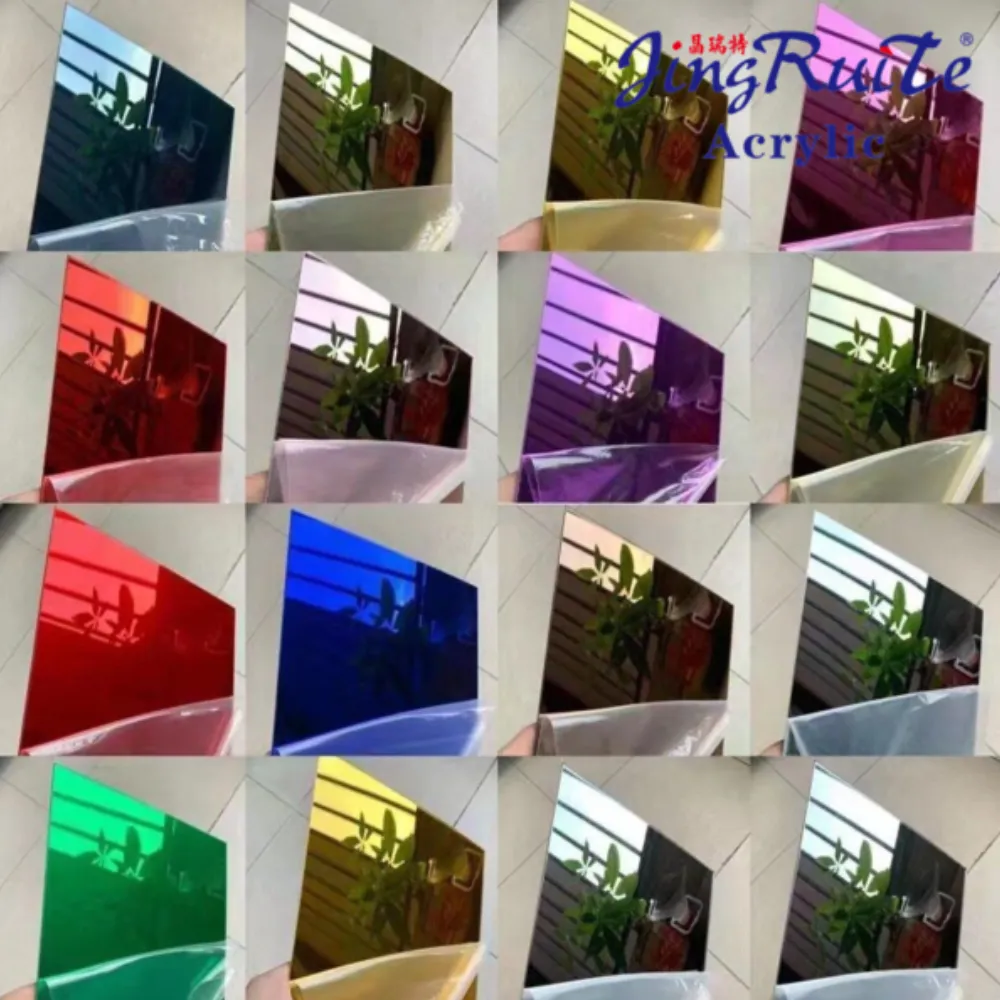
Silver, gold, and other colored finishes change the reflected appearance. Check a physical sample under the project’s lighting, especially when several panels will sit beside one another.
A two-way mirror lets some light through. The lighting on each side must suit the effect you want. A double-sided mirror provides reflective faces on both sides. Specify which you need; the terms aren’t the same.
Also distinguish light transmission from reflectivity. The first tells you how much light passes through a sheet; the second tells you how much light a surface reflects. Clear base acrylic data won’t tell you how much light a finished acrylic mirror sheet reflects. Ask for the finished grade’s test data if this matters to your project.
Choose Acrylic Mirror Sheet Thickness and Size Together
Acrylic mirror sheet thickness affects how stiff the panel is, its weight, and its fit. Panel sizes and backing affect how much it will flex. Ordering thicker material alone won’t correct an uneven wall or a poorly controlled adhesive layer.
Thickness Options to Discuss With Your Supplier
Use these bands to start the discussion about samples. They aren’t tested span limits, load ratings, or a promise that every supplier stocks each option.
Thickness to discuss
Possible use
What to verify
Around 1.5–2 mm
Small decorative inserts and cut shapes
Handling, supported flatness, edge quality, and grade availability
Around 3 mm
Supported display components and signs
Reflection at finished sizes and on the intended backing
Around 5–6 mm
Panels where greater rigidity is needed
Assembly weight, mounting design, remaining distortion, and actual thickness
Canal recommends nominal 1/4-inch material for mirrors greater than 24 inches to reduce distortion. That advice is specific to one supplier. It is not a size rule for all mirror grades. The finished assembly still needs approval at its intended viewing distance.
Illustrative example: Alex is specifying a 300 × 400 mm mirror insert and a 900 × 1200 mm decorative panel. A small sample shows the desired silver finish, but it can’t show how the larger assembly will reflect. Alex therefore asks to approve a mounted trial of the larger panel. Both sides now know that flat reflection is part of the order details before the bulk run starts.
Order Actual Thickness and Finished Sizes
A nominal inch label can name a product size group without stating the exact thickness. The exact unit conversion is 1/4 inch = 6.35 mm. Canal’s thickness table, however, lists nominal 1/4-inch acrylic at 5.6 or 6.0 mm. Confirm the supplied value when a panel must fit a slot or frame.
For a cut-to-size acrylic mirror, specify finished sizes after edge finishing, plus the required size tolerance. Mark where each hole goes, the curve of each corner, which edges will show, and which face points out. Ask for thickness tolerance separately from cutting tolerance.
A cast or extruded label tells you how the base sheet was made. It can’t tell you how flat the coated mirror will look once mounted. Compare the exact grade and a mounted sample.
Inspect Reflection, Coatings, and Color Before Ordering
A good acrylic mirror sheet sample should answer a specific purchase question. A small swatch can show color and surface finish. A larger mounted trial is needed to assess the proposed assembly’s reflection.
Check the Reflection in Real Conditions
Set up the test panel at the height and in the light planned for the project. View reflected straight lines, such as a door frame, from where people will use the mirror. Look across the center, edges, and mounting points rather than judging a single close-up photograph.
Record what the buyer and supplier accept: visible waviness, surface marks, coating defects, color variation, and the viewing conditions. These checks help both sides agree on appearance. If the project calls for a formal light or reflection test, that test is still needed. Keep the approved sample and drawing revision clearly marked for repeat orders.
Inspect Both Faces and the Backcoat
Check the viewing face for scratches and haze. Inspect the backing for scratches, pinholes, peeling, or damage near cut edges. Don’t scratch or peel the backcoat to try to test its strength. Ask the supplier how to test it.
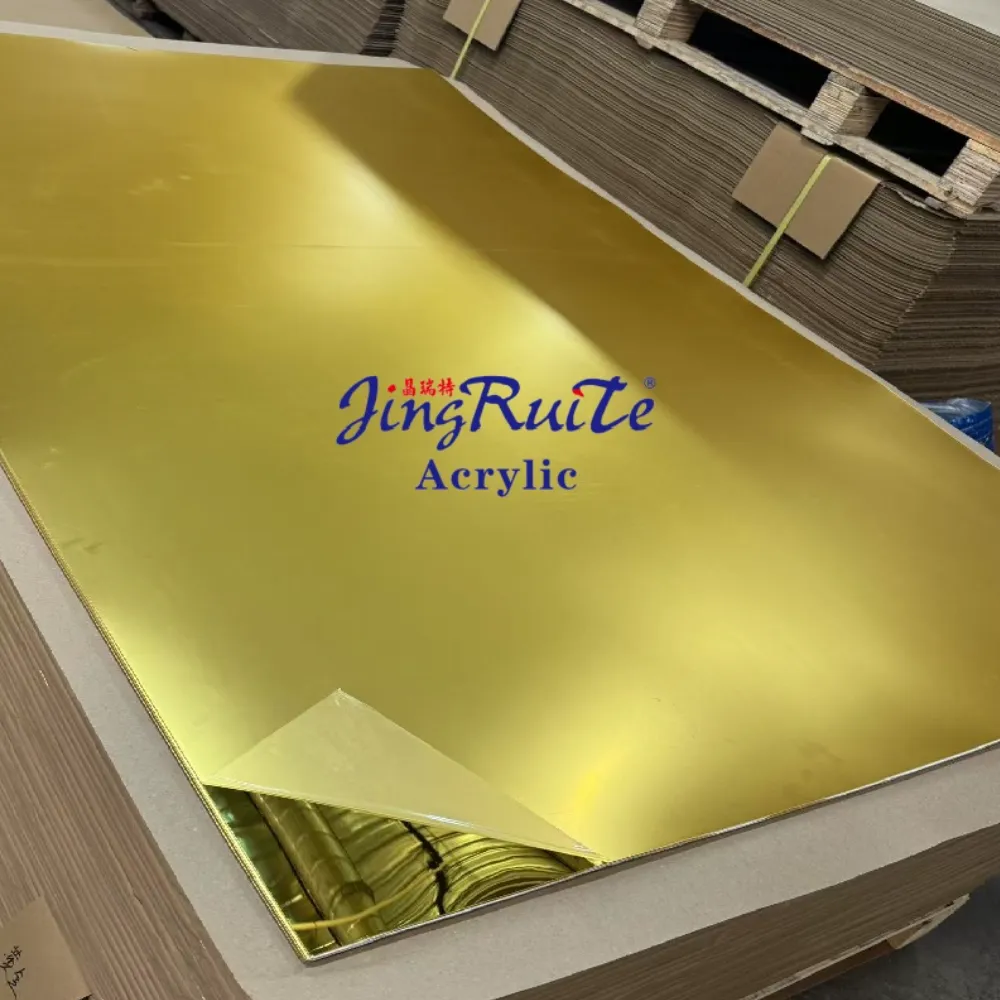
Protective masking is temporary. If you need a wear-resistant surface, ask for the exact coating. Request test results for that grade and its cleaning instructions. Don’t assume a product described as a mirror or supplied with film has a permanent hard coat.
Illustrative example: Morgan needs 40 gold mirrored acrylic sheets for adjoining display sections. In a proposed approval trial, the buyer compares samples under the shop lighting and sees a noticeable color difference. Morgan then sets an approved sample as the color reference and asks for batch labels on the order. The resulting purchase documents give both sides a shared color reference rather than relying on a screen image.
For decorative elements that don’t require reflection, compare the broader acrylic sheet range before specifying mirror material throughout the display.
Plan Mounting, Cutting, and Drilling Before Approval
Choose an acrylic mirror sheet as part of a complete mounted system. The backing, glue, screws, and workshop process can change how it looks and works.
Flat Backing and Compatible Adhesive
United States Plastic’s mounting and workshop guide recommends a smooth, rigid, flat backing. Local irregularities can bend the mirror and distort the reflected image. Check the backing before bonding. Apply the approved adhesive as its maker directs so the support is even.
An adhesive sold for glass mirrors isn’t automatically suitable for mirrored acrylic. Ask both suppliers to check the glue with the acrylic, mirror coating, painted backing, and support material. Agree on how to spread it and let it cure. The bond must also allow for movement as the materials warm and cool.
United States Plastic recommends testing scrap pieces for at least 72 hours to screen for harmful reactions. That is a useful first check, not proof of long-term service life. Follow the suppliers’ test and cure steps. Then check for color change, coating damage, a loose bond, or distortion.
Holes, Cutting, and Surface Care
For screw or frame mounting, agree on hole sizes with the fabricator. The panel needs room to move as it warms and cools. Avoid overtightening: United States Plastic warns that it can cause dimpling and distortion. No single screw spacing or hole size suits every panel and backing.
Confirm cutting, drilling, engraving, and any bending on the exact mirror grade. Laser cutting can leave stress in the edges. Check that the coating and masking also suit the process. Don’t transfer settings from clear acrylic to a mirror product without a trial.
Have a finished-part drawing? Discuss it with JRT’s team alongside the available acrylic processing services. Ask which steps suit the chosen mirror grade before you approve the work.
Keep masking in place during handling where the approved process allows it. For daily care, use mild soap, water, and a soft cloth. Press lightly. Avoid ordinary window sprays and abrasive cleaners, and follow any coating-specific care instructions.
For outdoor, wet, hot, or overhead use, get approval for the exact product and mounting system. UV stability of the base acrylic alone doesn’t show the outdoor service life of the reflective backing. Overhead mounting also needs fixings that hold the panel in place. Don’t assume glue used on a wall will suit a ceiling.
Compare Quotes Using Complete Order Details
Two acrylic mirror sheet quotes are only fair to compare when they cover the same finished part, quality needs, and delivery terms. A low sheet price can exclude work or protection that another quote includes.
What to Include in Your Request for a Quote
Give each supplier the same drawing version and order details:
Use and location: Display insert, sign, decor panel, or working mirror; indoors or another stated setting
Ask the supplier to list exceptions. An acrylic mirror sheet quoted at a different thickness, with unfinished edges, or without the requested coating isn’t the same offer.
JRT’s published order and sample FAQ states a stock minimum of one sheet per size; custom minimum order quantities depend on the order details. It also lists small samples as free with courier costs paid by the customer. Confirm whether your requested approval sample is covered, especially if you need a large fabricated assembly.
Include Project Cost and Delivery Acceptance
Compare material, cutting, finishing, backing, adhesive, packing, freight, import costs, and mounting labor. Ask how cutting layout and reusable offcuts affect the quote. Where several part sizes share one parent sheet, a revised layout may reduce waste without changing the approved material.
Keep factory time separate from shipping time. JRT’s FAQ lists stock production at 3–7 days after payment and custom production at 10–20 days, depending on quantity and order details. Those periods don’t include international freight or customs clearance; confirm the schedule in the quotation.
At delivery, photograph the packaging before unpacking. Check quantities, labels, sizes, exposed edges, and visible coating damage against the order and agreed check plan. Inspect sample faces as agreed without unnecessarily removing all protective masking.
Set damaged parts aside. Report them within the supplier’s stated claims period, before any cutting or drilling changes their condition.
Acrylic Mirror Sheet Buying FAQs
What Thickness Should I Buy?
Choose thickness with the finished panel sizes, backing, and reflection needs. Around 3 mm is an option to discuss for supported displays. Around 5–6 mm may suit a need for a stiffer panel. Neither is a universal recommendation.
Approve a test acrylic mirror sheet assembly before ordering a larger run.
Will Acrylic Mirror Look as Flat as Glass?
It may show more distortion because acrylic is more flexible. A thicker sheet and flat backing can improve the result, but won’t guarantee the same reflection as glass. Check the mounted trial at close range and where people will view it. Pay extra attention to full-length reflections.
Can I Use Ordinary Mirror Adhesive?
Only if both suppliers confirm that the exact adhesive suits the mirror and backing materials. Some adhesives can damage the protective backcoat or reflective layer. Test the specified materials under the suppliers’ instructions rather than relying on a general “mirror-safe” label.
Can It Go Outdoors or in a Bathroom?
Only use a grade and mounting system approved for that environment. United States Plastic’s mirror FAQ does not recommend its acrylic mirror for outdoor use. For damp rooms, also check edge protection and backing life. Agree on cleaning products and any edge sealant for the exact grade.
Can Mirrored Acrylic Be Laser Cut?
Some mirror grades can be laser cut, but the coating, masking, equipment, and process must be suitable. Ask for a trial using the actual material. Confirm edge appearance and coating condition afterward; don’t assume a successful clear-acrylic setting will produce the same result on mirror stock.
Approve the Sample Before the Production Order
A sound purchase starts with a clear goal for the finished part. Decide how accurate the reflection needs to be, list the panel sizes, and agree on the backing and mounting system. Then select thickness and finish around those needs.
Use a small sample to compare color and surface quality. Use a mounted test panel to assess distortion and fit. Confirm the adhesive, cutting process, actual thickness, and tolerances before sending the final drawing. Keep that approval linked to the quote and order so changes are visible to everyone involved.
Finally, agree on packing, delivery checks, and the scope of the order schedule. These details show what each quote covers. A cheaper offer may leave key work and costs to your team.
Ready to specify your acrylic mirror sheet? Send JRT Acrylic your drawing and request a quote with the finished sizes, quantity, color, mounting details, and destination. Ask the team to confirm the grade and sample needs before you place the bulk order.
Introduction Acrylic sheets, prized for their optical clarity (92% light transmission) and versatility, are revolutionizing industries from aerospace to healthcare. With a global market expected...
Introduction Polyvinyl Chloride (PVC) sheets are a staple in construction, healthcare, and electronics due to their durability, chemical resistance, and cost-effectiveness. With the global PVC...
In applications where safety, beauty and durability are essential, one material stands out: flame retardant acrylic sheet. For projects in buildings, public transportation or high-end...
Anyone who has priced out a wall-sized mirror installation knows the tradeoffs glass brings with it: the weight, the installation crew, the liability if it...