Acrylic Rod vs Glass Rod: How to Choose for Your Application
For acrylic rod vs glass rod, start with what the part must do. Evaluate acrylic if weight or fabrication matters most, and compare named glass grades if stiffness, surface wear, or service temperature drives the choice.
A clear display rod can look right on a bench and still move too much after installation. A bright light guide can look clear before it is assembled and lose its intended effect at a mount. Use this acrylic rod vs glass rod guide to identify the deciding requirement, compare evidence for actual grades, and plan a sample check.
Key takeaways
Compare mass at equal dimensions before comparing complete assemblies.
Separate stiffness, scratch resistance, and impact behavior.
Record the exact grade and product form behind every property value.
Evaluate an optical rod with its real source, finish, and mounts.
Put dimensions and service conditions on the same request for quote.
In an acrylic rod vs glass rod comparison, both candidates are solid cylindrical parts. Specify the diameter, finished length, and ends. If the design is hollow, ask for tube data and review its wall and mounting requirements separately.
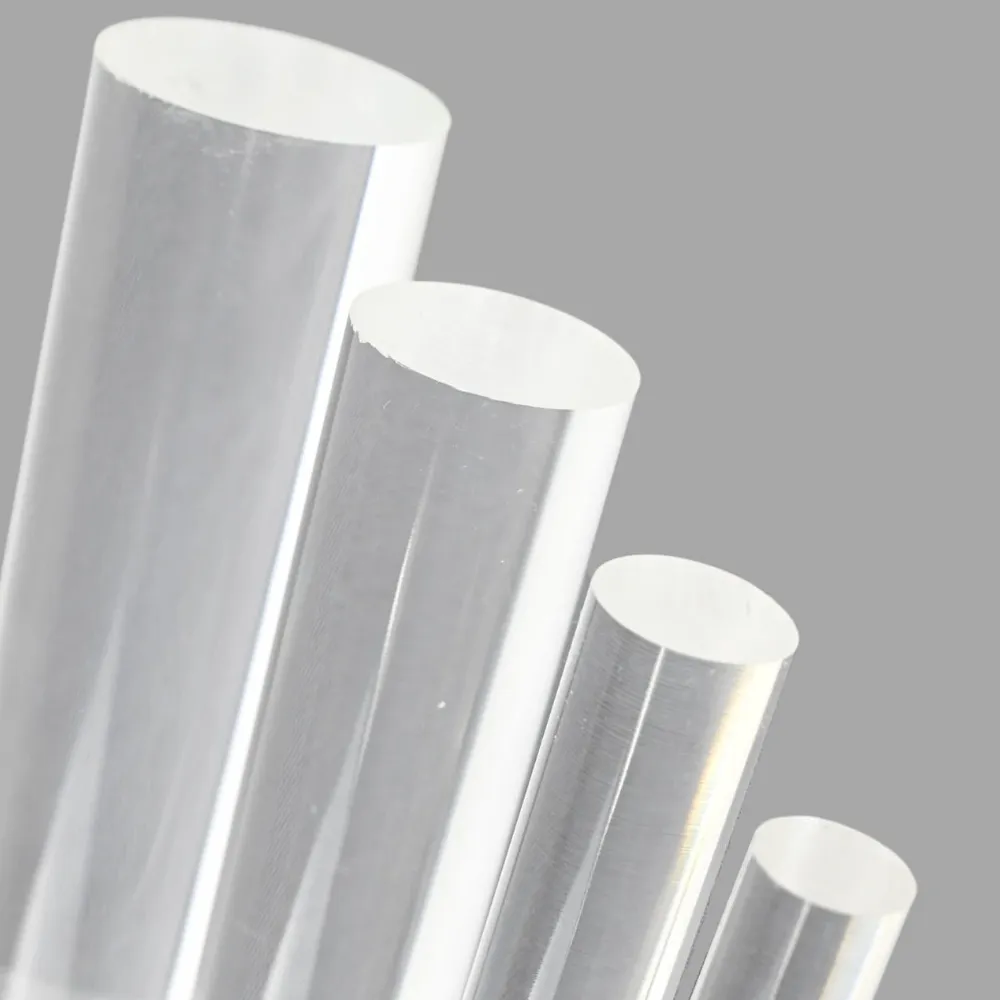
Acrylic rod is made from PMMA. Suppliers can offer cast or extruded products, so ask which route and grade apply to the quoted item. Include a finish description if the cut ends or cylindrical surface will remain visible. Acrylic rod buying guide.
Identify Which Glass You Are Comparing
Glass is a family of materials. For acrylic rod vs glass rod, distinguish soda-lime glass, borosilicate glass, and fused silica when screening options. Ask the glass supplier for the grade and form available at the required size.
Start the acrylic rod vs glass rod review with an application statement. Describe whether the part carries a load, guides light, makes contact with a liquid, or simply provides a visible shape. Give priority to the requirements that would make the assembly fail acceptance.
Illustrative scenario. A display designer begins an acrylic rod vs glass rod comparison for a clear upright. The first sample looks right, but the designer also wants to check movement when the display is handled. The drawing gains a supported length and a deflection criterion before samples are ordered.
If you have a drawing, send the dimensions, visible areas, and intended service conditions to discuss JRT rod options. Contact JRT.
Acrylic Rod vs Glass Rod: Compare the Properties That Matter
Compare Weight at Equal Geometry
For acrylic rod vs glass rod at the same diameter and length, the parts have the same volume. Multiply the volume by the material density to estimate mass. If one design uses a different diameter or extra hardware, compare the complete assemblies as well.
Kopp Glass lists comparison densities of 1.20 g/cm³ for acrylic, 2.52 g/cm³ for soda-lime silicate, 2.23 g/cm³ for borosilicate, and 2.20 g/cm³ for quartz in its reference table. Treat these as screening values. Use the quoted material data for purchasing and design calculations.
For illustration, equal volumes at 1.20 and 2.23 g/cm³ give an acrylic mass about 54% of the borosilicate mass. This is a calculation from the comparison values. It shows why the glass grade and equal-volume assumption belong beside any acrylic rod vs glass rod weight claim.
Compare Stiffness, Wear, and Impact Separately
Stiffness is relevant when a part must hold its shape under load. For an acrylic rod vs glass rod stiffness check, give the reviewer the diameter, unsupported span, and load location. Ask how much movement the application can accept.
Surface wear is a separate concern. Where a rod is wiped often or rubs against another part, include the cleaning material and contact surfaces. Evaluate the appearance after the same agreed handling or cleaning procedure.
Impact also needs its own check. A comparison without a test method or specimen geometry gives limited information about your finished part. Ask what gets hit, from which direction, and what the acceptable result is. Include the mounting arrangement because it determines how the part is held during that event.
Priority
What to compare
What to verify on the sample or drawing
Weight
Grade density at equal volume
Installed mass and hardware
Stiffness
Grade modulus and part geometry
Deflection under the agreed load
Surface wear
Finish, coating, and contact
Appearance after the agreed exposure
Impact
Grade data with test and specimen details
Behavior in the intended mounting arrangement
Optical behavior
Grade data, wavelength, and surface finish
Light or appearance in the actual setup
Check the Actual Environment
Specify the Temperature and Exposure
For acrylic rod vs glass rod in a warm location, list the normal temperature, expected peaks, and how long they last. Note whether one end is close to a heat source or whether the whole part sees the same conditions. Have the supplier or project reviewer confirm the applicable limit for the grade and assembly.
A test value such as a softening or transformation temperature describes a property under particular conditions. Ask how the supplier relates that property to your actual duty. SCHOTT, for example, publishes density and mechanical data for its BOROFLOAT 33 flat glass. It is a reference for that named product form. Ask for corresponding data for the glass rod under consideration.
Describe Contact With Chemicals and Cleaning Products
The useful question in acrylic rod vs glass rod selection is which substance contacts the part, at what concentration, and for how long. List cleaners and any liquids, adhesives, or mounting materials that touch the surface. Include rinse and drying steps if they are part of routine maintenance.
Ask the supplier to review this list against the grade and finish. A sample can help check appearance after the agreed exposure. If you also need a strength or regulatory decision, have the project owner specify the evidence and approval needed for that duty.
Review Outdoor Use as a System
For an outdoor acrylic rod vs glass rod comparison, describe the exposure and the consequences of visible change. Include mounting, cleaning frequency, and whether the part can be replaced. Request documentation for the exact material and agree on what change is acceptable over the project period.
Acrylic Rod vs Glass Rod: Plan Fabrication and Optical Checks
Specify the Features Before Choosing the Process
Write down what the shop must do after receiving the stock. Typical drawing fields include cut length, end shape, visible finish, holes, and the dimensions that control assembly. Confirm which fabrication steps the quoted grade and supplier can support.
For acrylic rod vs glass rod fabrication, ask each shop to explain how it will produce and inspect the critical features. Keep stock sizes and finished sizes separate on the request. Give the shop a chance to identify where a polished end or additional operation changes the dimensions.
If you are cutting acrylic stock, plan workholding and end inspection before the first trial. Use the applicable material and equipment instructions. Cutting acrylic rod.
Test the Optical Assembly
An acrylic rod vs glass rod optical review starts with the light source, wavelength range, and path. Describe the surfaces the light enters and leaves. Include the end finish, surface marks, and supports that contact the rod.
Ask which data apply to the supplied grade and specimen. If a transmission figure comes from a flat specimen, record its thickness and method. A rod that guides light along its length needs an evaluation of its own geometry and interfaces.
Illustrative scenario. A lighting team wants a clear rod to carry light from one end. In its acrylic rod vs glass rod trial, the team uses the intended source, end finish, and mount. It records the pattern along the rod and checks what changes near the mounting points.
For the trial, keep the source setting and viewing position consistent when swapping candidates. If the project has a numerical optical target, define the measurement separately from the visual check. Keep a drawing or setup photo with the record so another reviewer can repeat the comparison.
Match the Material to the Application
Display and Decorative Parts
For display work, an acrylic rod vs glass rod review can start with installed weight, appearance, and the planned fabrication steps. Consider how the rod is handled during installation and how a user will clean it. Ask for samples with representative finishes.
Assess the appearance at the distance and angle of normal use. If a mount covers part of the rod, include it in the trial. Check the position and fit after assembly rather than approving a loose piece alone.
Parts Where Movement Matters
For an acrylic rod vs glass rod comparison where alignment is critical, give the reviewer a supported span and a load case. Define how much movement the assembly can tolerate and where it should be measured. Check the mounting interfaces as well as the rod.
If the application changes the diameter to meet a stiffness requirement, repeat the weight comparison using the new dimensions. Compare the new mounting hardware too. The useful purchasing choice is the design that meets the requirements you set.
Parts With Heat or Repeated Cleaning
Illustrative scenario. An equipment buyer needs a transparent part that is cleaned after each shift and sits near a warm enclosure. The acrylic rod vs glass rod request lists the cleaning product, exposure schedule, temperature, and how the part is mounted. The buyer asks each supplier for grade-specific documentation before agreeing on a sample.
For repeated exposure, document what counts as failure. Examples include visible haze, changes in fit, or a result outside the agreed inspection criteria. Have the project reviewer specify any checks that need controlled testing.
Set Up a Fair Sample Review
Start with the same drawing for both suppliers. If a supplier proposes a different size, note the change and ask which requirement it addresses. Give each candidate its own row in the review record, with the grade, shape, finish, and reason for any change. The record should let a second buyer trace the sample back to the quotation.
Set an order for the checks before the samples arrive. Confirm the diameter and length, assemble the rod with the planned hardware, and then evaluate the criteria for its job. If the part is decorative, look at it in the intended setting. If it carries light, keep the source and mount in place during the comparison.
Write the acceptance decision next to the relevant evidence. A part may fit the bracket and still need review for cleaning, heat, or load. Record which checks the sample passed and which ones need a data sheet or a separate test. Where the two candidates use different supports, record those supports as part of each option.
When a sample changes between prototype and production, ask what changed in the material, finish, or process. Check the requirements that change could affect before releasing the next order. This gives purchasing and fabrication teams a shared basis for reviewing the next batch.
Build a Quote and Sample Request
A useful acrylic rod vs glass rod request includes the material grade or the function the grade must meet, plus the dimensions and intended use. Identify which requirements are mandatory and which can be discussed.
Diameter, length, tolerances, and quantity.
End geometry, visible surfaces, and finish reference.
Mounting method, supported span, and relevant loads.
Temperatures, cleaners, liquids, and exposure schedule.
Light source and optical acceptance criteria where relevant.
Required data sheets and sample inspection method.
For an acrylic candidate, review the product family and ask which dimensions, grade, and processing options can be confirmed for the drawing. Request documentation that applies to the product being offered. JRT acrylic rod.
Close the acrylic rod vs glass rod review by agreeing on the deciding requirements and a sample that represents the installed part. Share the drawing and service conditions to discuss which acrylic rod options fit the request. Send your rod requirements to JRT.
Frequently Asked Questions
Which Rod Is Lighter at the Same Size?
Use the densities of the two grades and the same solid volume. For acrylic rod vs glass rod, reference values generally favor acrylic for mass at equal size. Check the quoted grades and recalculate if the proposed dimensions differ.
Will the Two Rods Bend the Same Amount Under Load?
Compare the grade data and the geometry of the supported part. The length between supports, the diameter, and where the load is applied belong in the review. Specify the movement the assembly can accept.
Can I Use the Same Cleaning Process for Both?
Check the grade, coating, cleaner, and exposure schedule. Get the supplier’s guidance and verify the agreed process on a representative sample when surface condition matters.
Can I Choose an Optical Rod From a Transmission Percentage?
Use the number with its test conditions and then evaluate the installed part. End finish, path length, and mounting should be part of the review. If the optical target is quantitative, specify how it will be measured.
Which Glass Should I Compare With Acrylic?
Select a named glass grade that is available as the needed rod and suitable for screening against the application. Soda-lime, borosilicate, and fused silica can lead to different comparisons. Ask for data for the product form you intend to buy.
Brief introduction Acrylic board is widely used in all walks of life because of its excellent transparency, light weight and machinability. However, they differ significantly...
If you work in UV curing, medical diagnostics, optical research or tanning equipment design, you’ve probably asked: What material can reliably transmit UV light without...
When making engraved name badges, office signs or equipment labels, the biggest question is:Which material gives crisp, professional contrast without extra painting? Dual-color sheet is...
For modern interior design, lighting and privacy projects, semi-transparent materials are essential. Choosing the right one affects appearance, safety, installation cost and service life. 1....